
By Steven Biggs
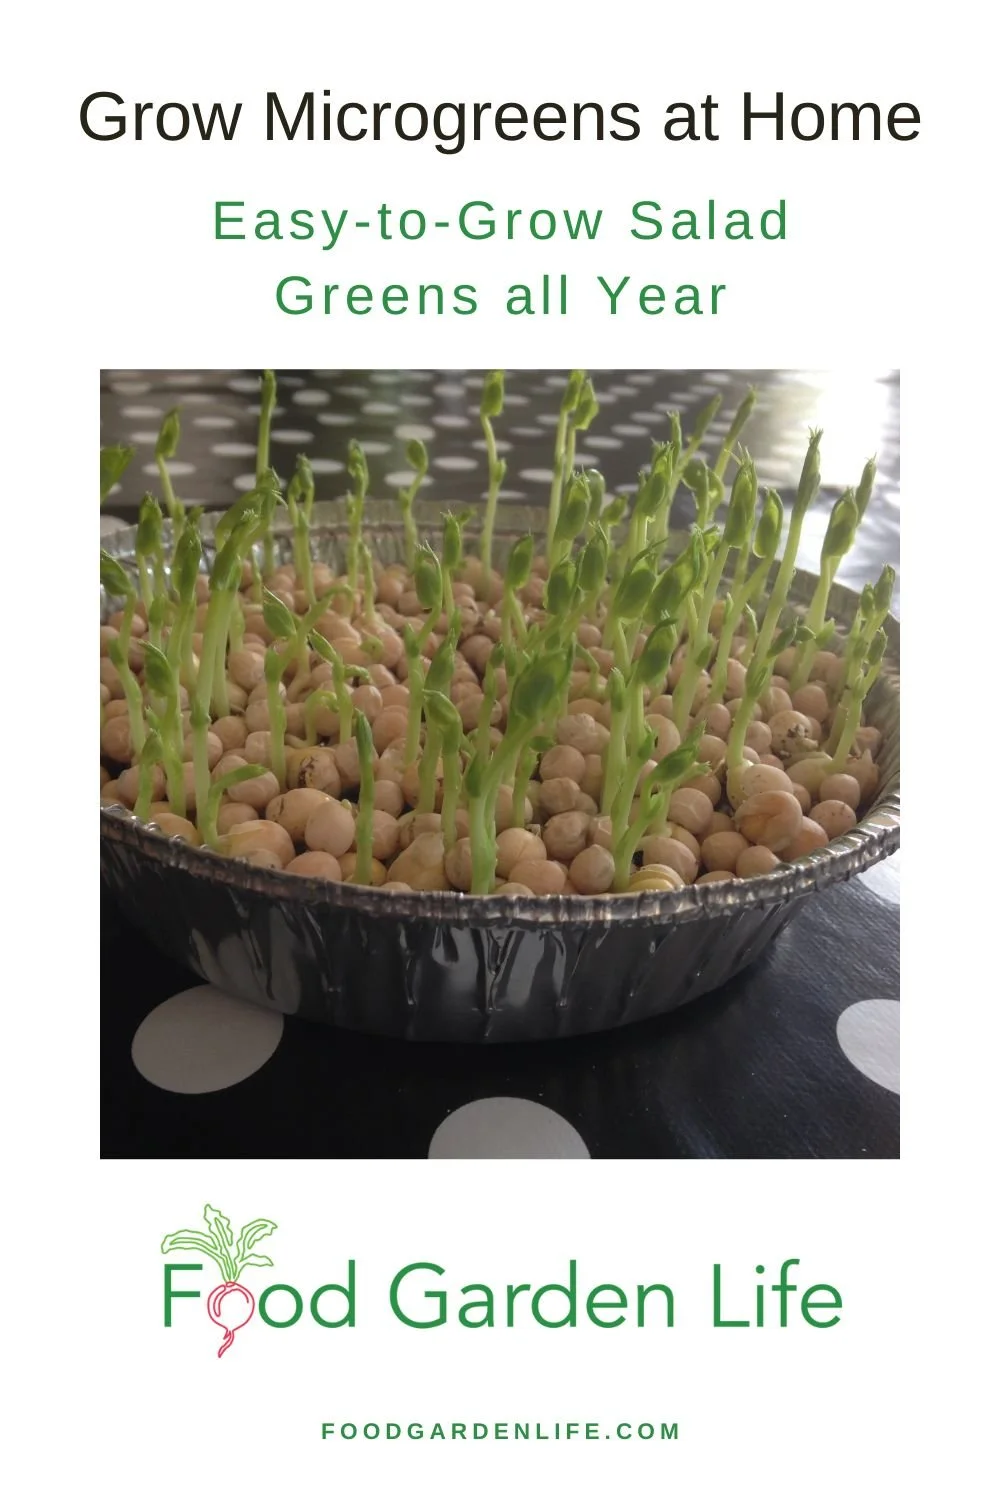
Growing Microgreens at Home is Easy
Pea shoots grown at home: All you need is a handful of dried peas, a pie plate, potting soil, and a windowsill.
On a recent trip to the grocery store I noticed small containers of pea microgreens. Gulp…a whopping $4.99.
The same amount of pea microgreens grown at home takes only a handful of dried peas, a pie plate, potting soil, and a windowsill.
Growing microgreens costs pennies—and it’s easy.
The setup is very simple. The materials are easy to get. There’s no need for fancy lights or equipment. And you can grow microgreens indoors any time of year.
Keep reading and I’ll tell you how to grow your own microgreens.
What are Microgreens?

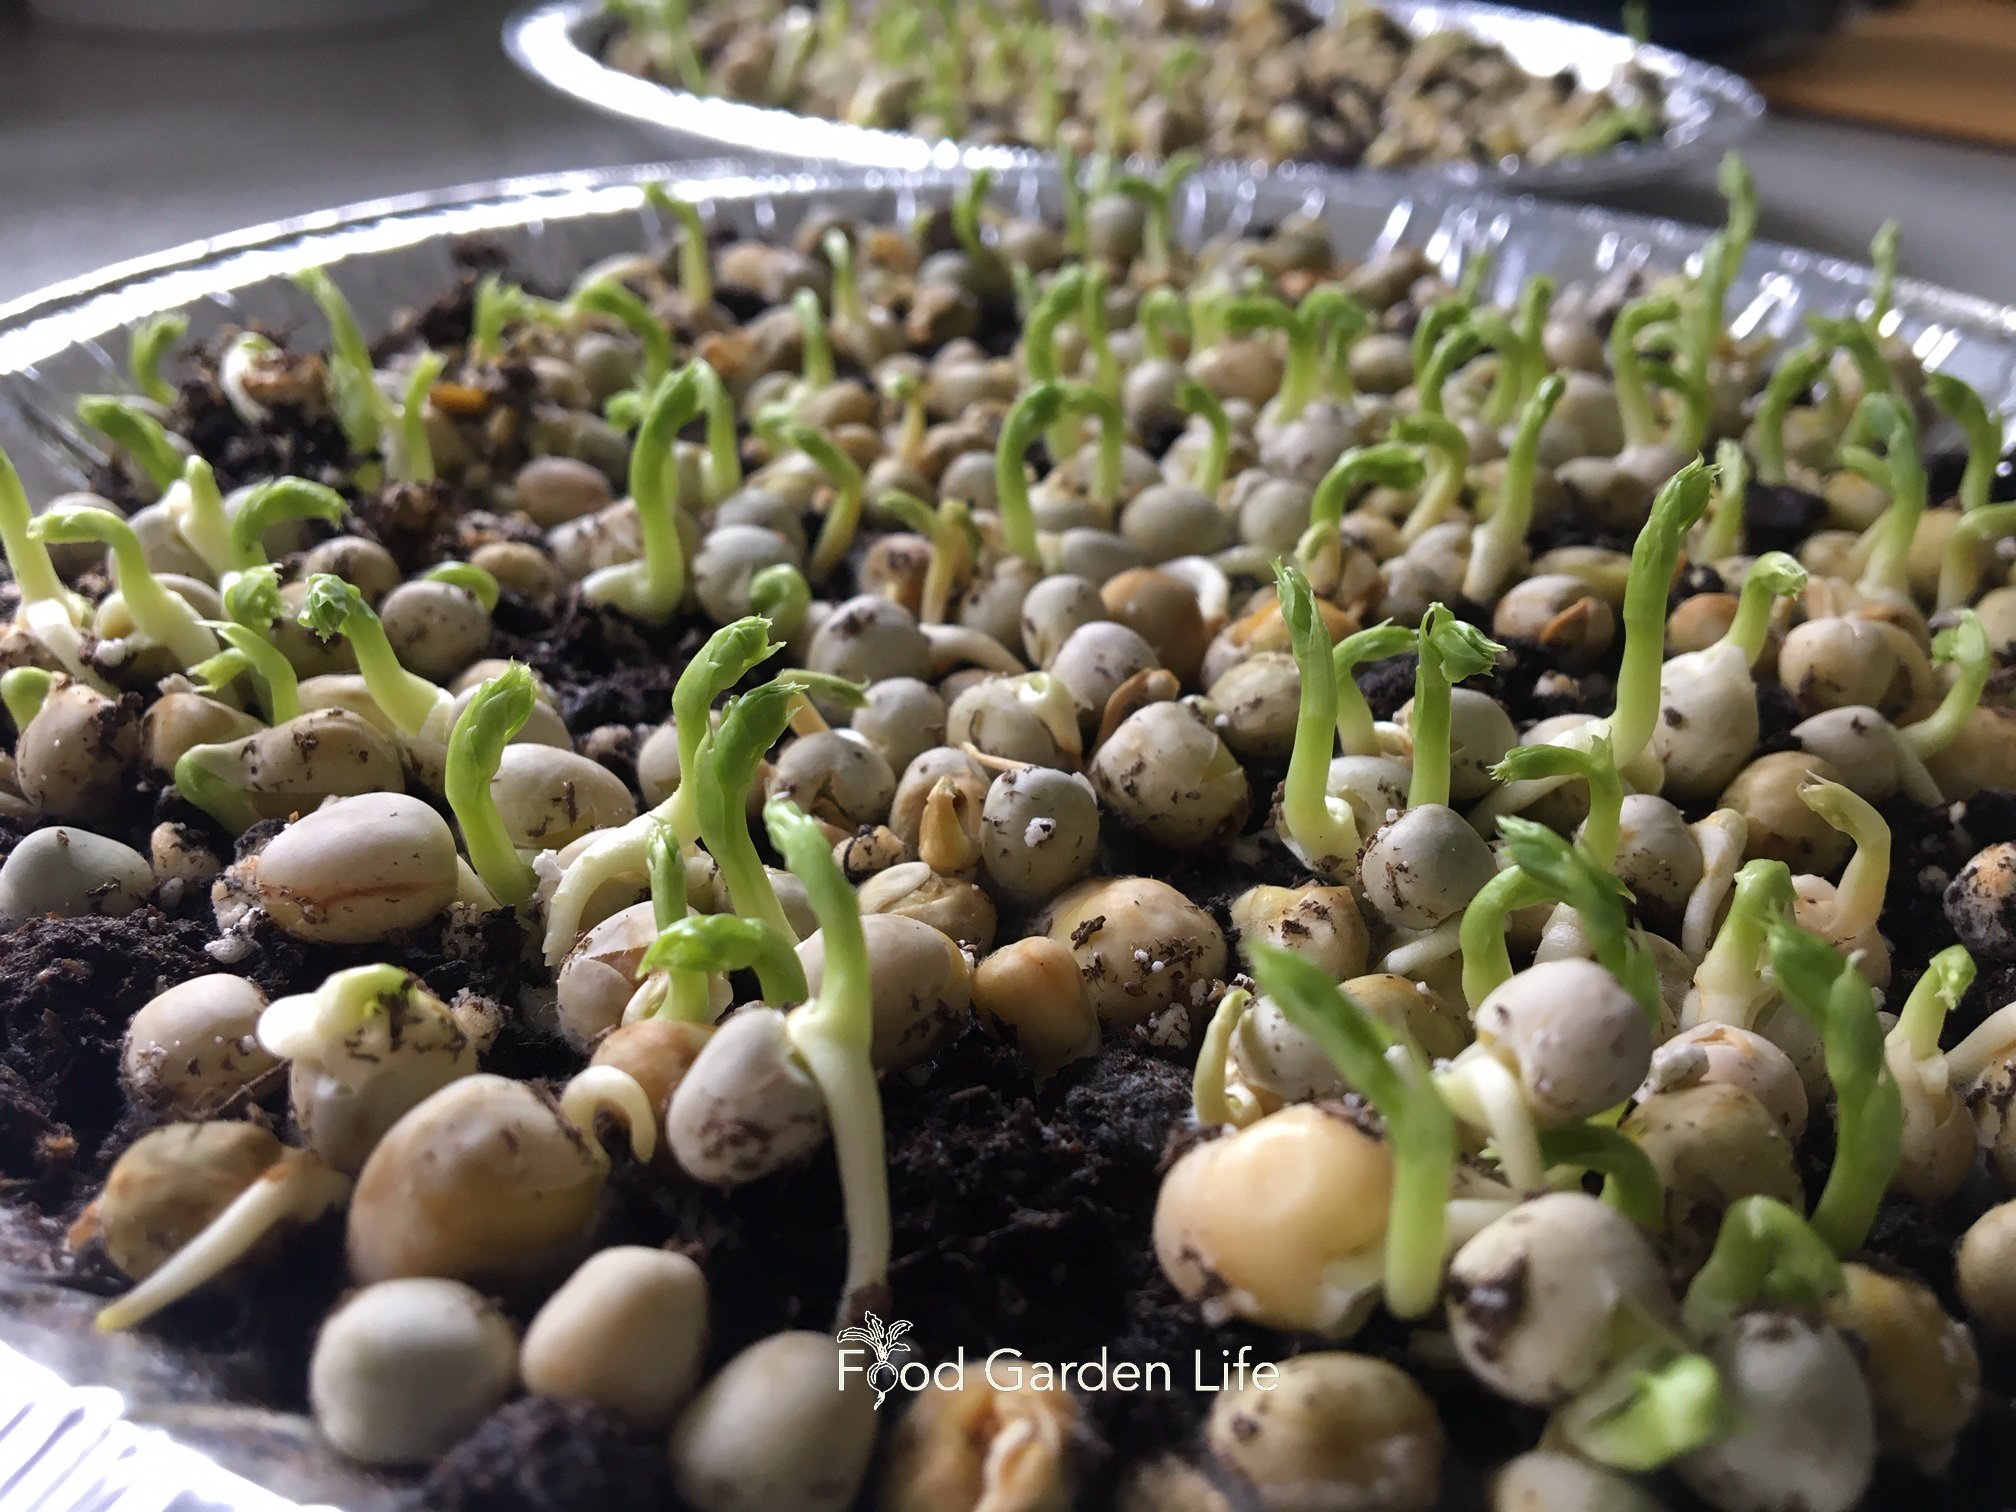
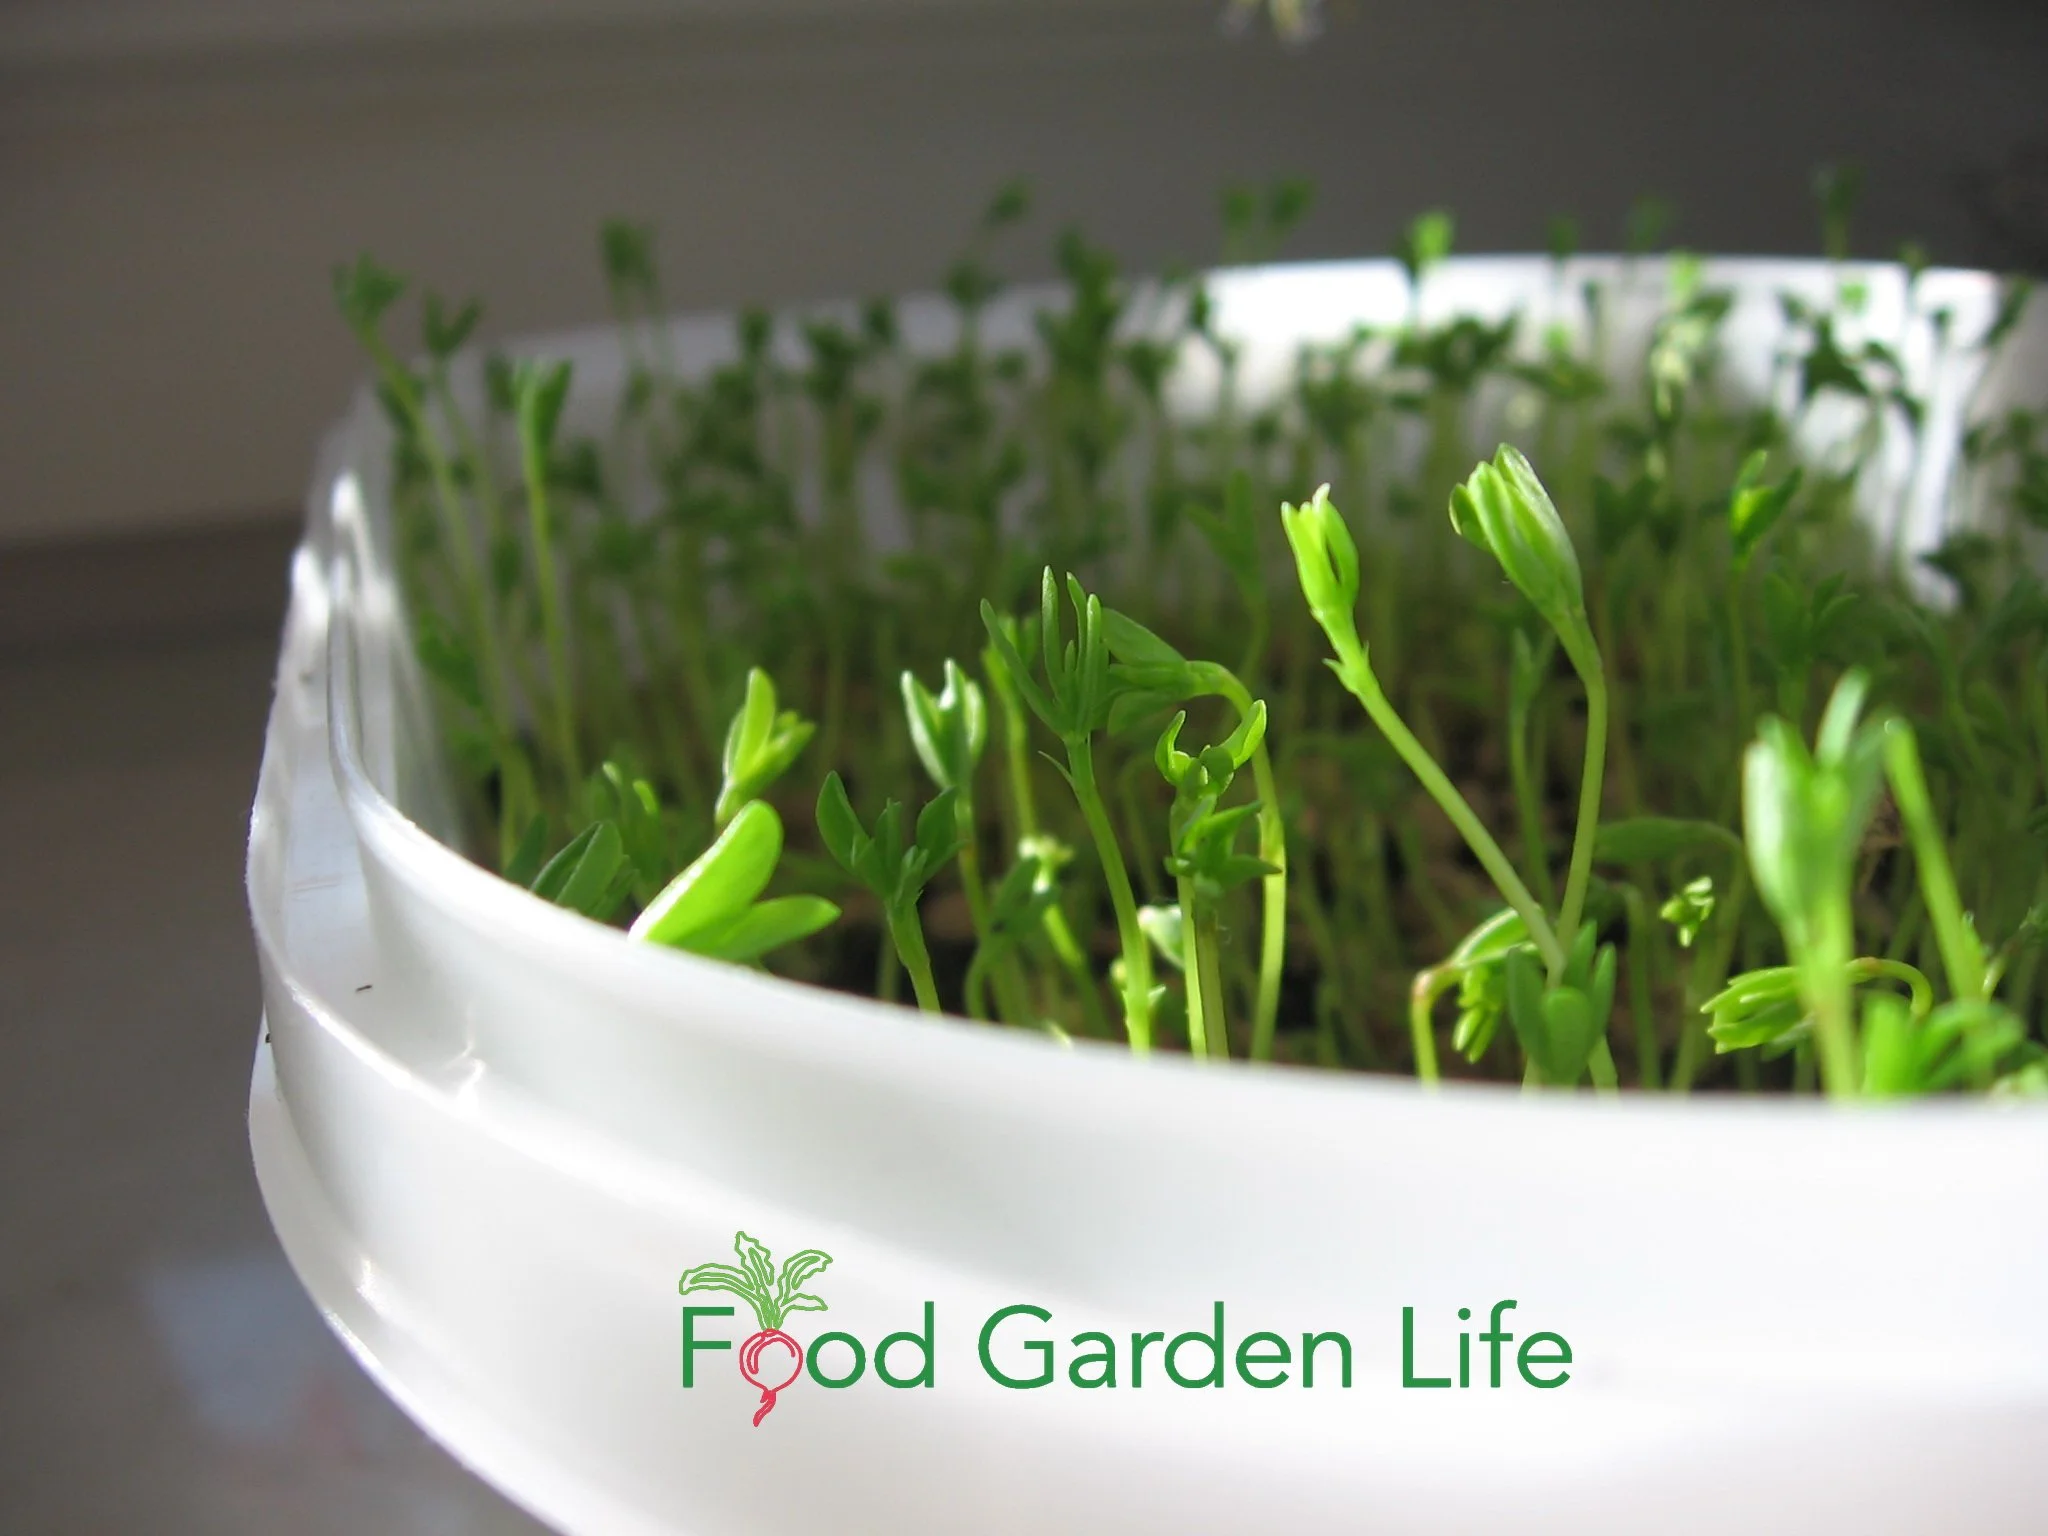
Microgreens are immature plants. Here are young pea microgreens, not yet ready to harvest.
Microgreens are immature plants. They’re often vegetable or herb plants. There are a few other fun ones, like sunflower and corn (deliciously sweet!)
They’re harvested while the plants are small and the stems still tender. Harvesting means cutting off the tops. Seems brutal, but it’s a short-term crop.
Why Grow Microgreens?
They’re easy to grow, quick to mature, and inexpensive: A perfect indoor crop for home gardeners.
I have a big garden, with lots to harvest into the fall and early winter. But microgreens are my go-to green crop for winter. When I want a green salad mid-winter, instead of lettuce or other leafy greens, I chop up microgreens.
If you’re already a microgreen connoisseur, another reason to grow microgreens at home is that you can grow microgreen crops you won’t find at the grocery store.
Grow microgreens with different tastes:
Spicy (e.g. radish)
Sweet (e.g. pea)
Bitter (e.g. lentil)
Nutty (e.g. sunflower)
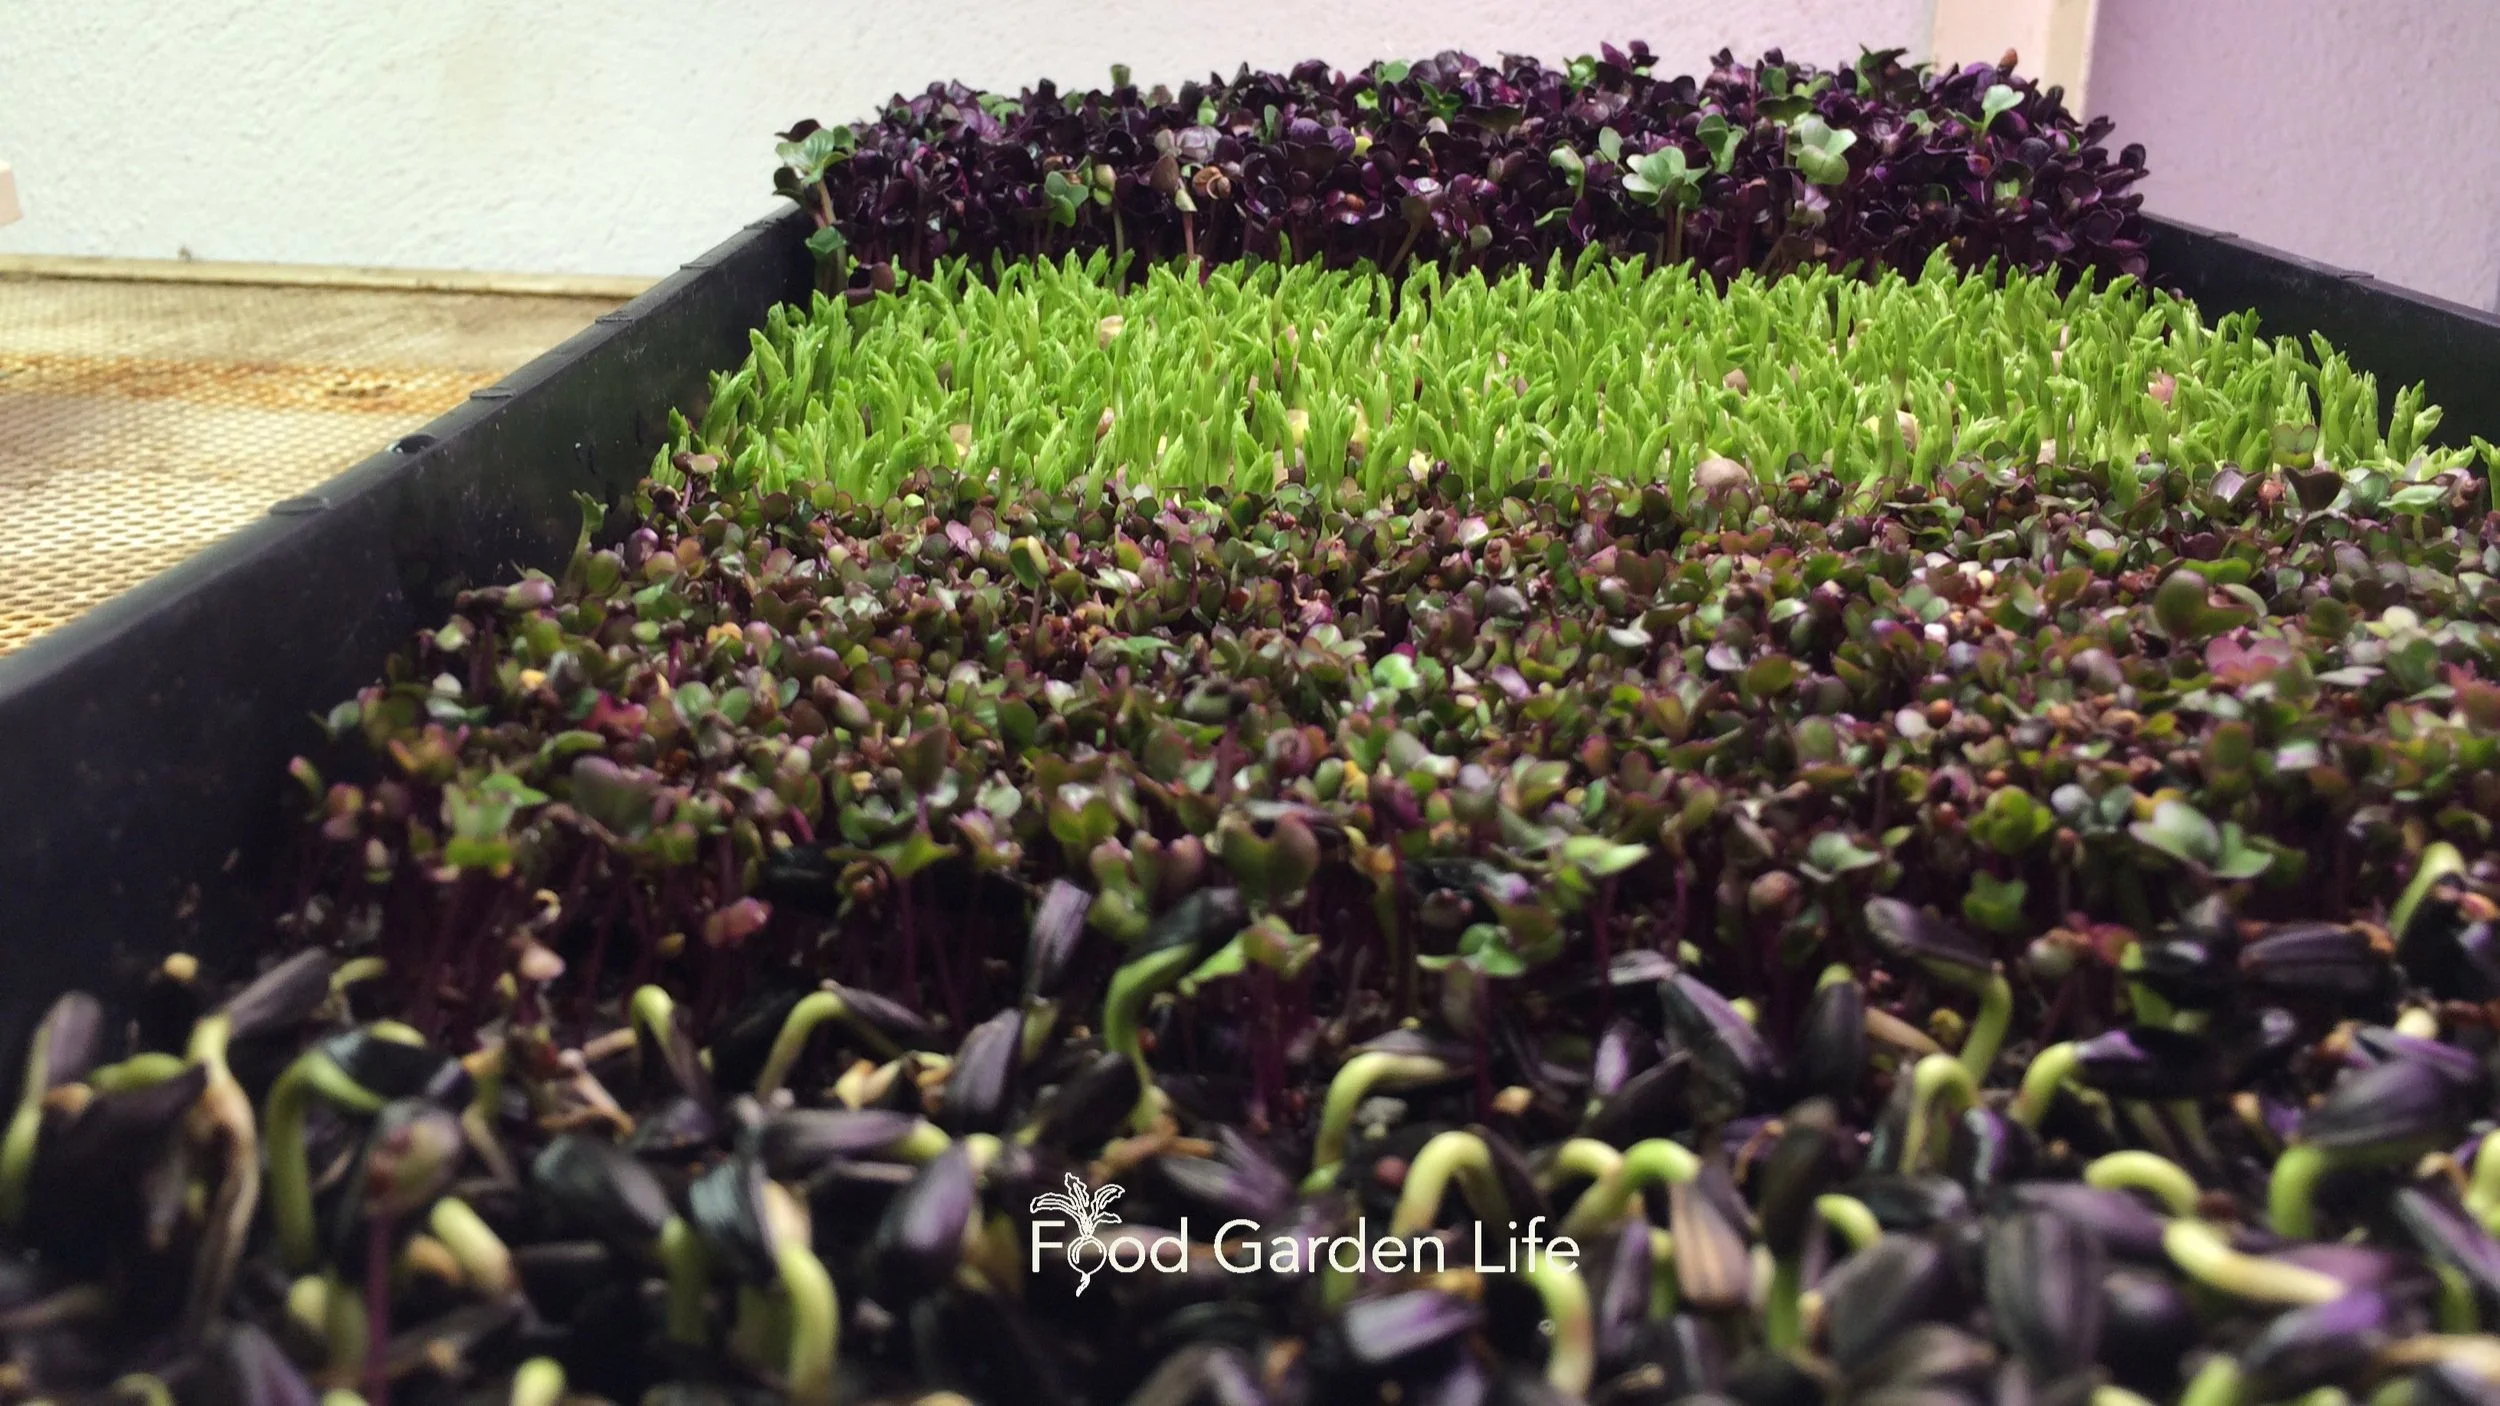
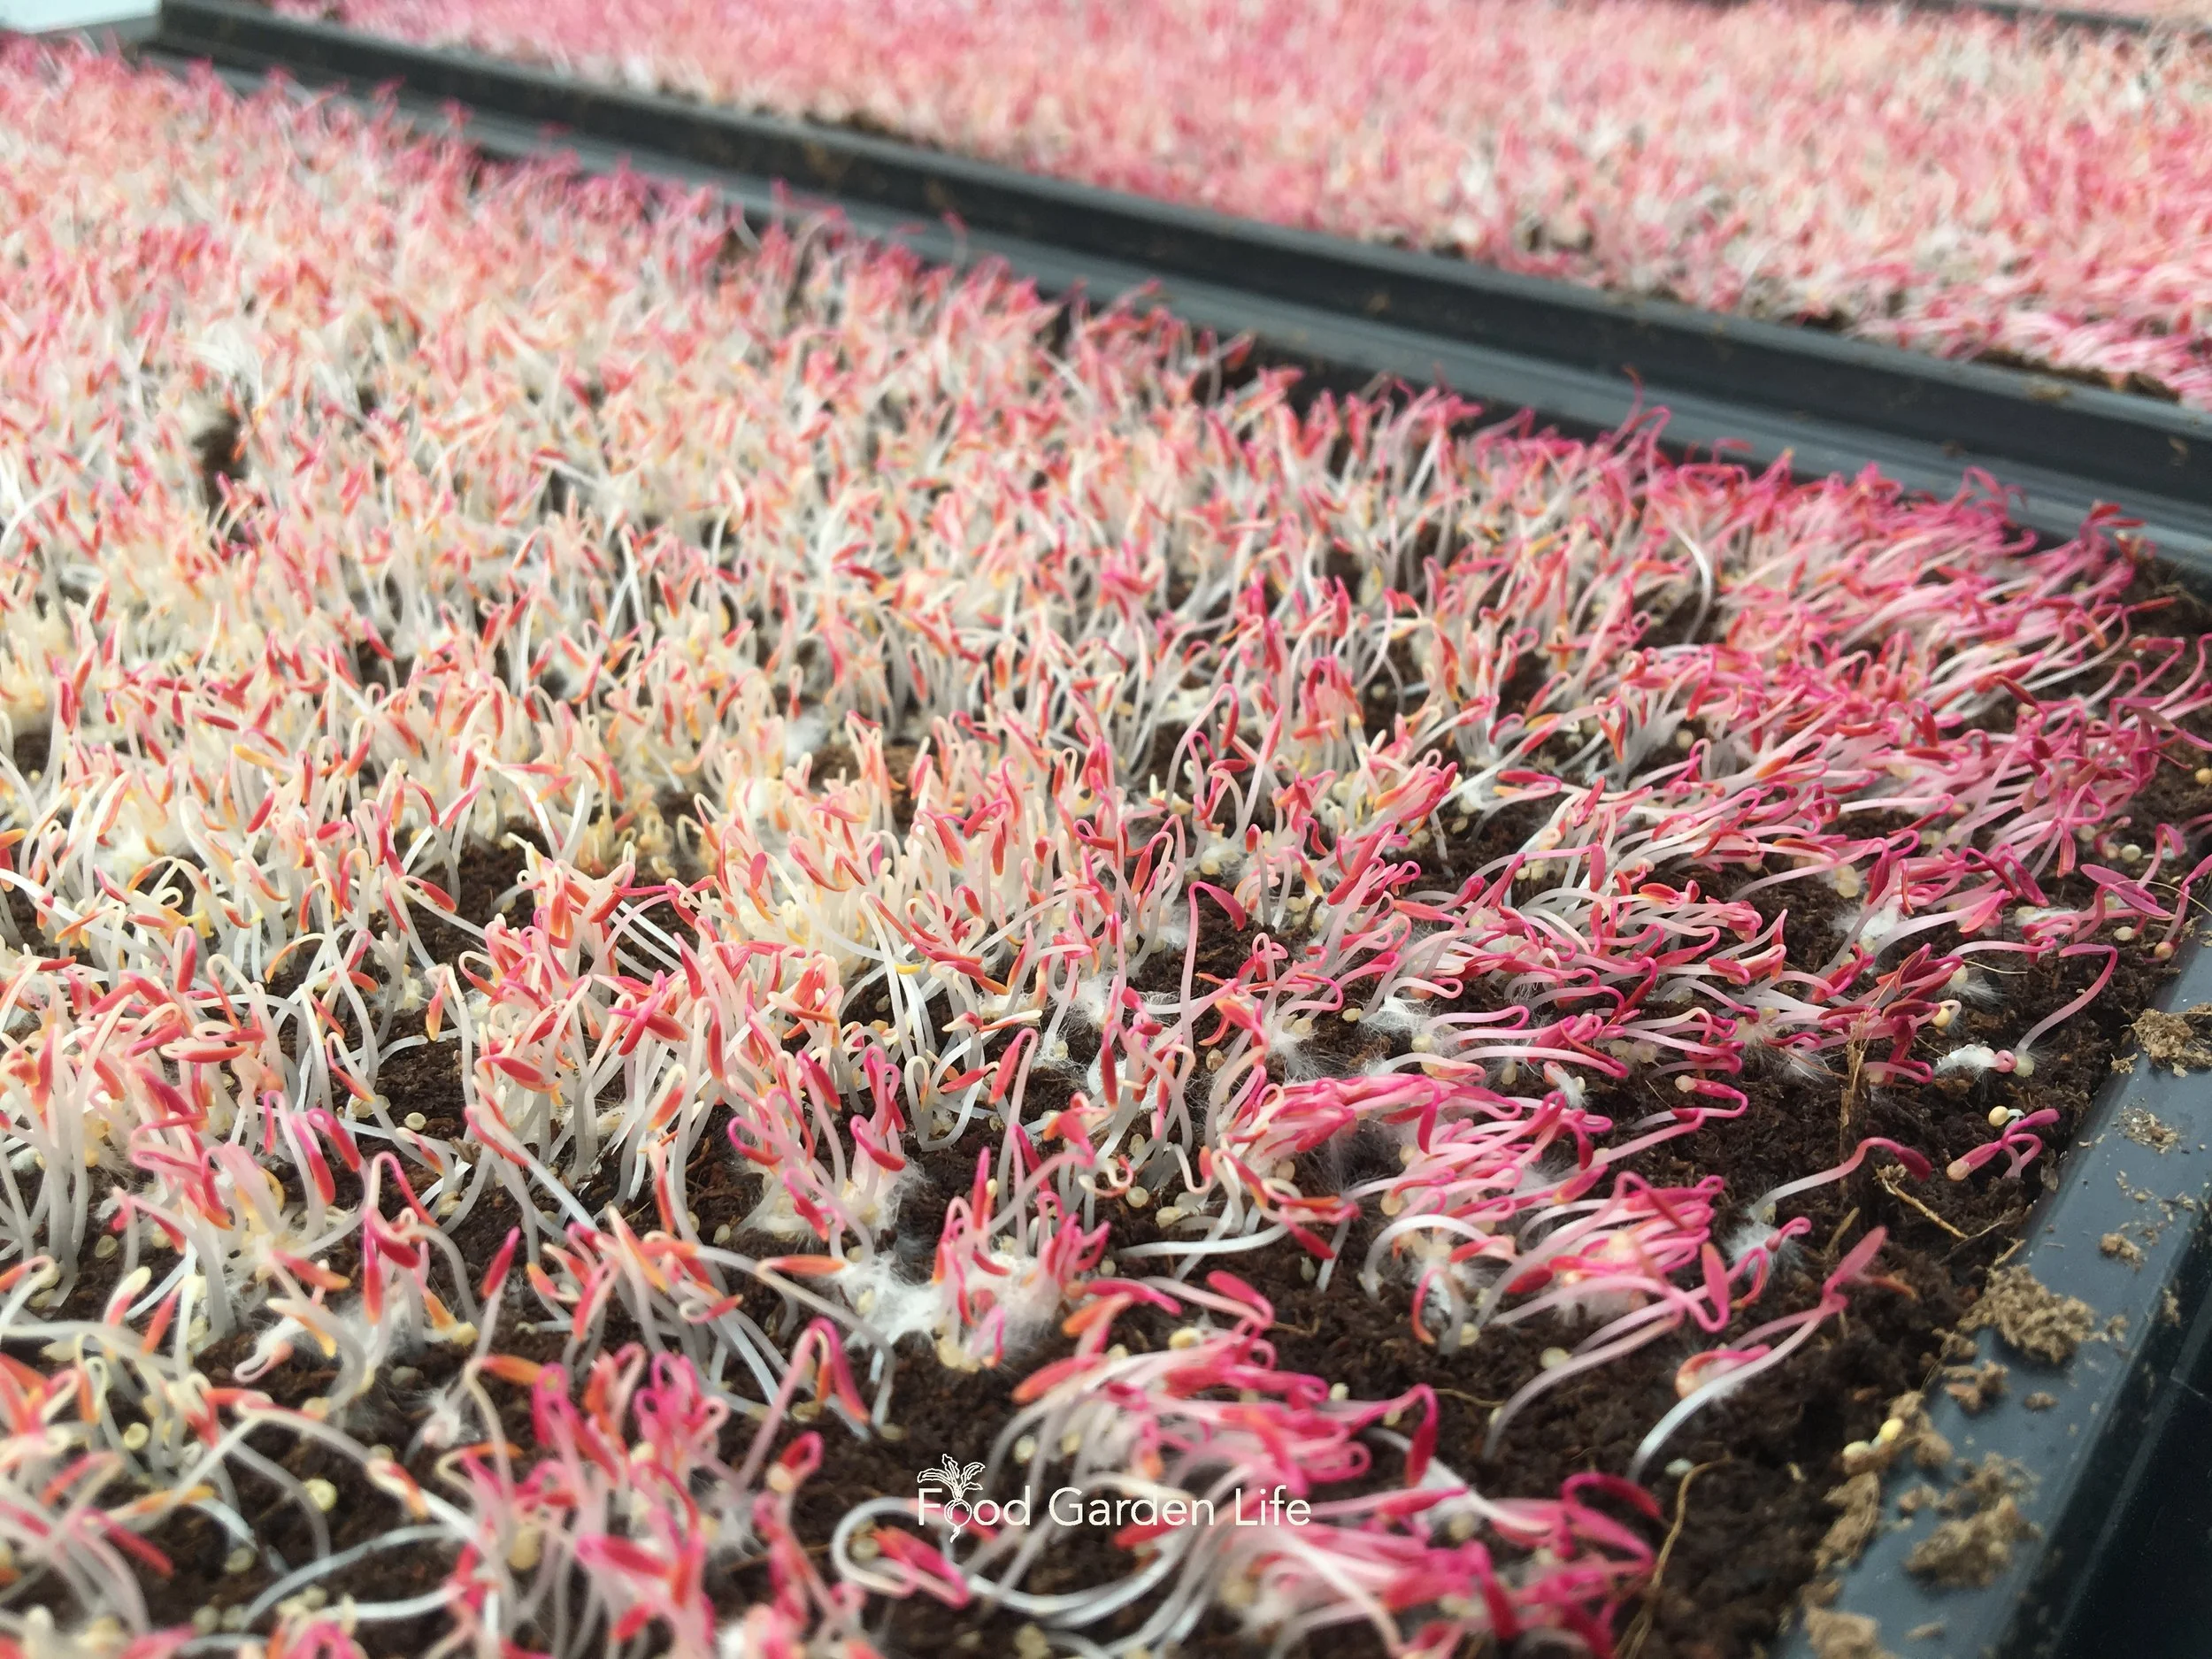
A colourful tray of fresh microgreens.
And microgreens with different colours:
Light green
Dark green
Red
Purple
Crops for Home Microgreens
There are many different plants suited to a crop of microgreens, including vegetables, herbs, flowers—and others, like some common field crops!
Before you grow something into a microgreen, make sure it it’s edible. I’ve listed many microgreen crops below. If in doubt, see what seed vendors sell for microgreens.
Vegetable Seeds for Microgreens
Here are vegetables that are commonly grown as microgreens:
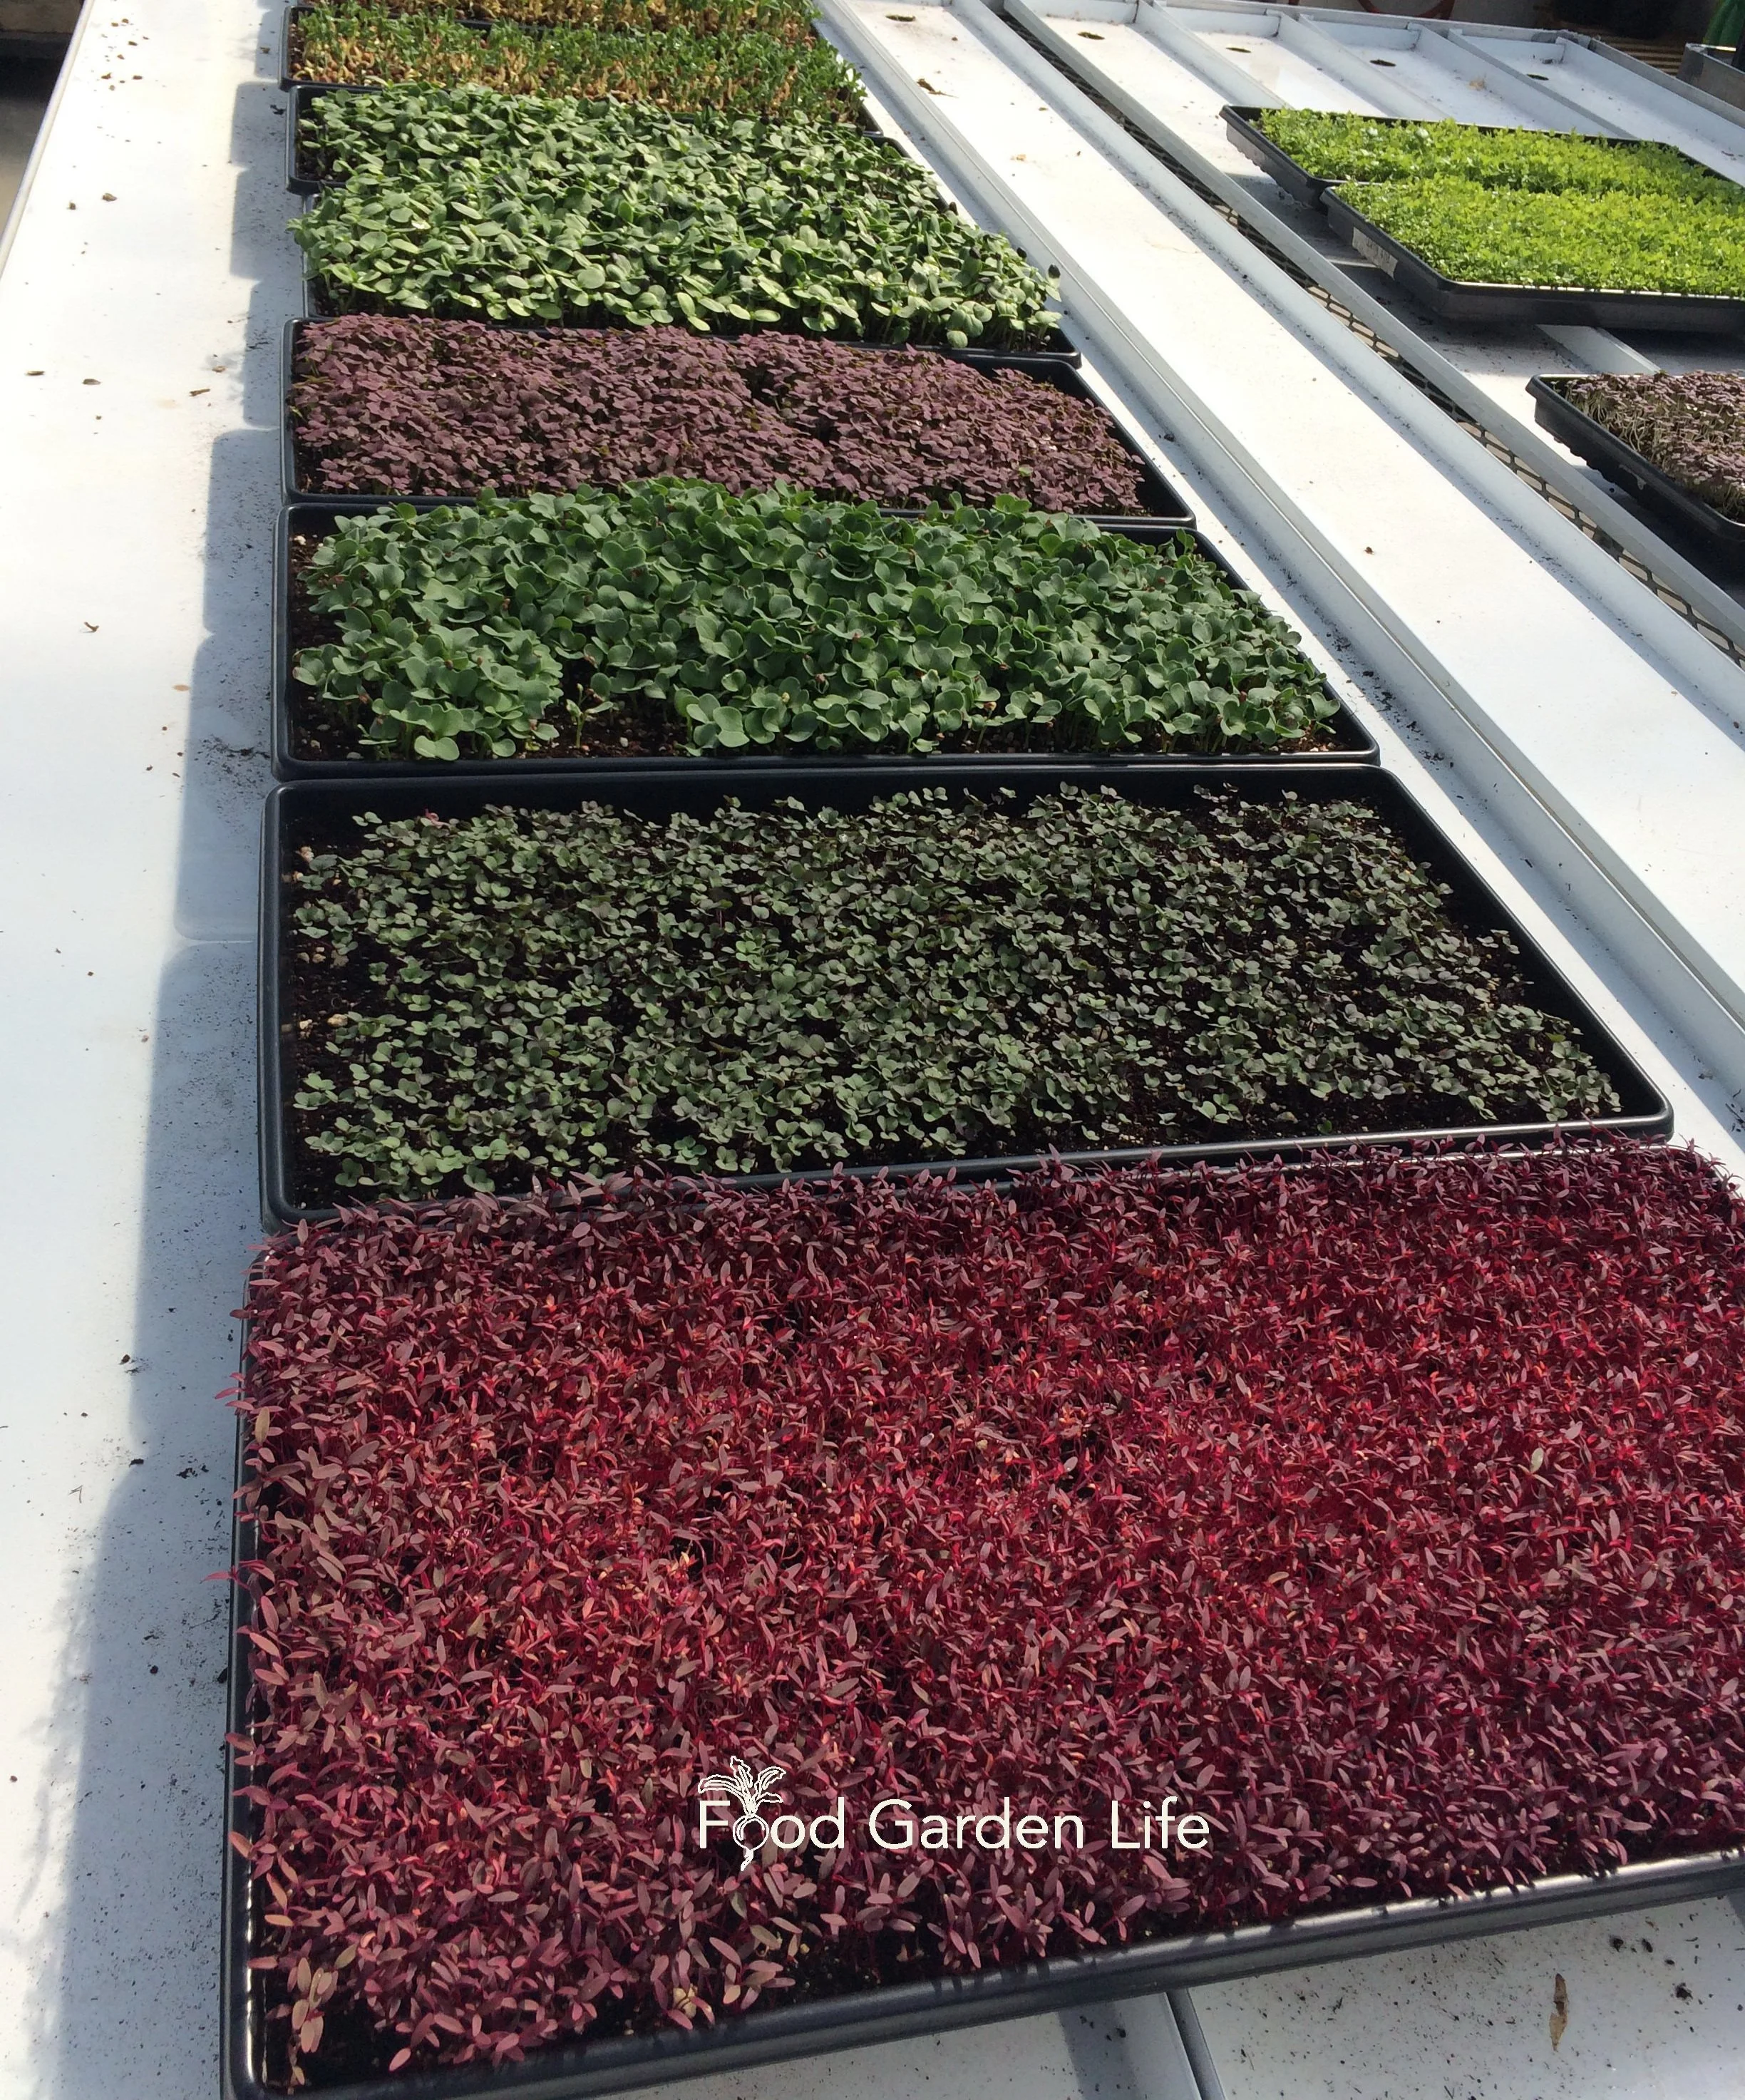
Grow microgreens from many different types of seed, giving you different tastes, textures, and colours.
amaranth, arugula, beet, broccoli, cabbage, carrot, chard, cress, dandelion, kale, kohlrabi, mizuna, mustard, onion, orach, pac choi, pea, radish, tatsoi, watercress
Herb Seeds for Microgreens
Here are herbs that are commonly grown as microgreens:
basil, cilantro, dill, fennel, lemon balm, parsley, shiso, sorrel
Flower Seeds for Microgreens
Here are flowers that are grown as microgreens:
borage, celosia, marigold, sunflower
Field Crop Seeds for Microgreens
Here are field crops that can be grown as microgreens:
alfalfa, barley, clover, chickpea, corn, lentil, quinoa, wheat
Microgreen Seed Mixes
There are also seed mixes with more than one type of microgreen seed, giving a blend of taste and colour.
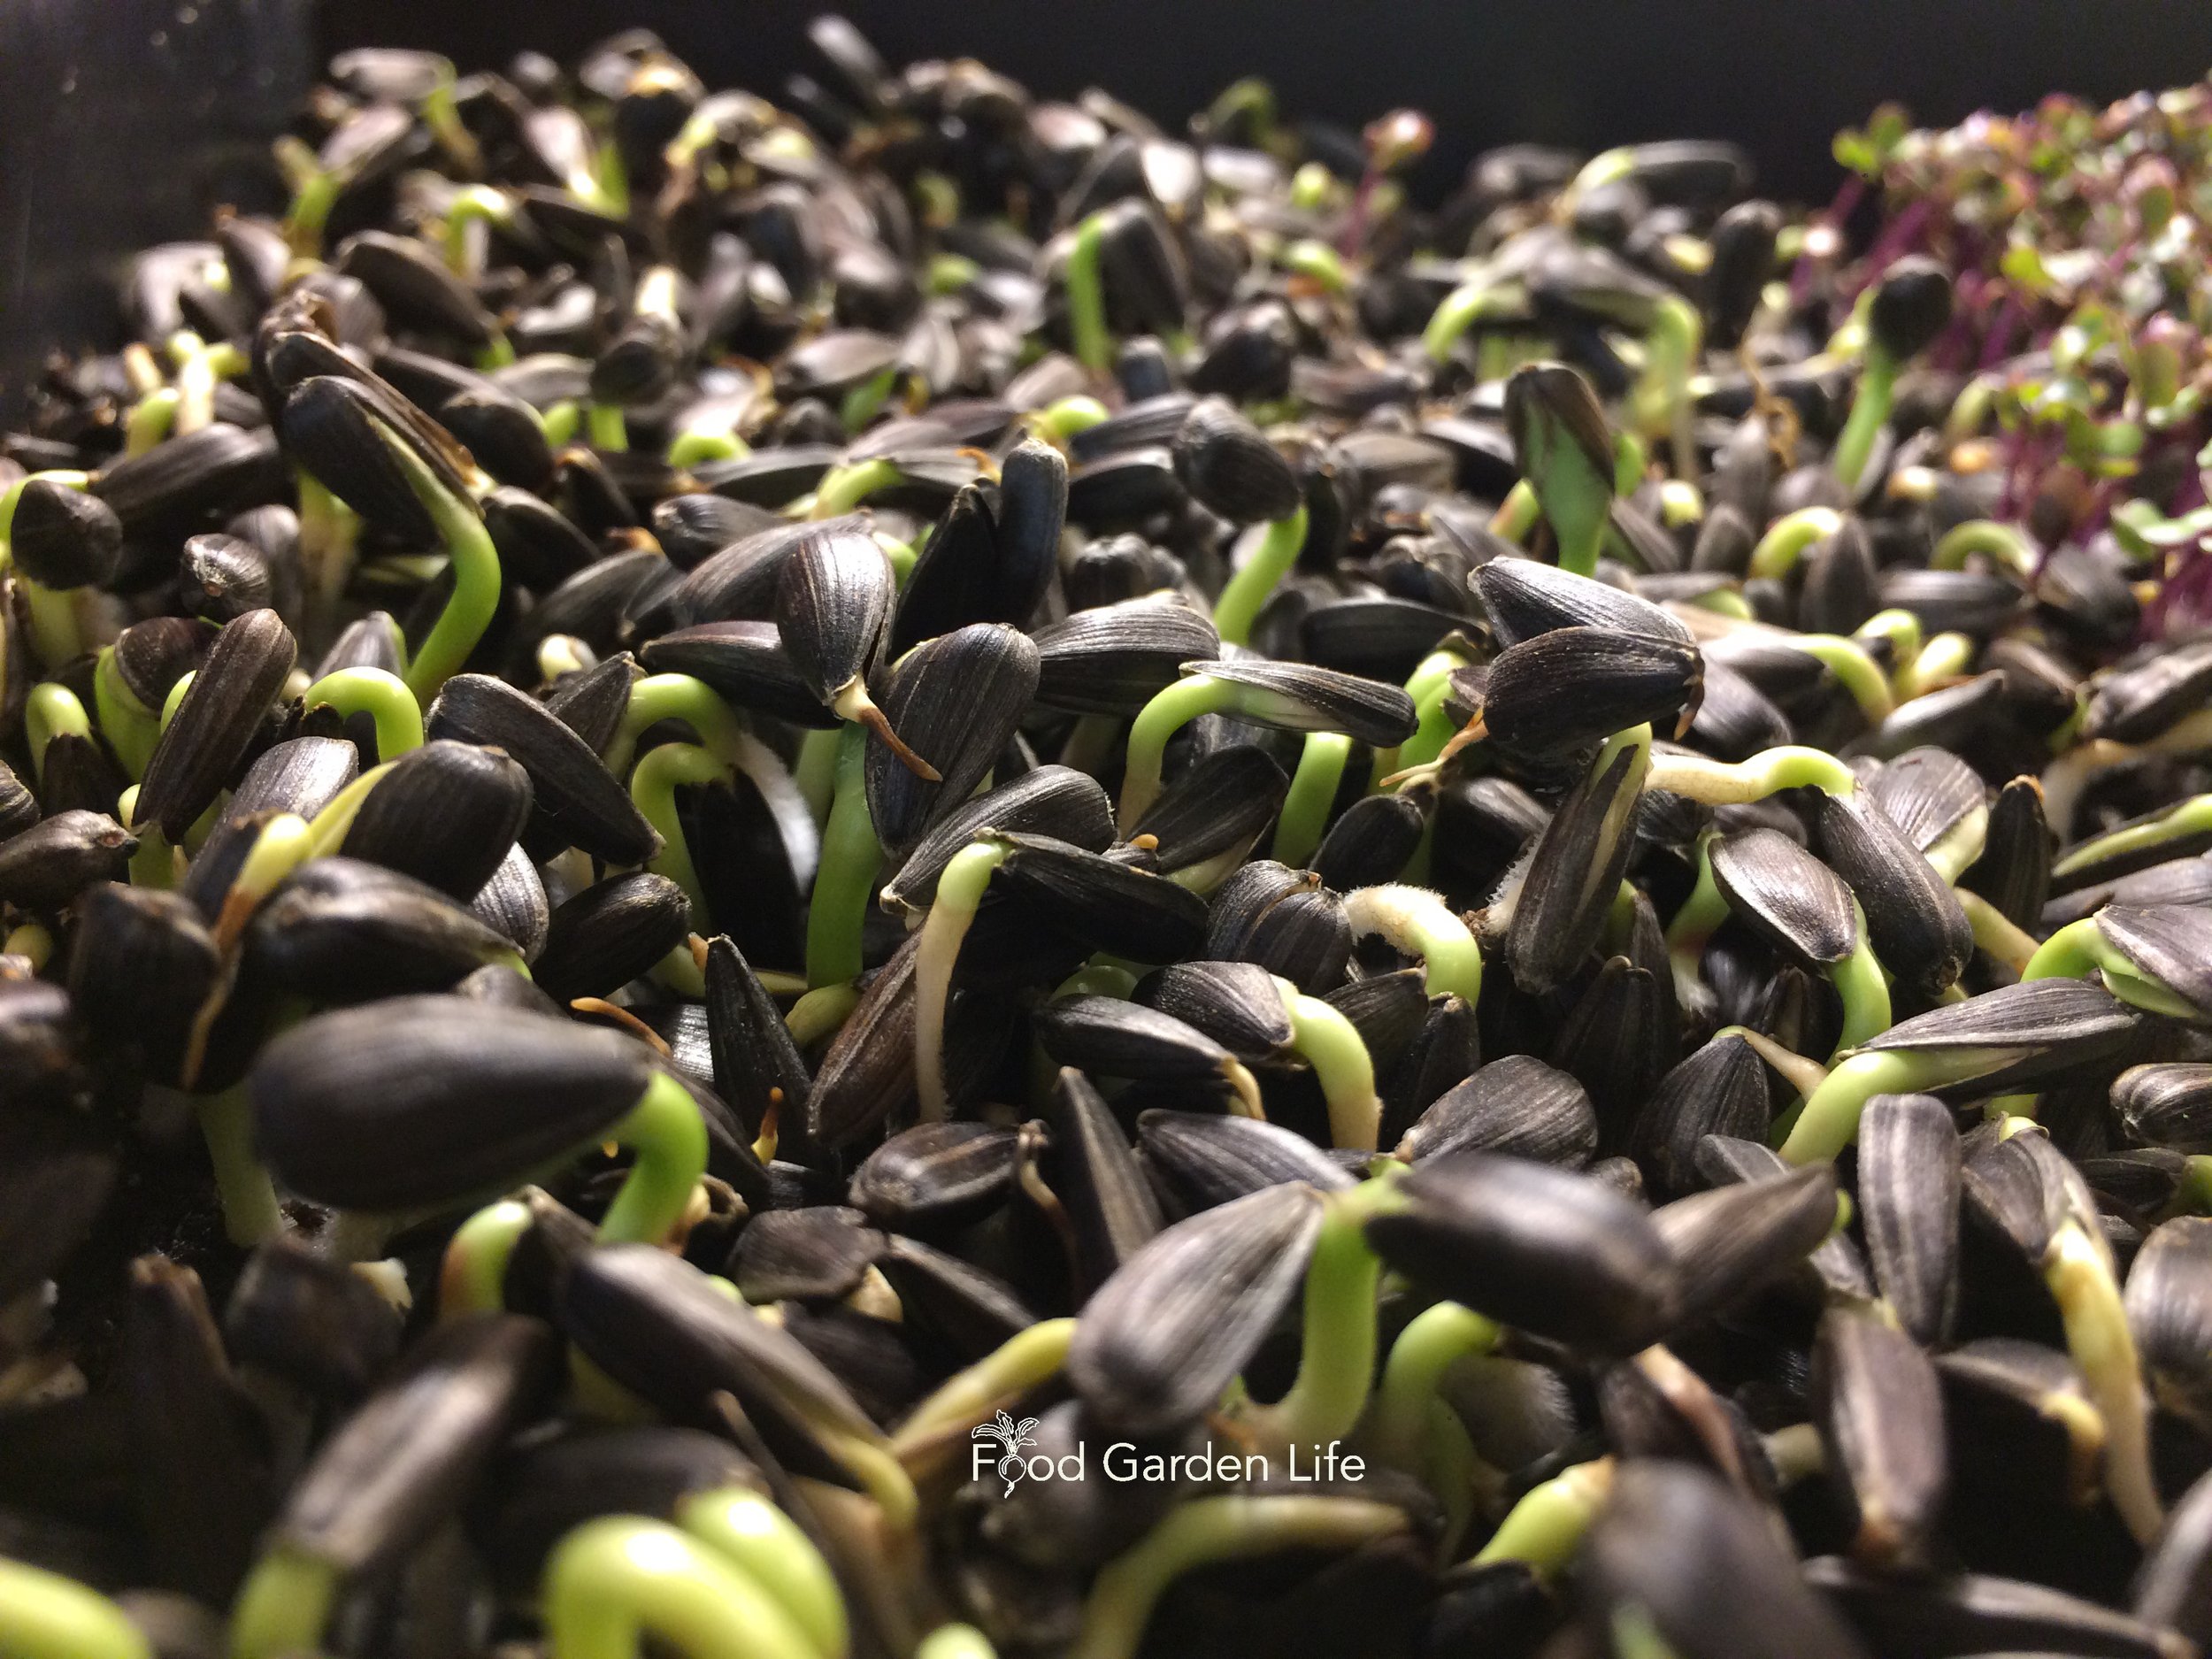
My favourite is pea microgreens—a.k.a. pea shoots. They’re sweet, crunchy, and easy to grow. I also love sunflower microgreens for the delicious nutty flavour. (The husk of the sunflower seed is easy to remove as the sunflower microgreens get bigger.)
Buying Microgreen Seeds
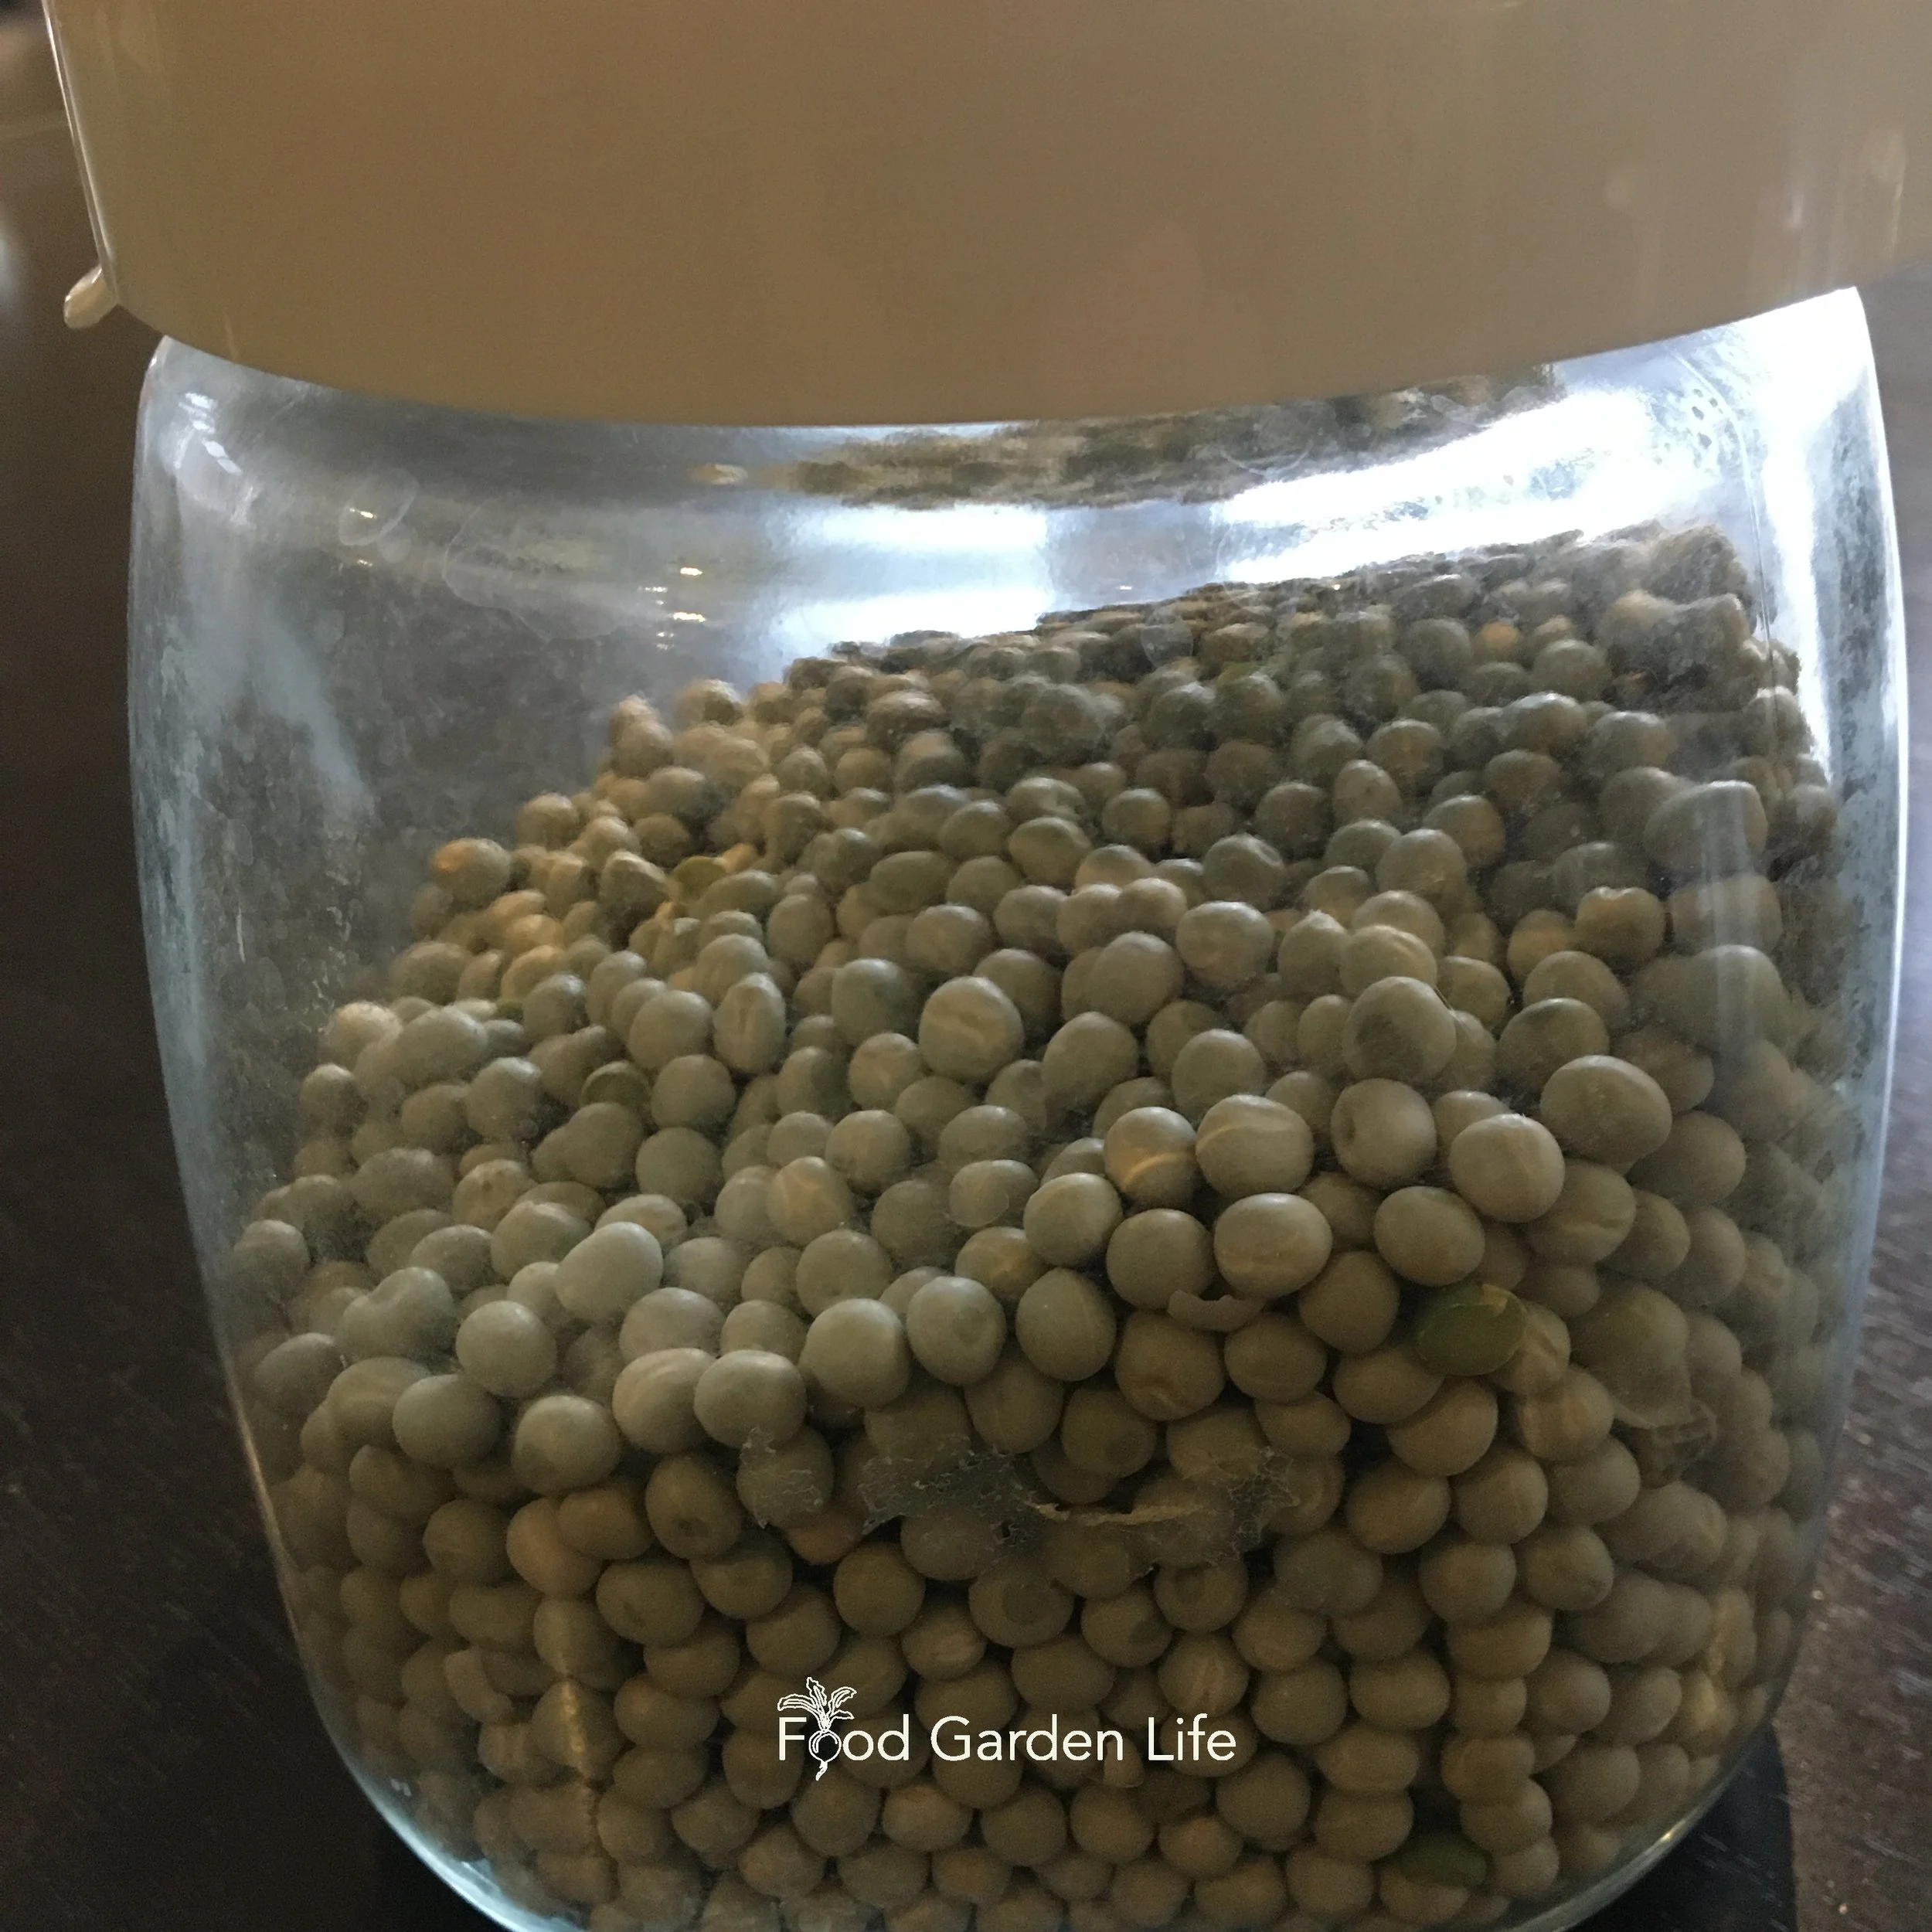
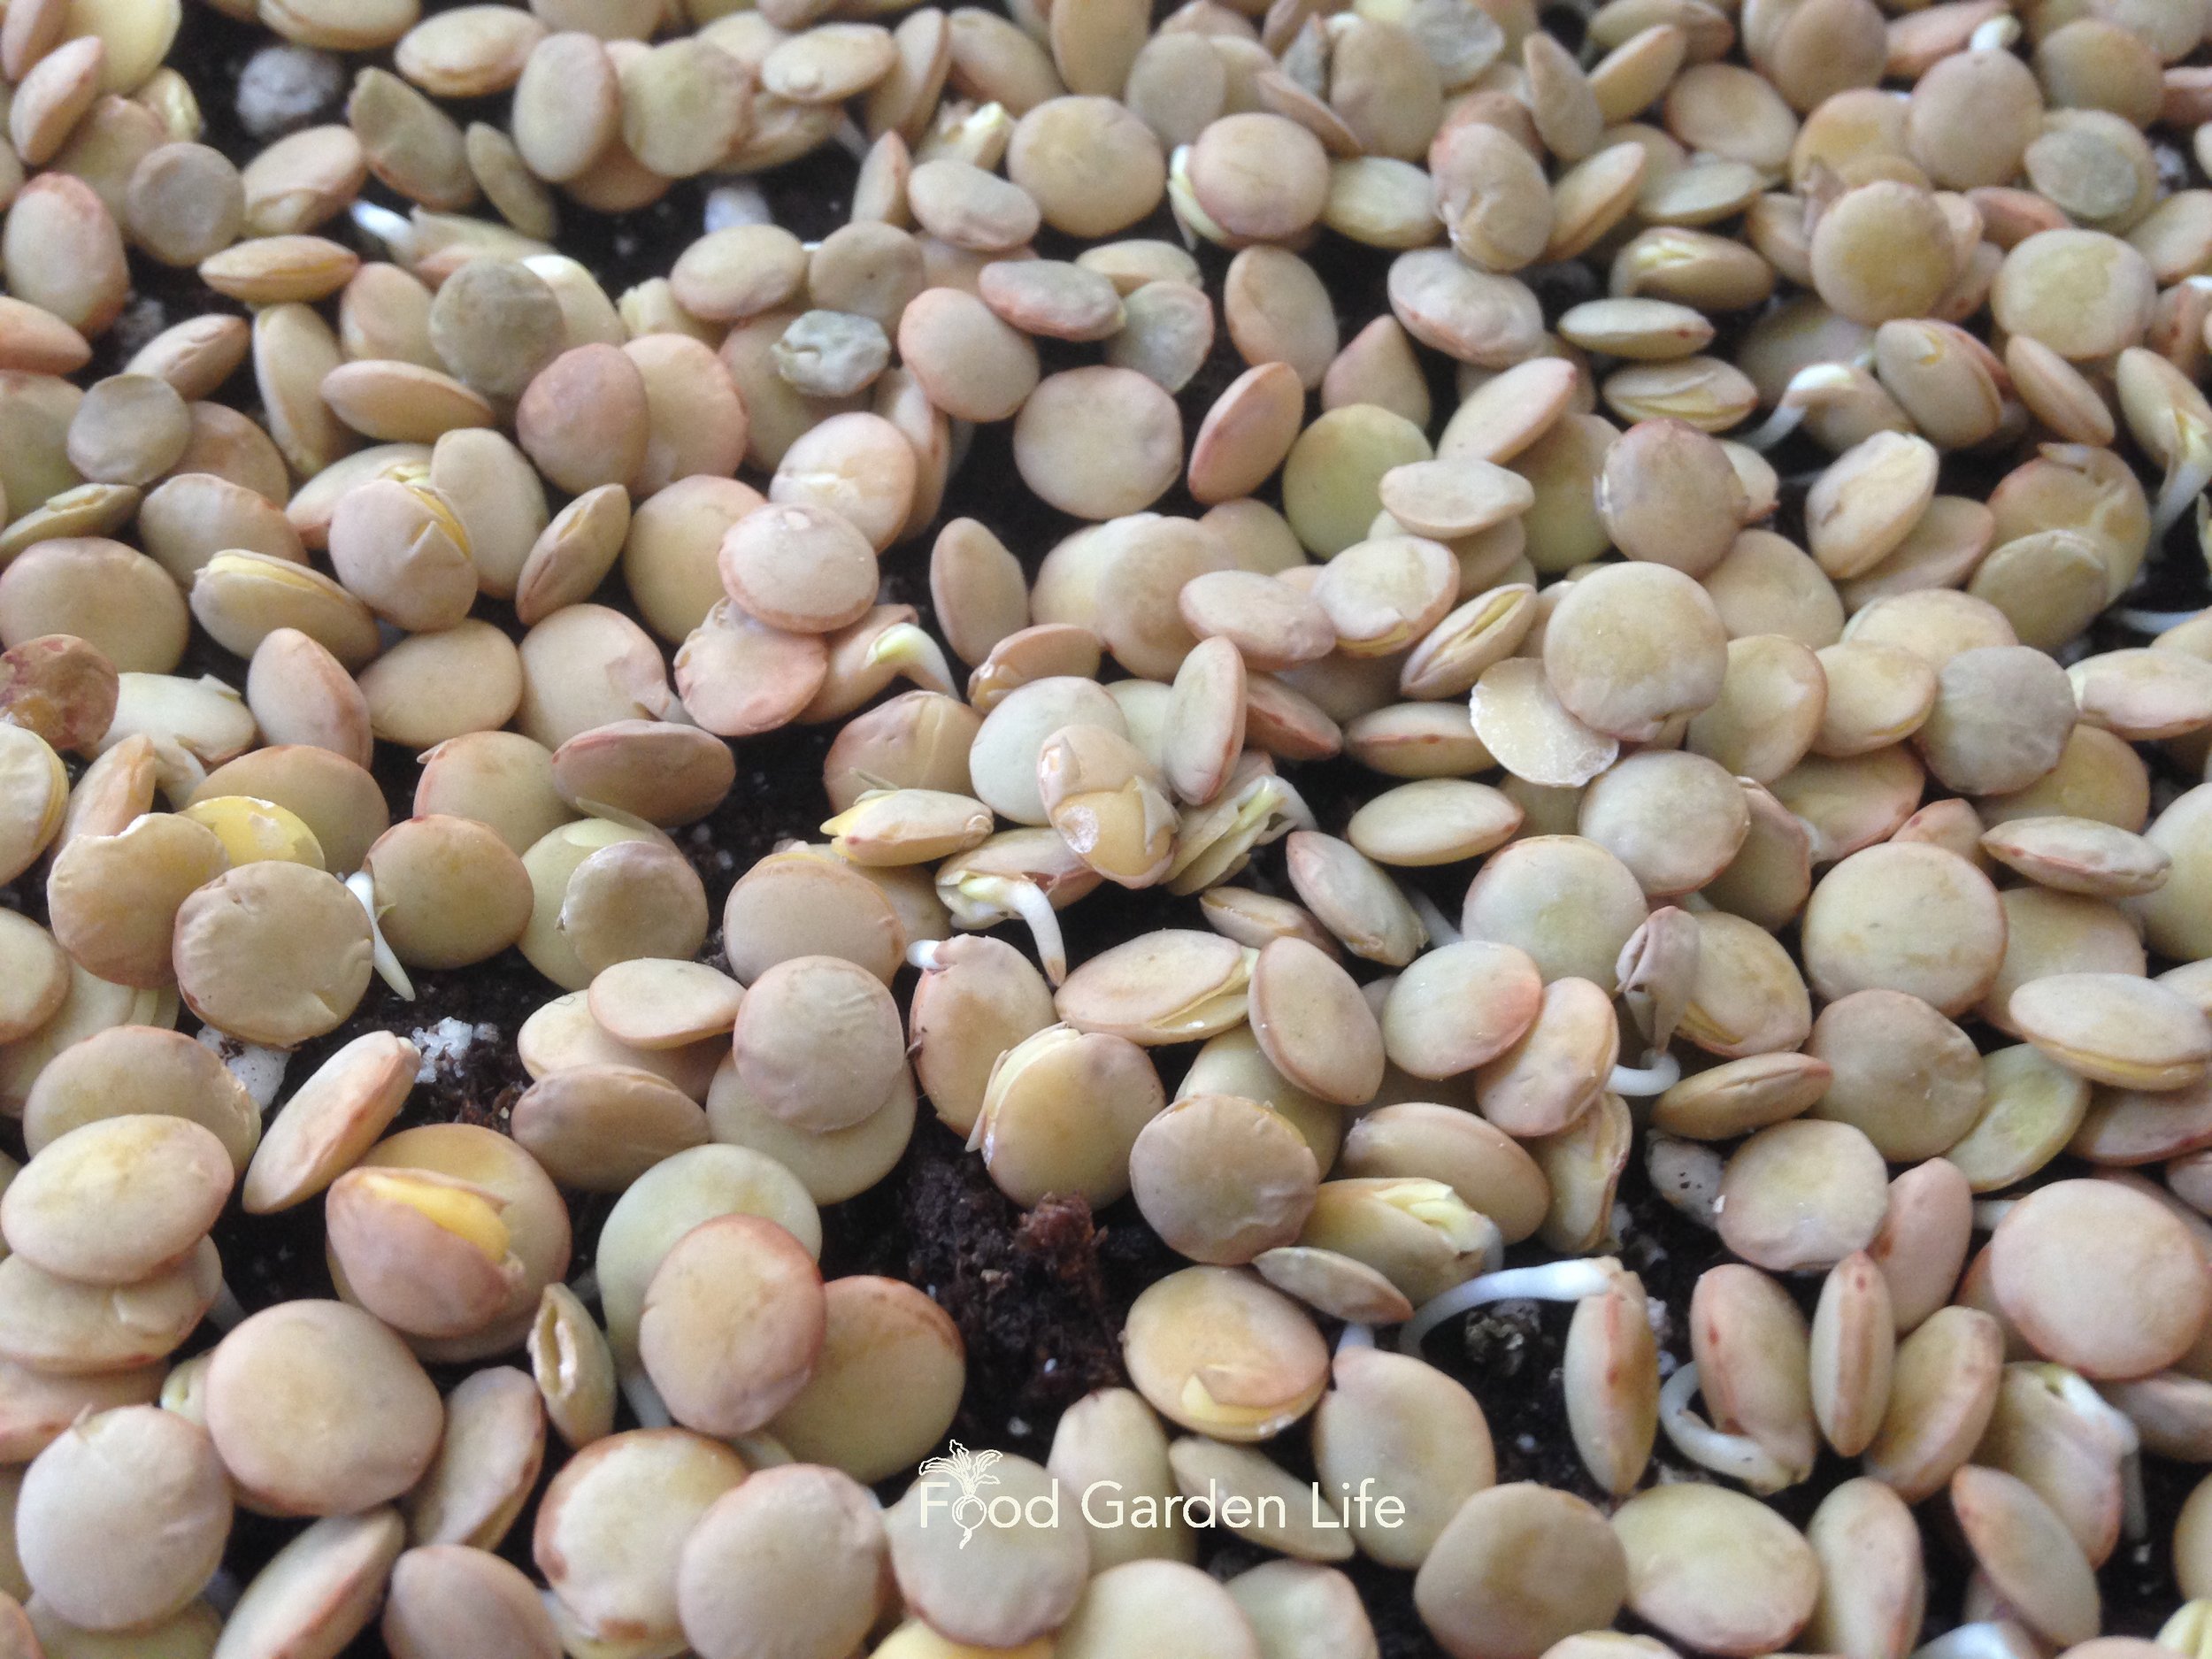
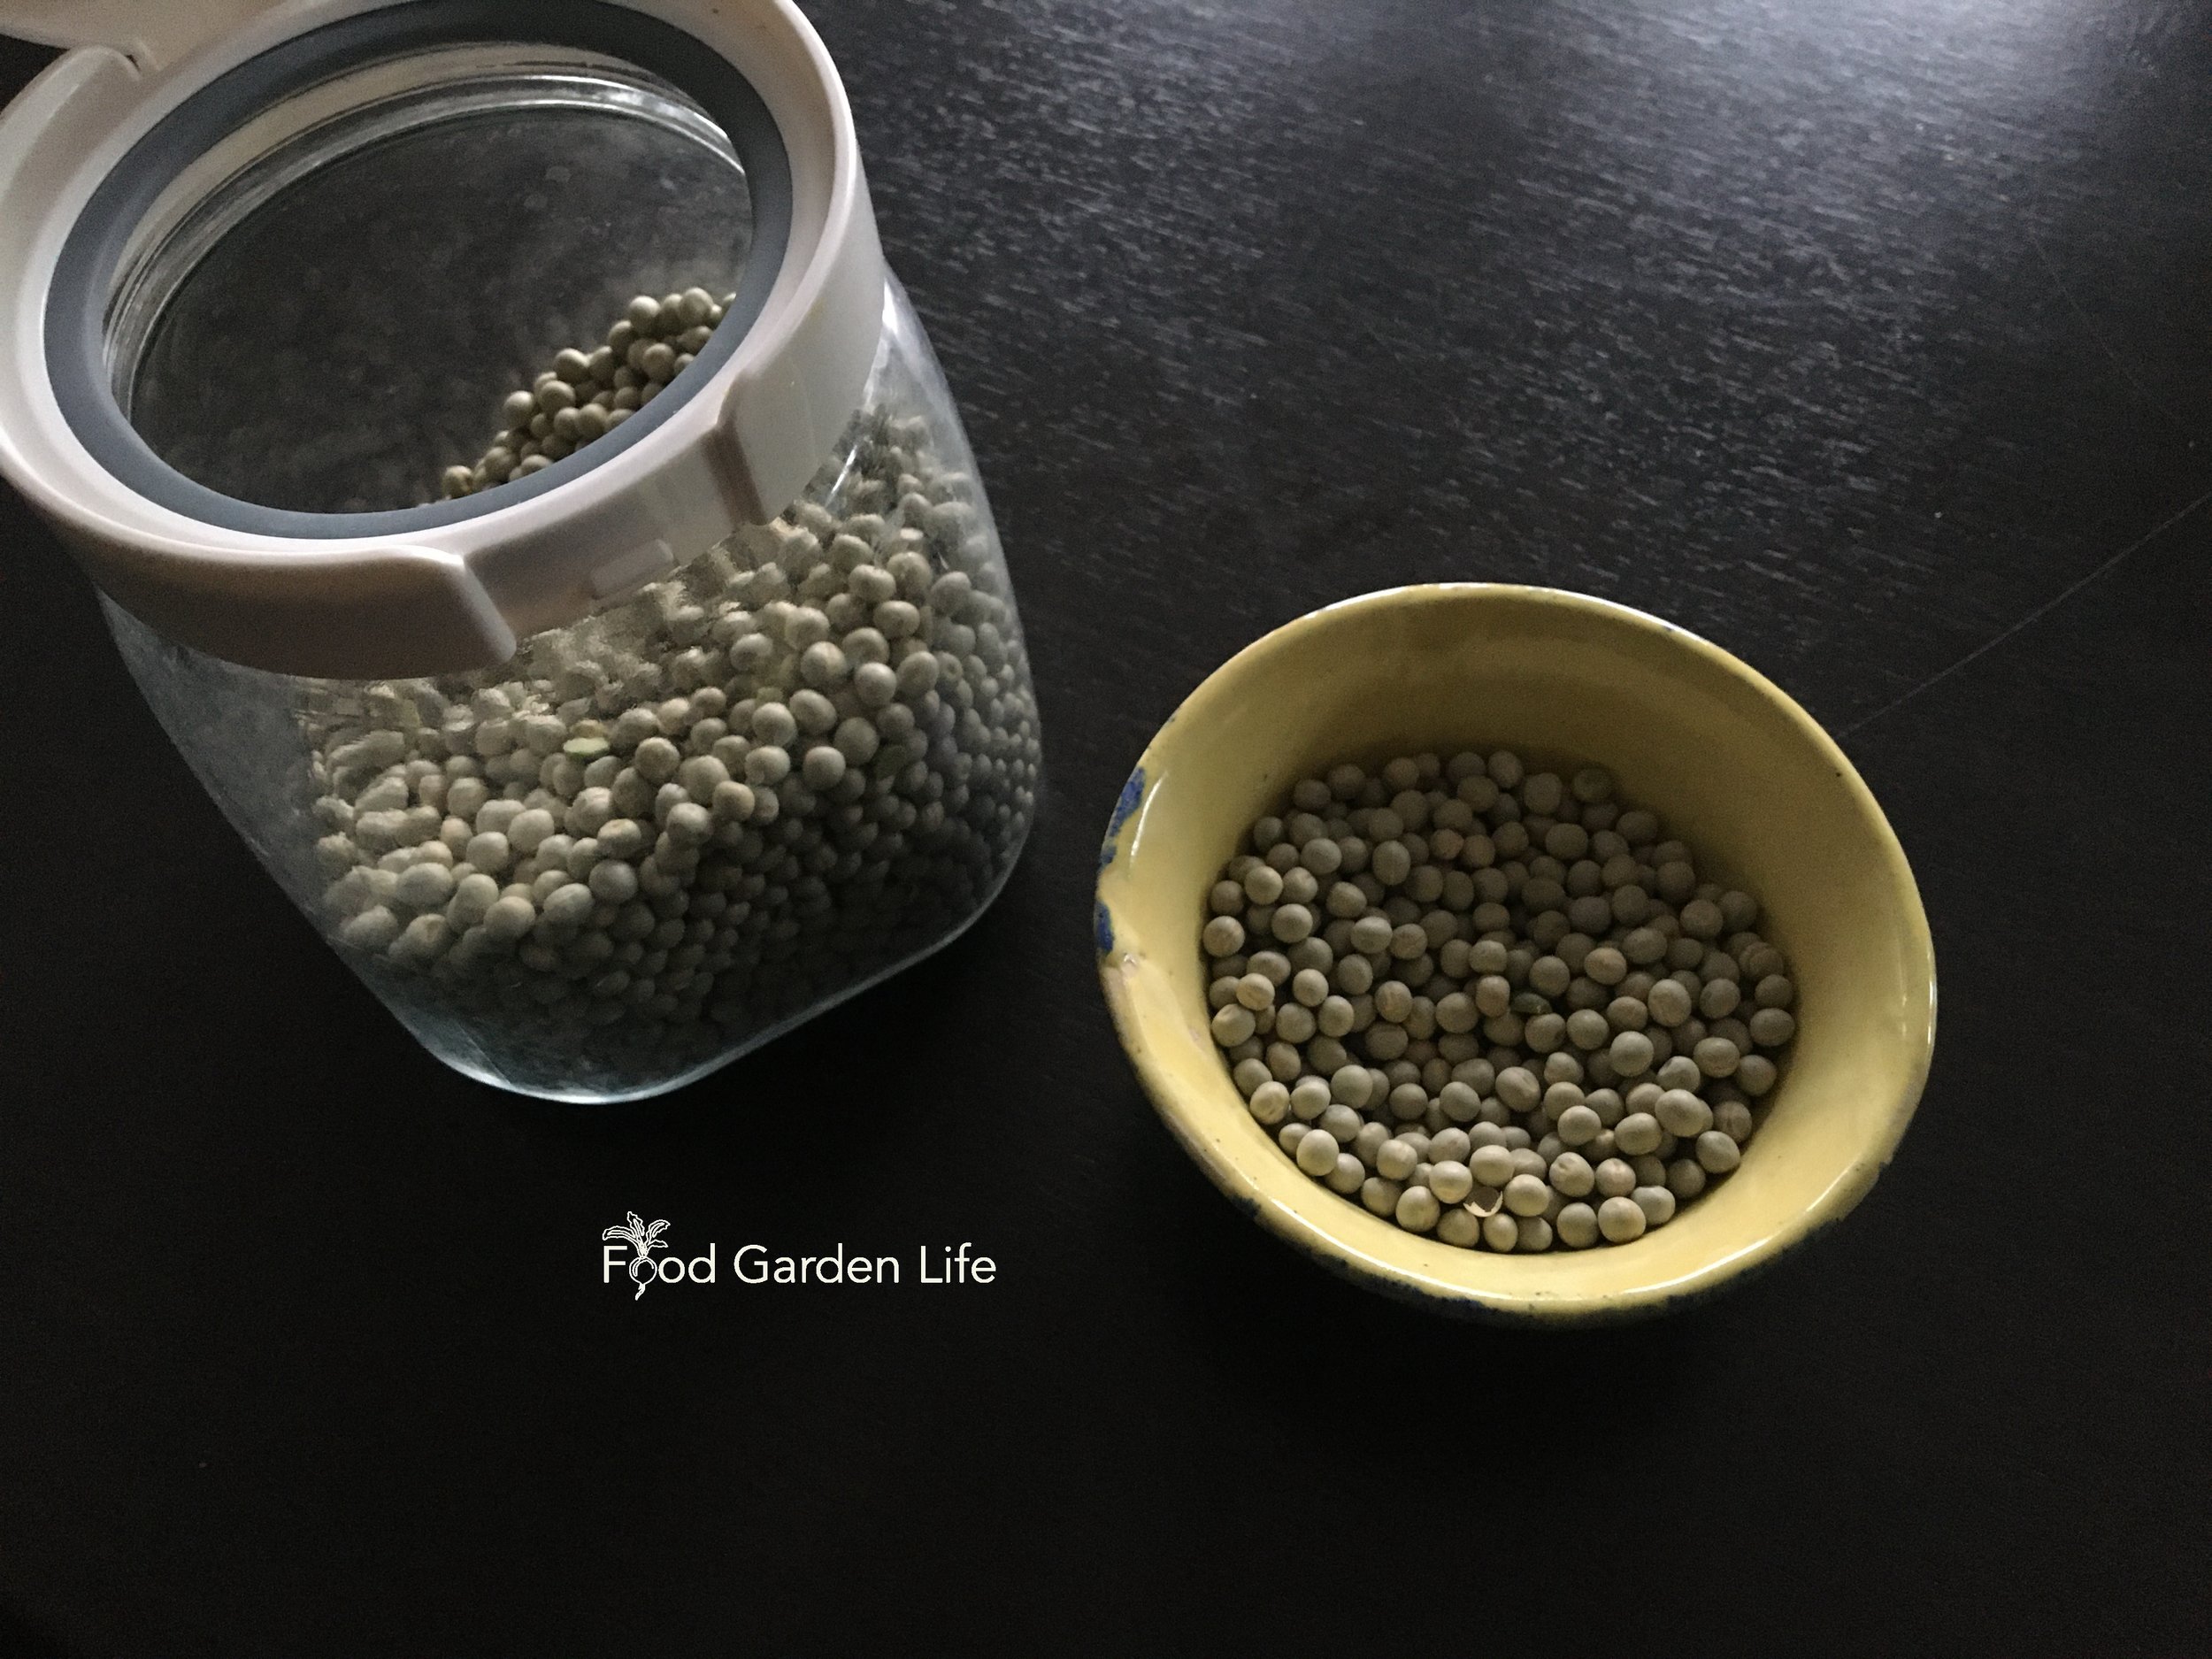
Dried green peas from the grocery store.
When shopping for microgreen seeds you might come across the interchangeable terms “sprouting seeds” and “microgreens seeds.” It means the seeds are untreated and uncoated. They’re usually sold in a larger volume than seeds intended for the garden—so it’s better value. And in some cases, it means that the seed company tests the seed to be sure there’s no contamination with pathogens.
I use dried peas and lentils from the grocery store—the same dried whole peas used for cooking.
Stick with food grade seeds from the grocery store or seeds sold for microgreens.
Seed sold for planting in the garden is sometimes “treated,” which usually means with fungicides. Treated seed is not suitable for growing into microgreens.
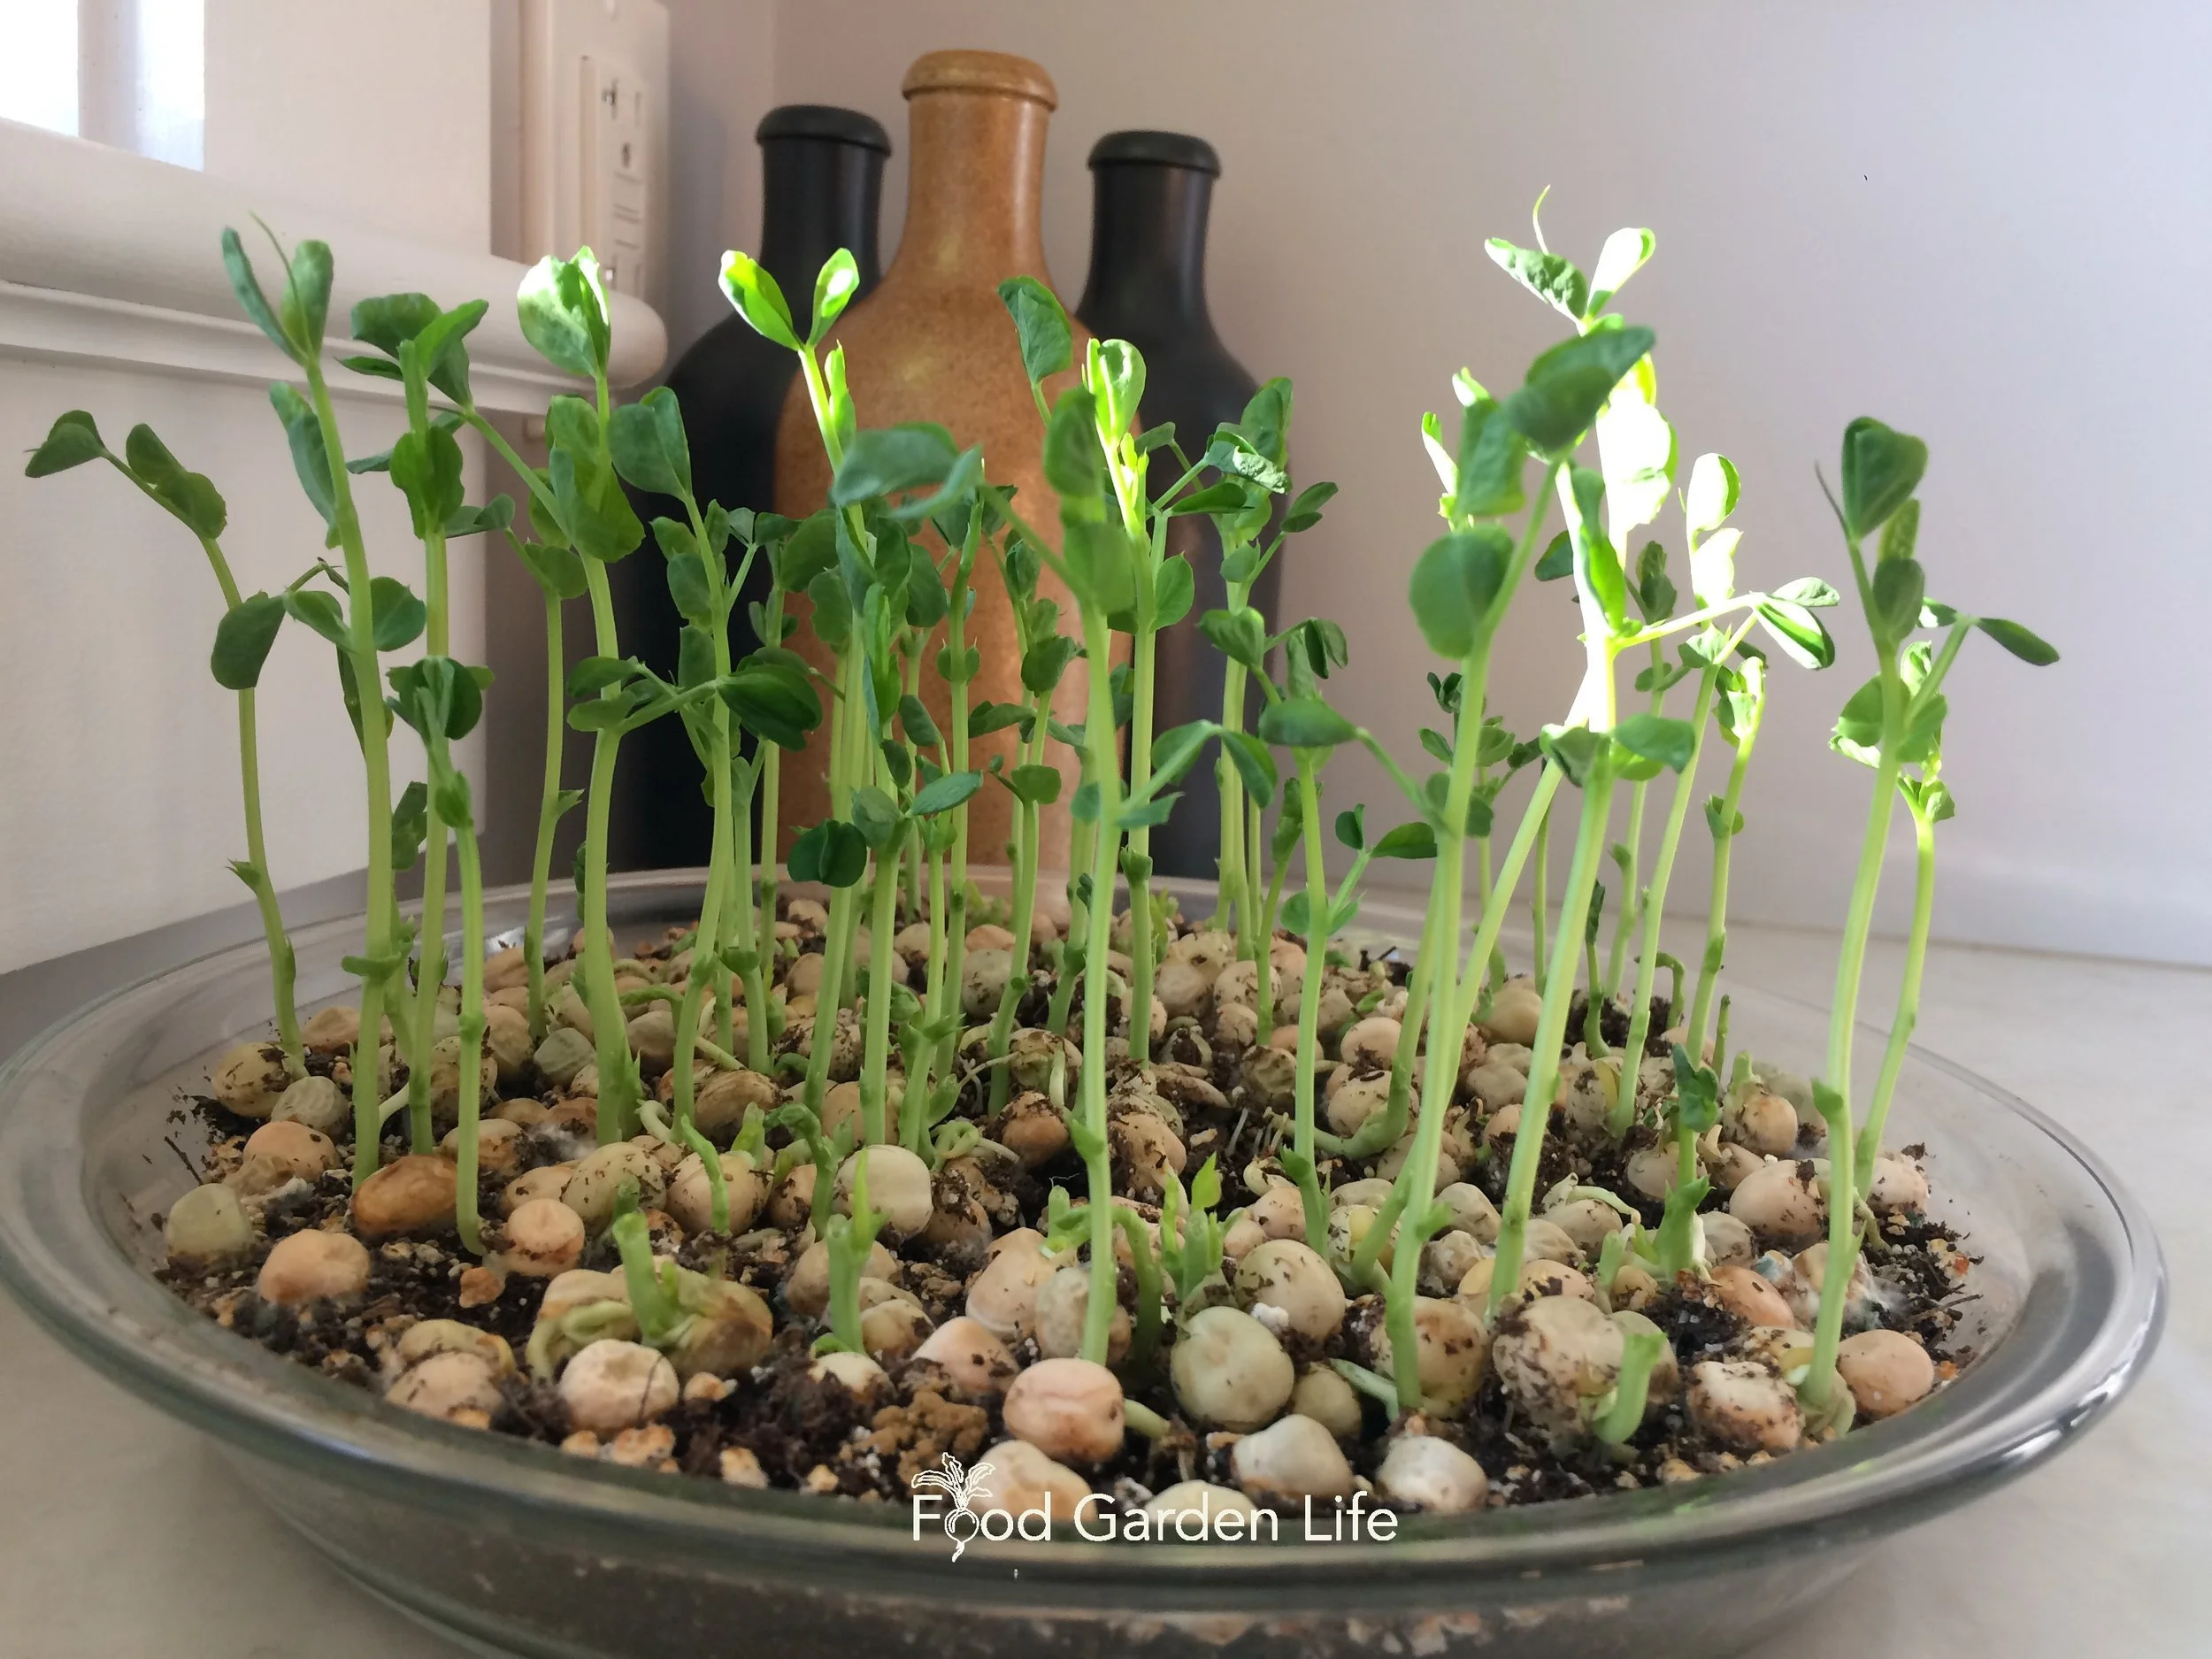
First Microgreen Crop? Give Peas a Chance
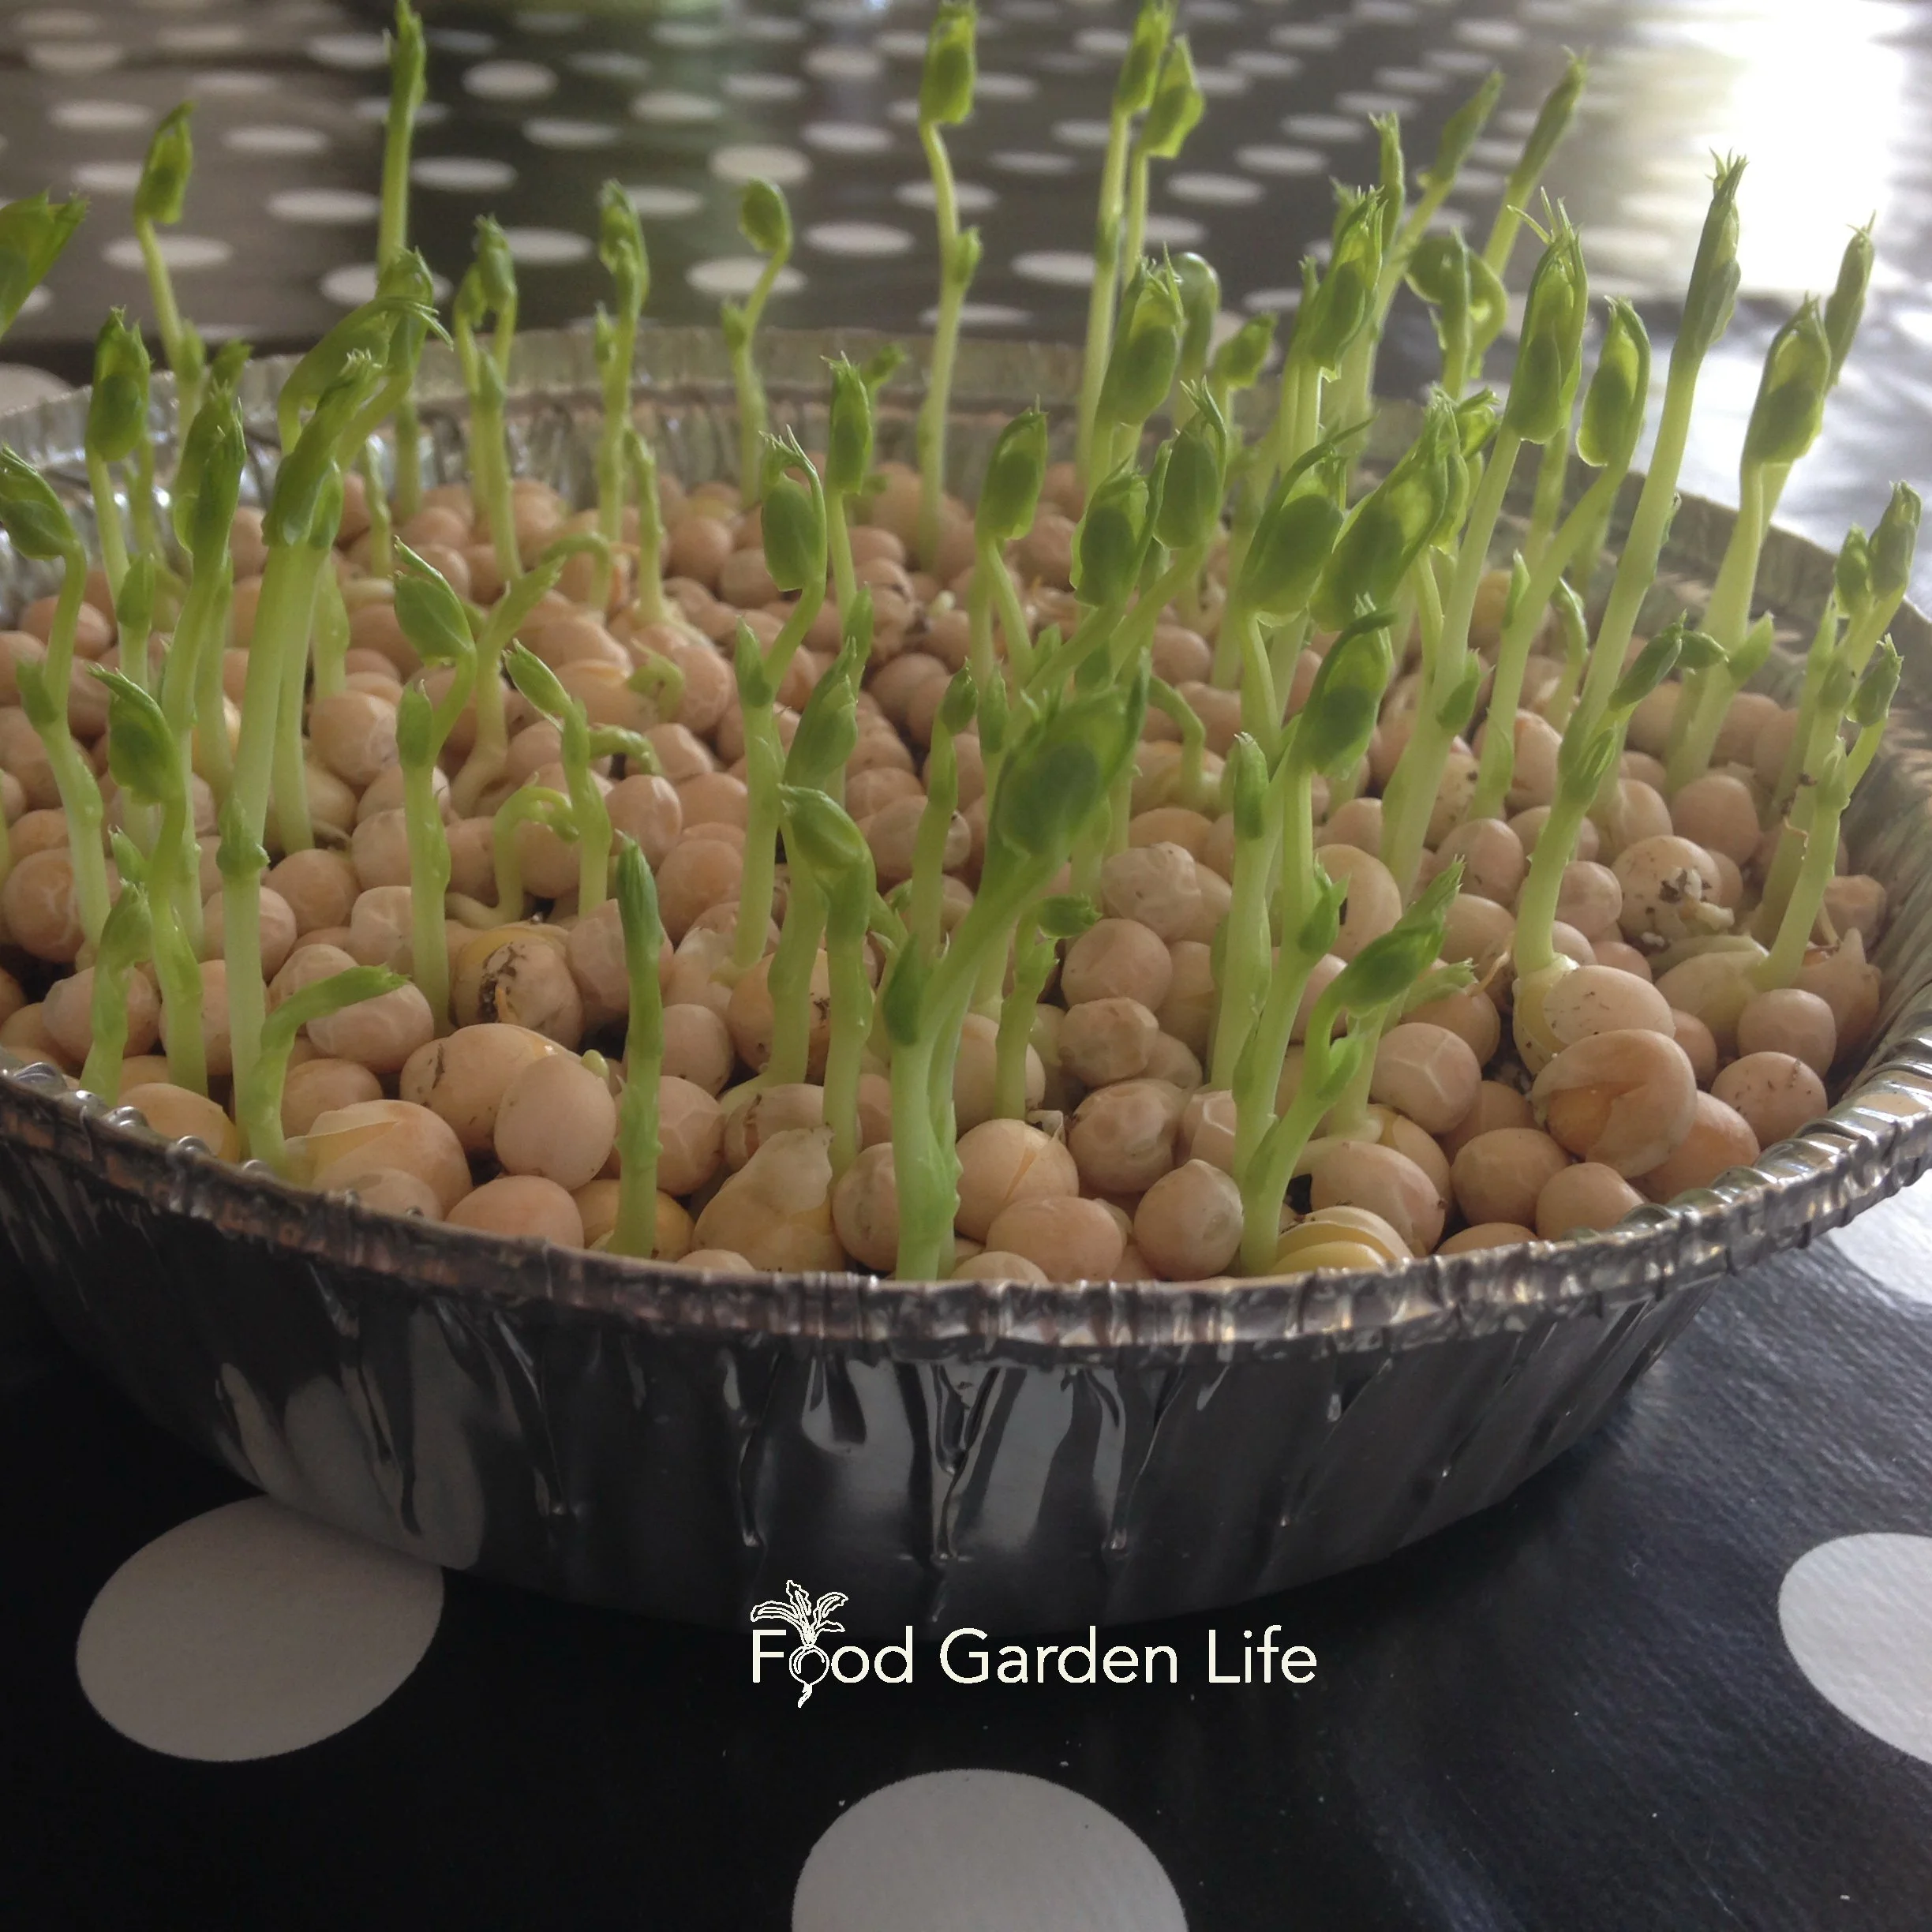
First time growing microgreens? I like the peas-and-pie-plate approach. It’s easy!
I recommend pea microgreens (also known as pea shoots) as a first microgreen crop. Dried peas are easy to find at the grocery store, easy to grow, and have a sweet flavour—much like snow peas and snap peas.
It doesn’t matter whether you use green peas or yellow peas—the key thing is to use whole peas, not split peas…they won’t grow!
How to Grow Microgreens at Home
Choose a Location to Grow Microgreens
When you grow microgreens you’re using the energy saved up in the seed. The goal is a tender young stem and leaves that you cut off and eat as a green. That means you don’t need bright light. It doesn’t matter if the plants are gangly.
Supplies for Growing Microgreens Indoors
Here are supplies to grow microgreens at home:
Seed
Potting soil
Container
Spray botte (optional)
Soil for Microgreens
The potting soil is to hold moisture and let the microgreen plants anchor themselves as they grow. You don’t need to supply nutrients because the plants are using energy stored in the seeds. Start with fresh soil every time—don’t reuse soil.
Moisten the potting soil before planting.
Use a soilless potting soil. Coir or peat moss as a growing medium work well too.
Containers for Microgreens
There are lots of options for microgreens containers. You only need to have about an inch of potting soil, so any shallow container works.
Here are examples:
Lentil microgreens growing in a plastic container.
A standard 10”x20” plant tray
A pie plate
Takeout containers
Smaller containers dry out faster, so you’ll need to water more often.
If you trust your judgement with watering, don’t make drainage holes. But if you think you might overwater, punch a few holes in the bottom of your container.
Spray Bottles
A spray bottle for microgreens is optional. I don’t use one. Some gardeners use a spray bottle to avoid splashing around small seeds. Instead, you can water carefully with a gentle stream of water.
How to Plant Microgreens
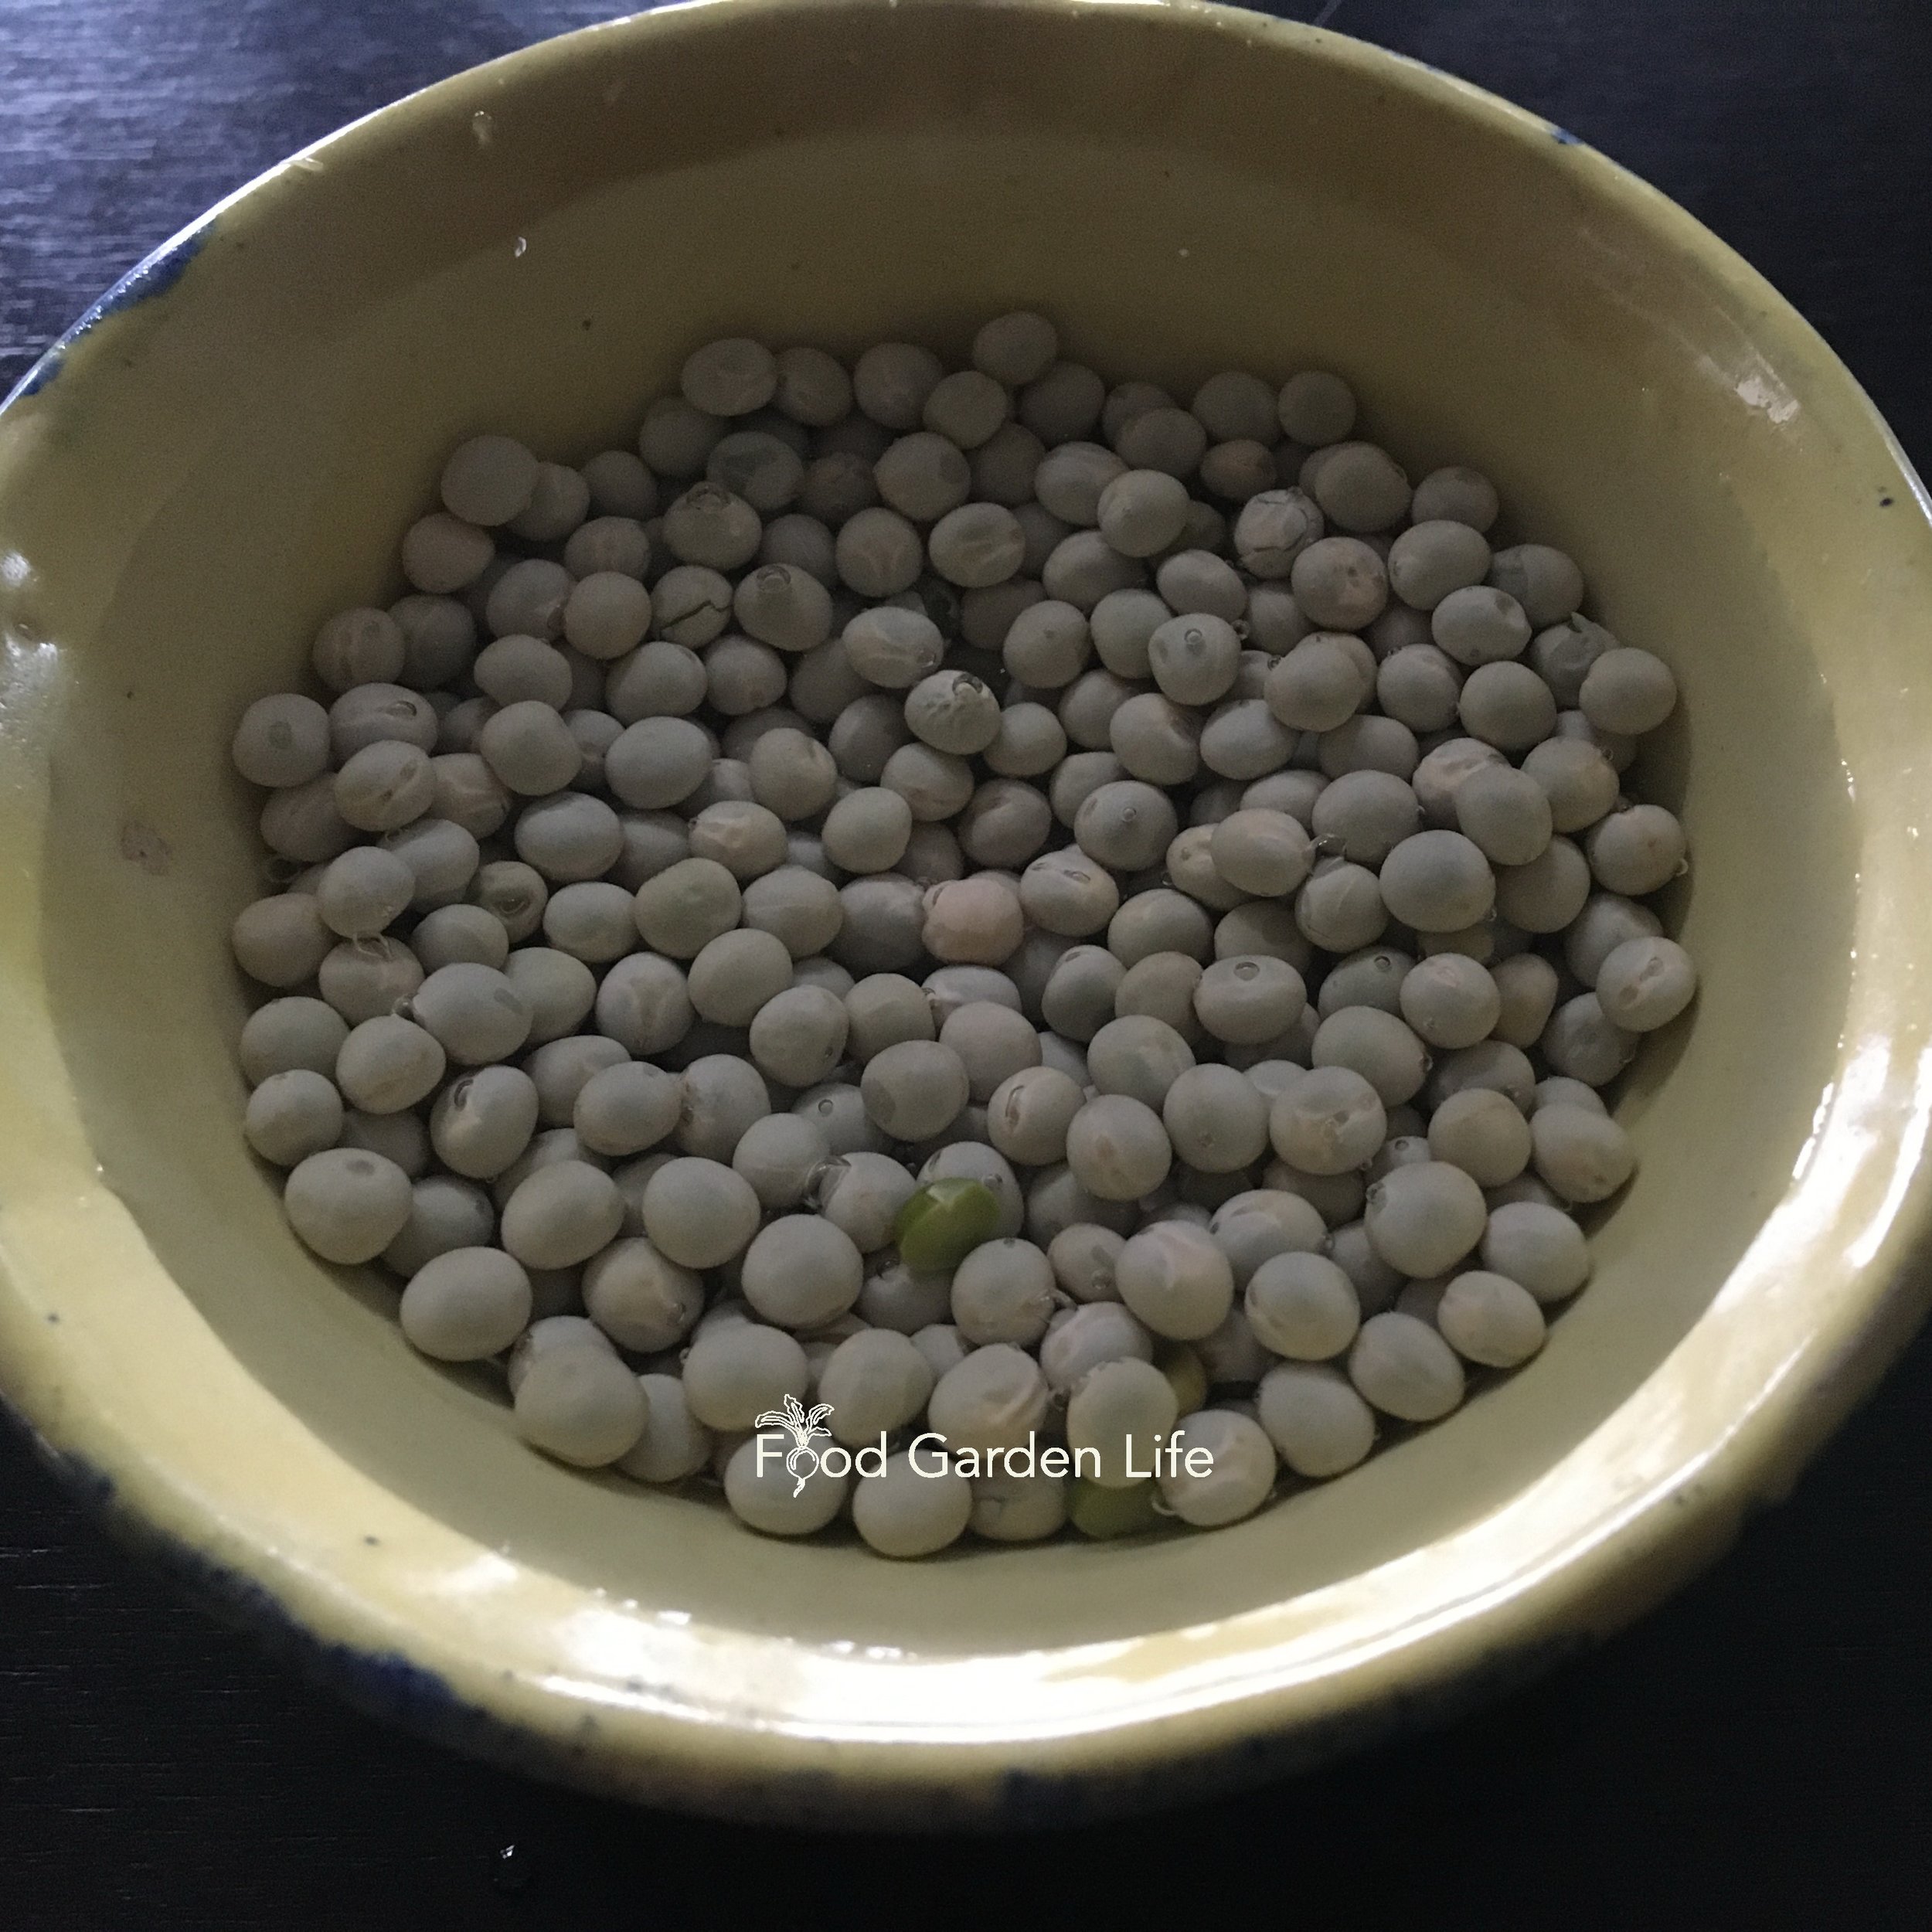
Soak larger seeds such as pea, lentil, and sunflower overnight. (Soaking gives a faster, more uniform germination.)
Put an inch or two of potting soil in the container.
Put seeds on top of the soil, spacing them so that they’re close to each other, but not covering each other. Don’t cover seeds with soil.
Water so that the soil is moist but not wet. (You want the soil moist, not wet...don’t float your seeds!)
Place under lights or on a windowsill.
Pea Microgreens Step by Step
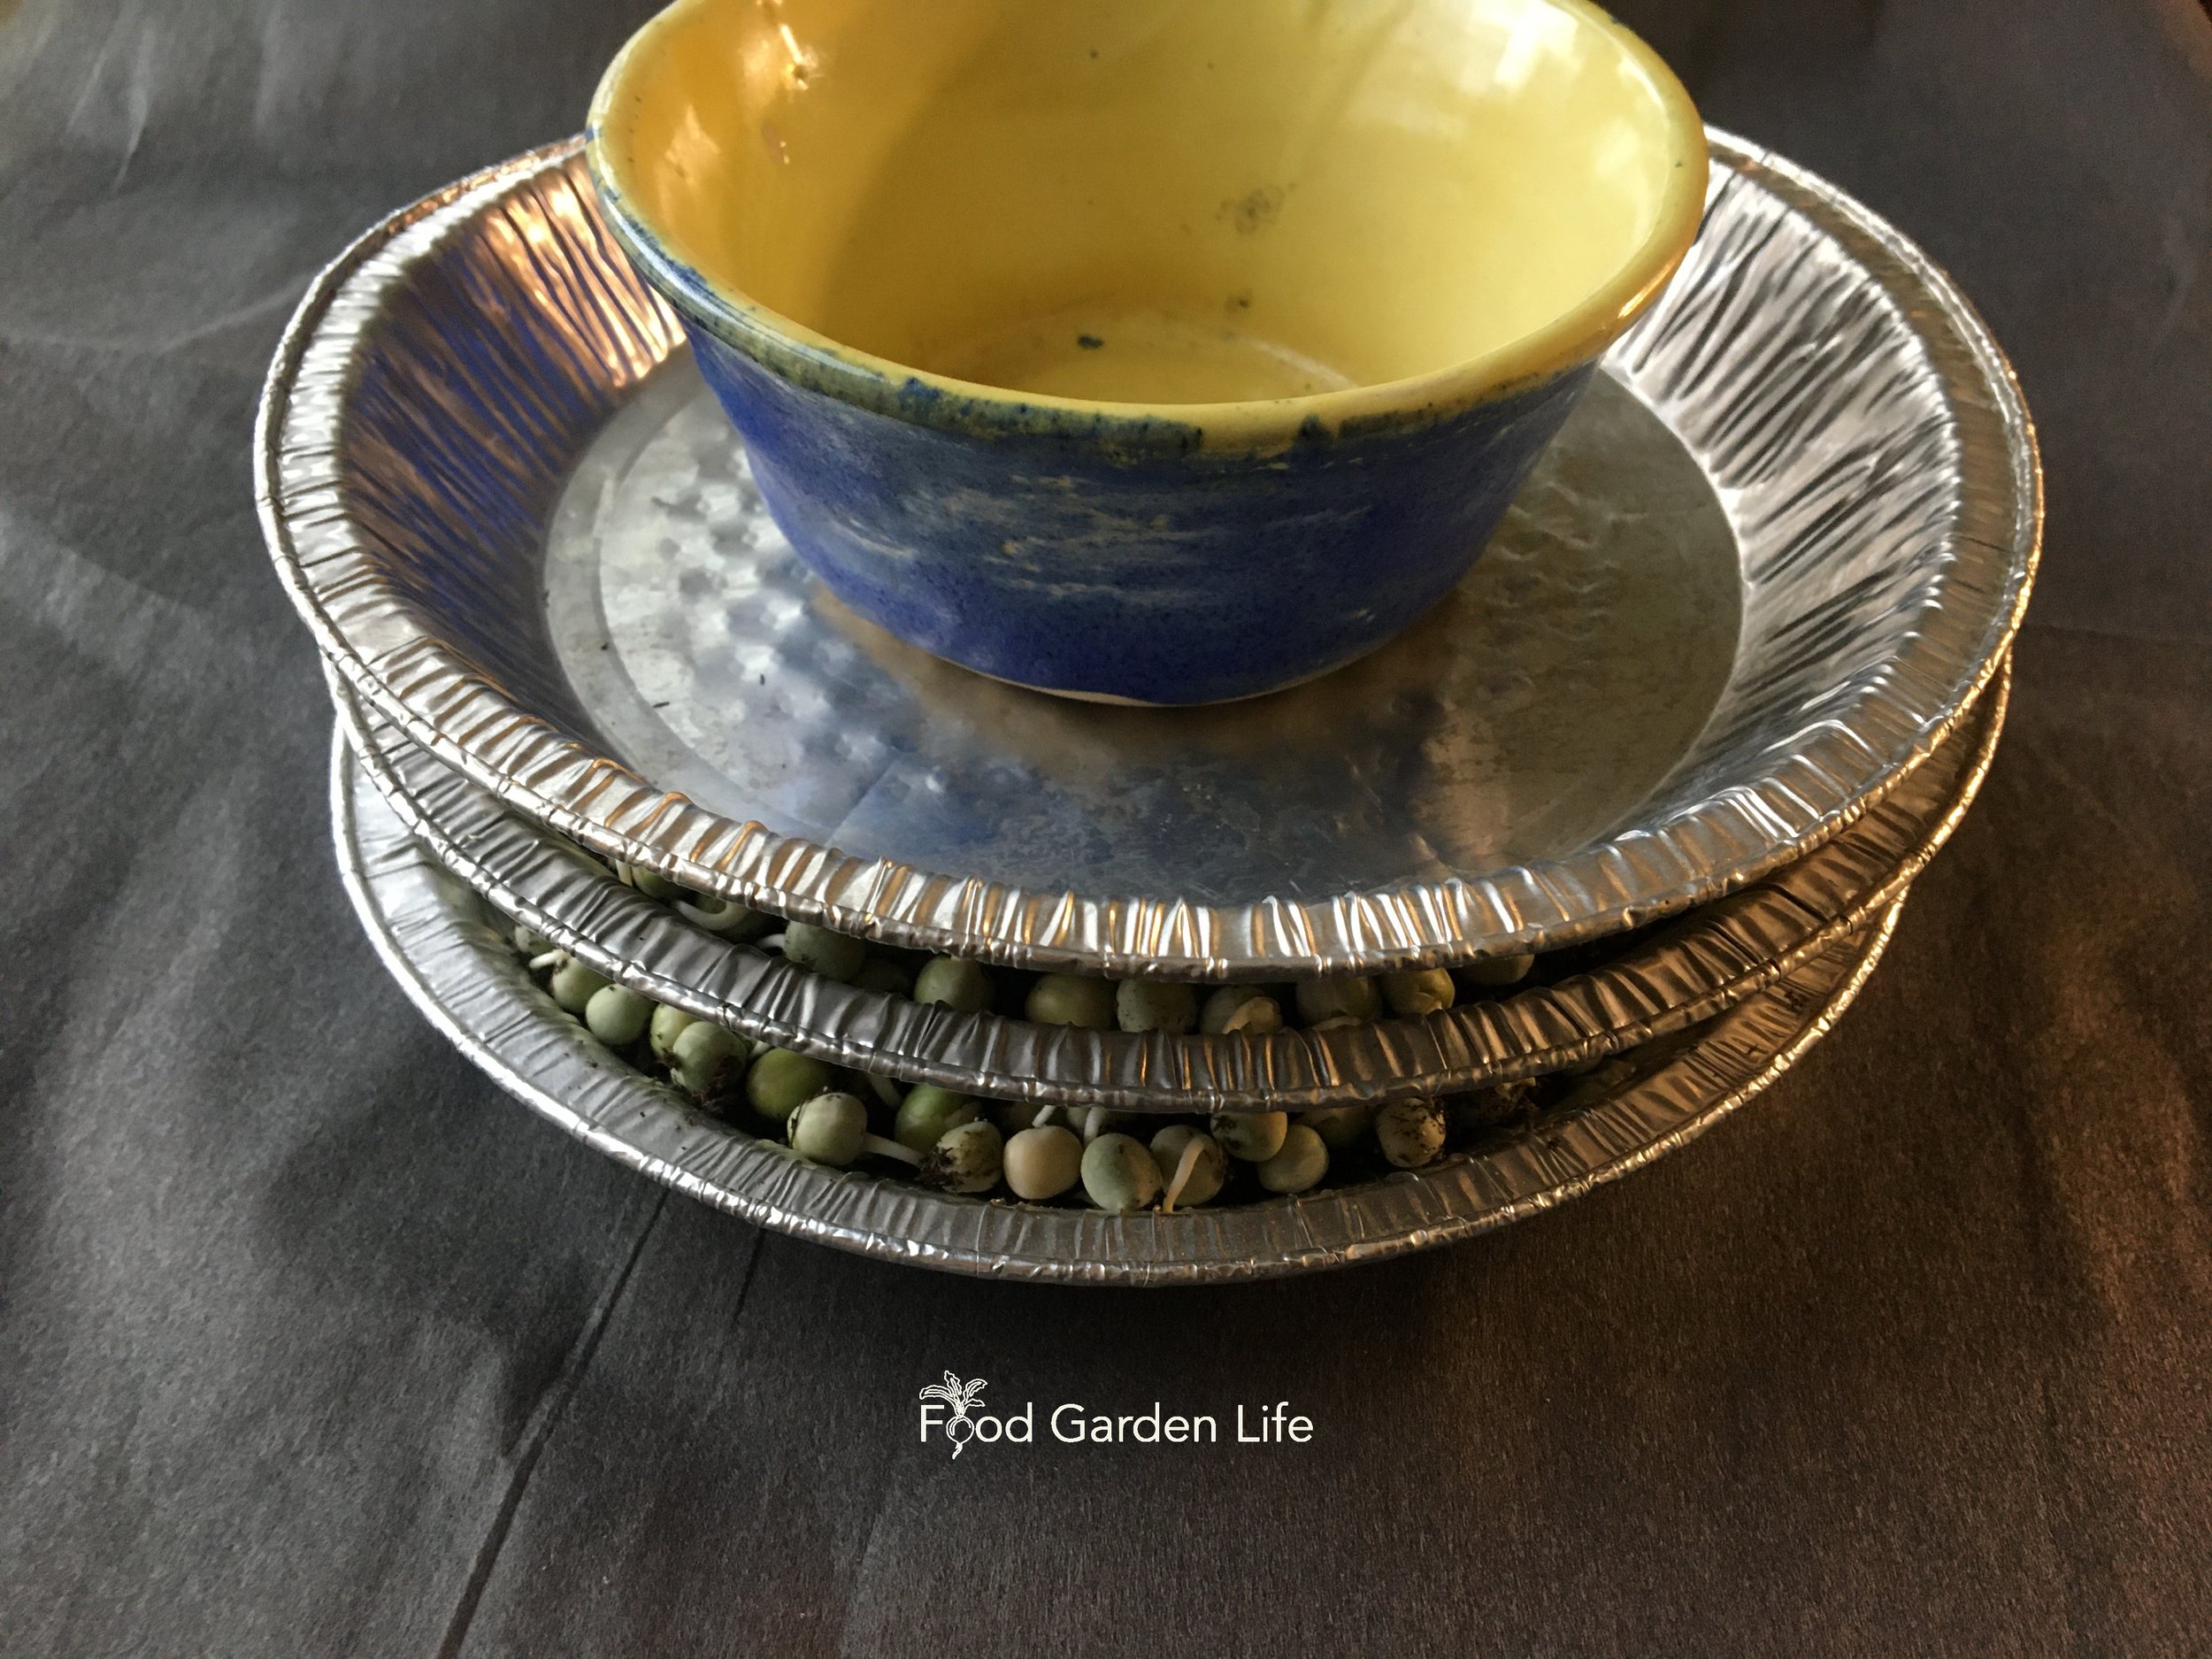
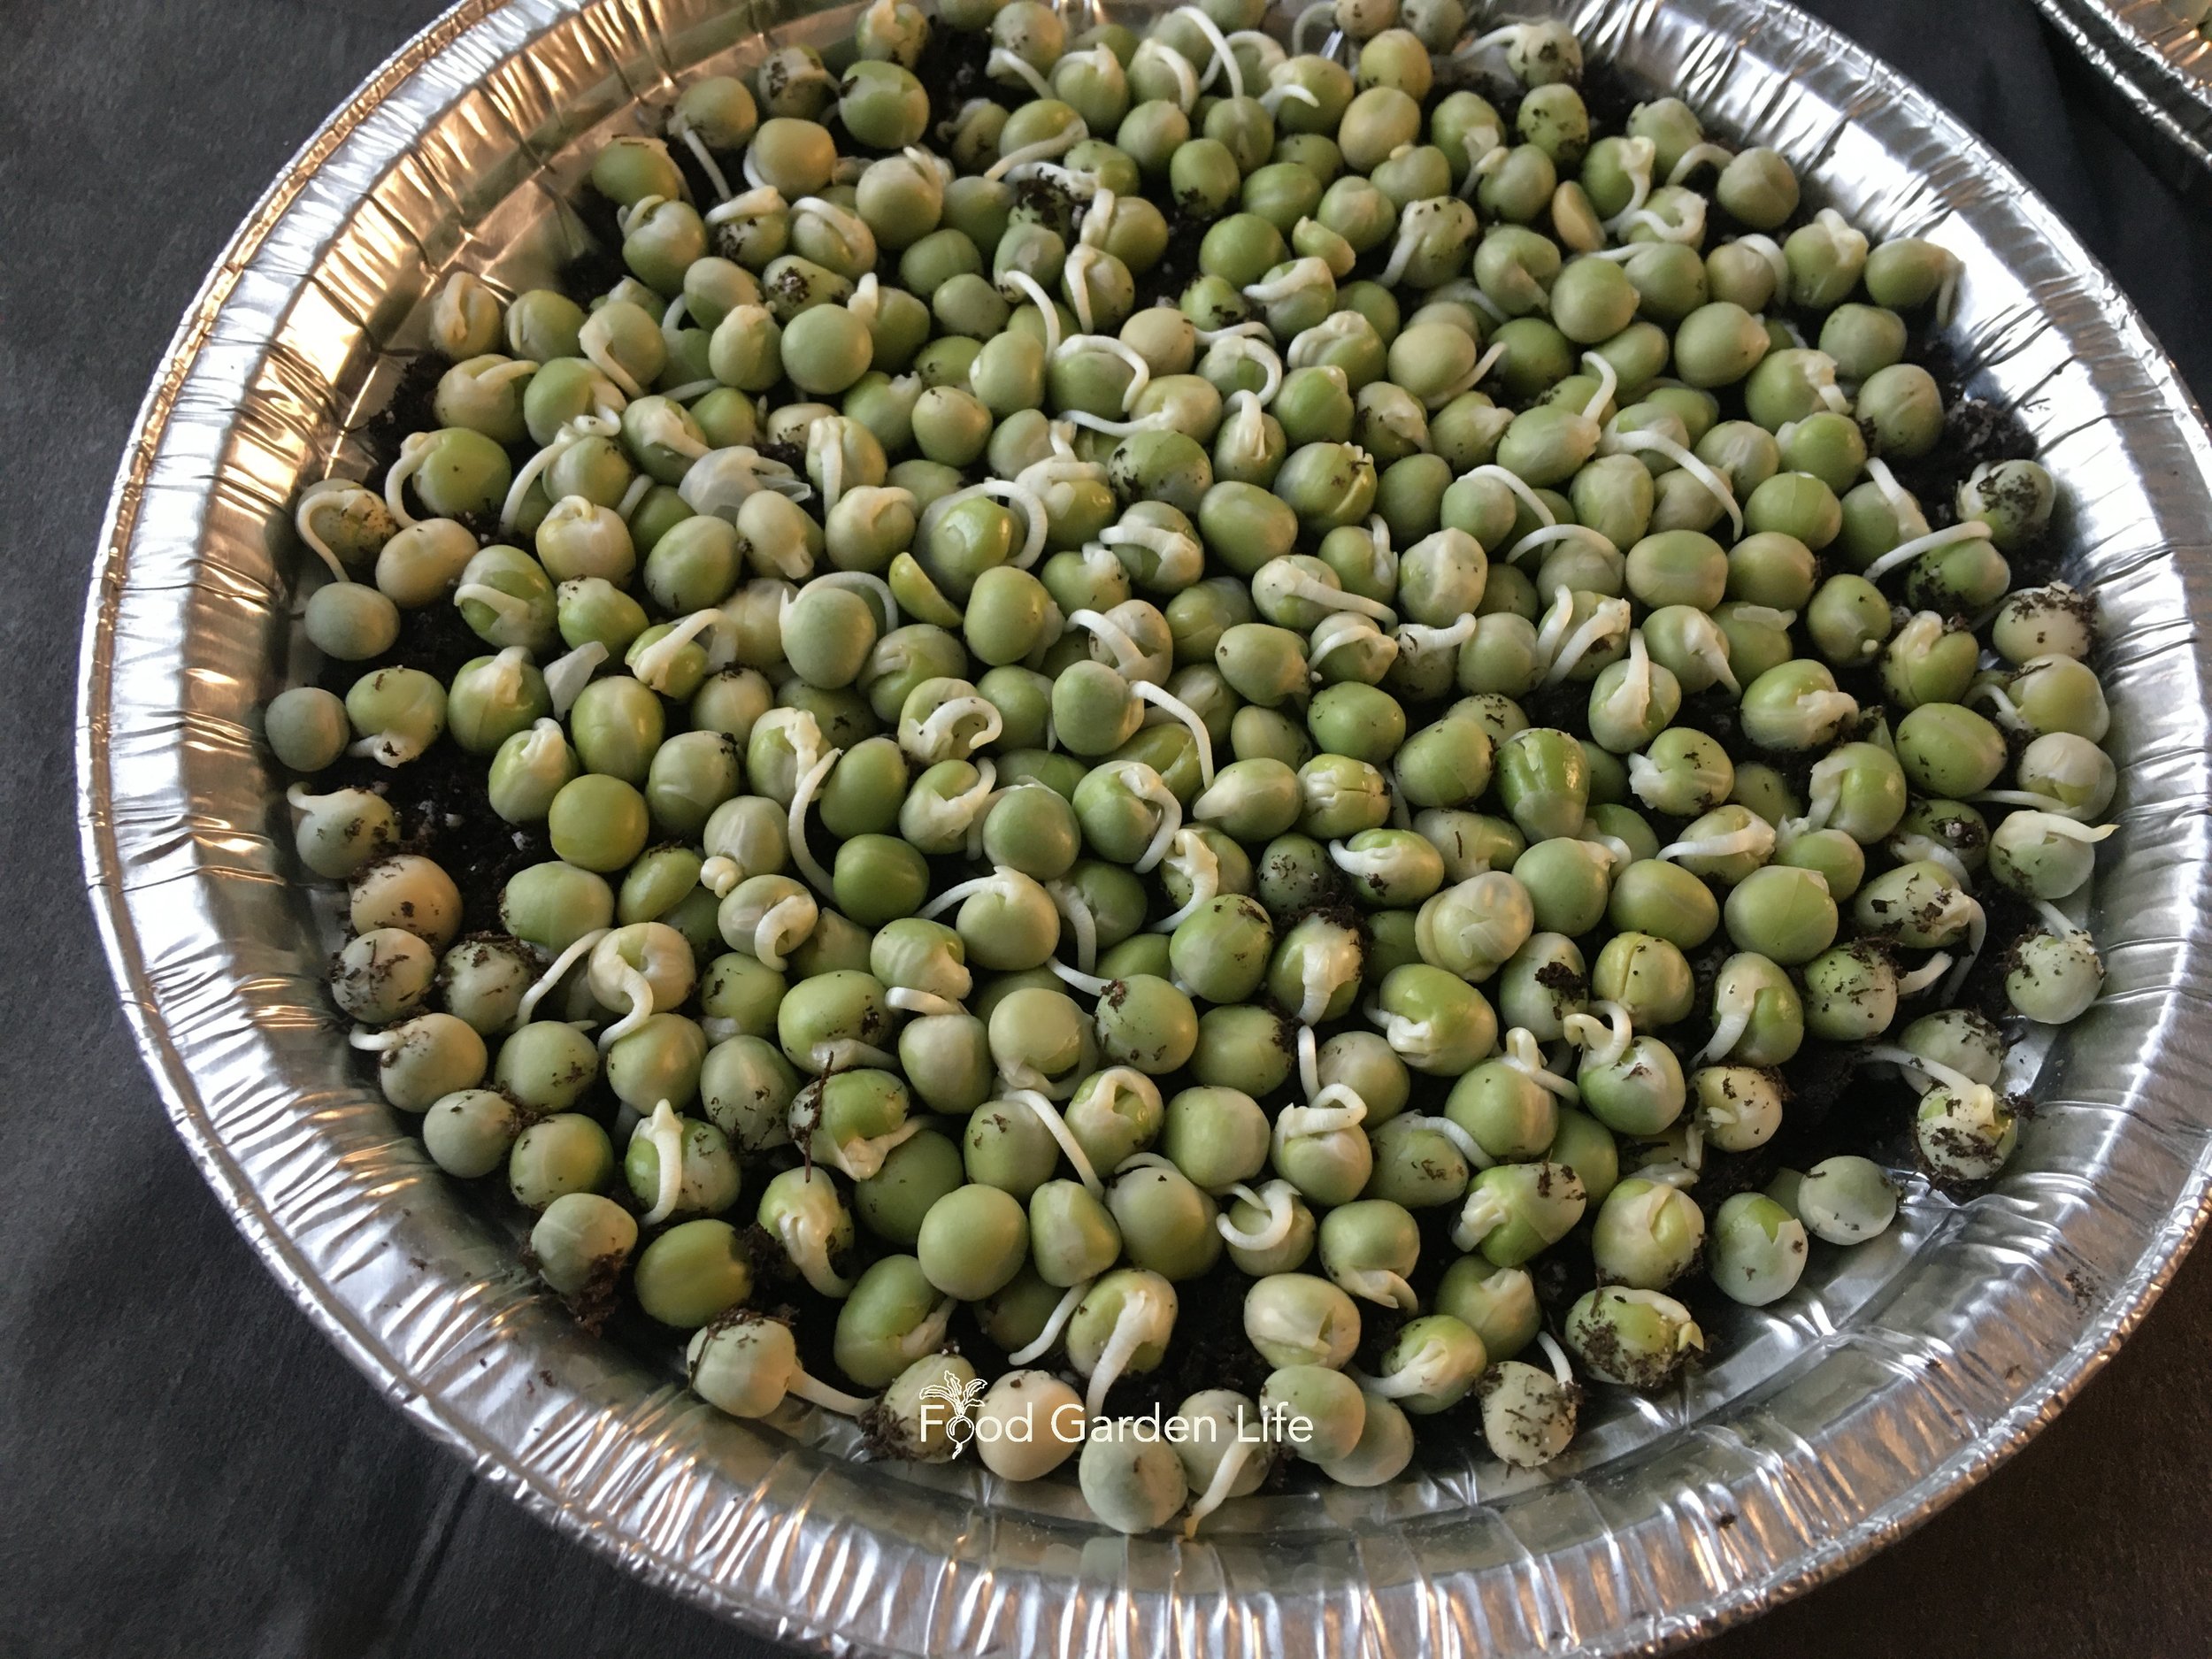
Top Tip: When seeds are in contact with the soil you get a faster, more uniform germination. Put something heavy over the microgreens after sowing. The weight pushes down on the seeds so that they are in contact with the soil. (I stack my pie plates full of seeds.)
Don’t do this: Don’t fertilize them. There’s enough stored energy in the seed to grow the microgreens until harvest.
Location for Microgreens
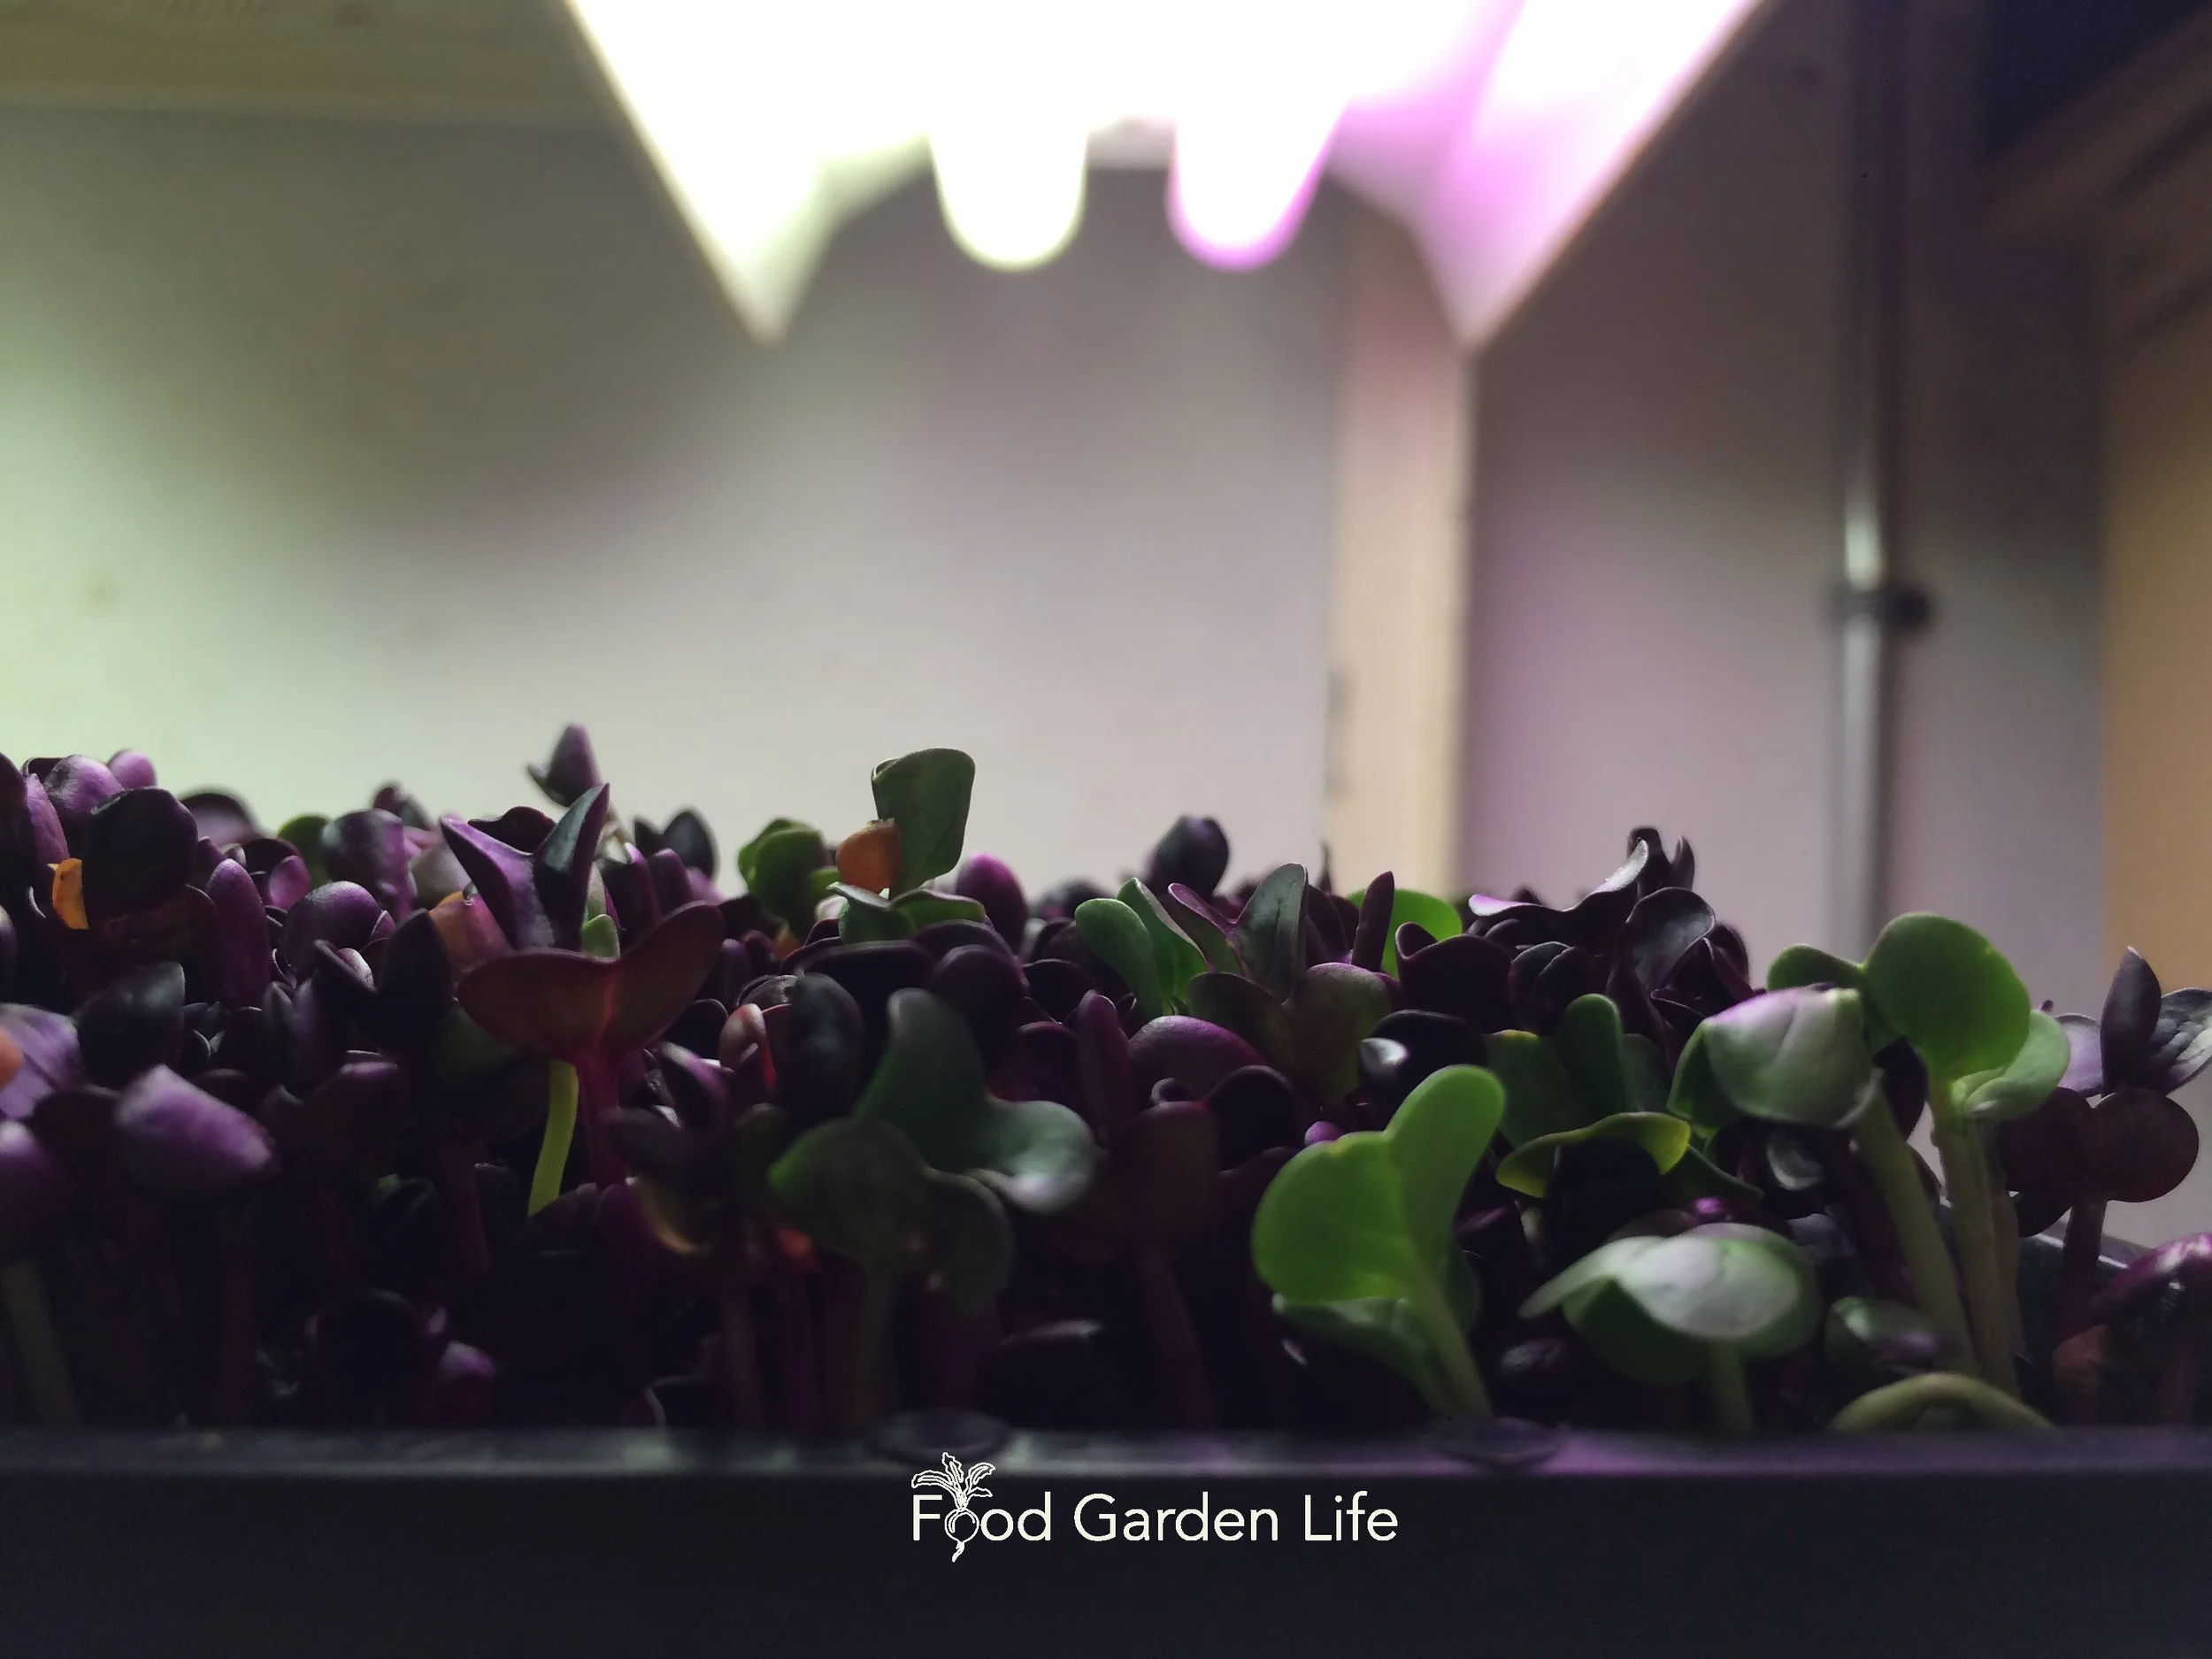
Growing microgreens under lights. Less light is OK too.
You don’t need perfect growing conditions, so make do with what you have. If you have a bright window or set of grow lights, these work well.
Low light is also OK too, because the plants are growing using energy stored in the seed. I’ve grown them on a dim countertop.
The warmer the temperature, the more quickly the microgreens grow.
Seeds sprout more quickly in warmer conditions. Here are ways to give your microgreen seeds more heat:
A heat mat
A sunny windowsill
The top of a hot-water radiator
A heated floor.
Growing Your Microgreen Crop
If you put something heavy on top of the seeds, remove it after a couple days. These amaranth microgreens were covered a bit too long…but they’ll bounce back.
Check daily to make sure the soil is moist and to see if your seeds are germinating.
If you put something heavy on top of the seeds, remove it after a couple days.
Harvesting Microgreens
Harvesting Pea Shoots
When I grow windowsill pea microgreens over the winter at room temperature, I expect to harvest them about 2 weeks after sowing.
Harvest microgreens when they get 3-4 inches tall, a size when they are tender and not fibrous.
The first cut is the largest. There might be a couple more smaller harvests with pea shoots. (Not all microgreens regrow from what remains after harvest.)
Spotty germination in this container of pea microgreens because the potting soil got too dry.
When the energy in the seeds is used up and they no longer send up new growth, compost them.
Harvesting Other Microgreens
The height and time to harvest depends on the microgreen crop. Most crops are harvested before a second set of leaves grows.
Harvesting Microgreens: Here's a Hack
In commercial operations growers often use shallow trays so that it’s easy to harvest microgreens with a knife. (With a deeper tray, the edge of the tray gets in the way of cutting close to soil level.)
My daughter grows our microgreens in shallow trays: it’s worthwhile if you’re planning to grow lots.
How to Store Microgreens
If you have more microgreens than you can use at once, store them the same way you do leafy greens.
I wrap them in damp paper towel, and then put them in a plastic bag, in the fridge.
Great for Gardening with Kids
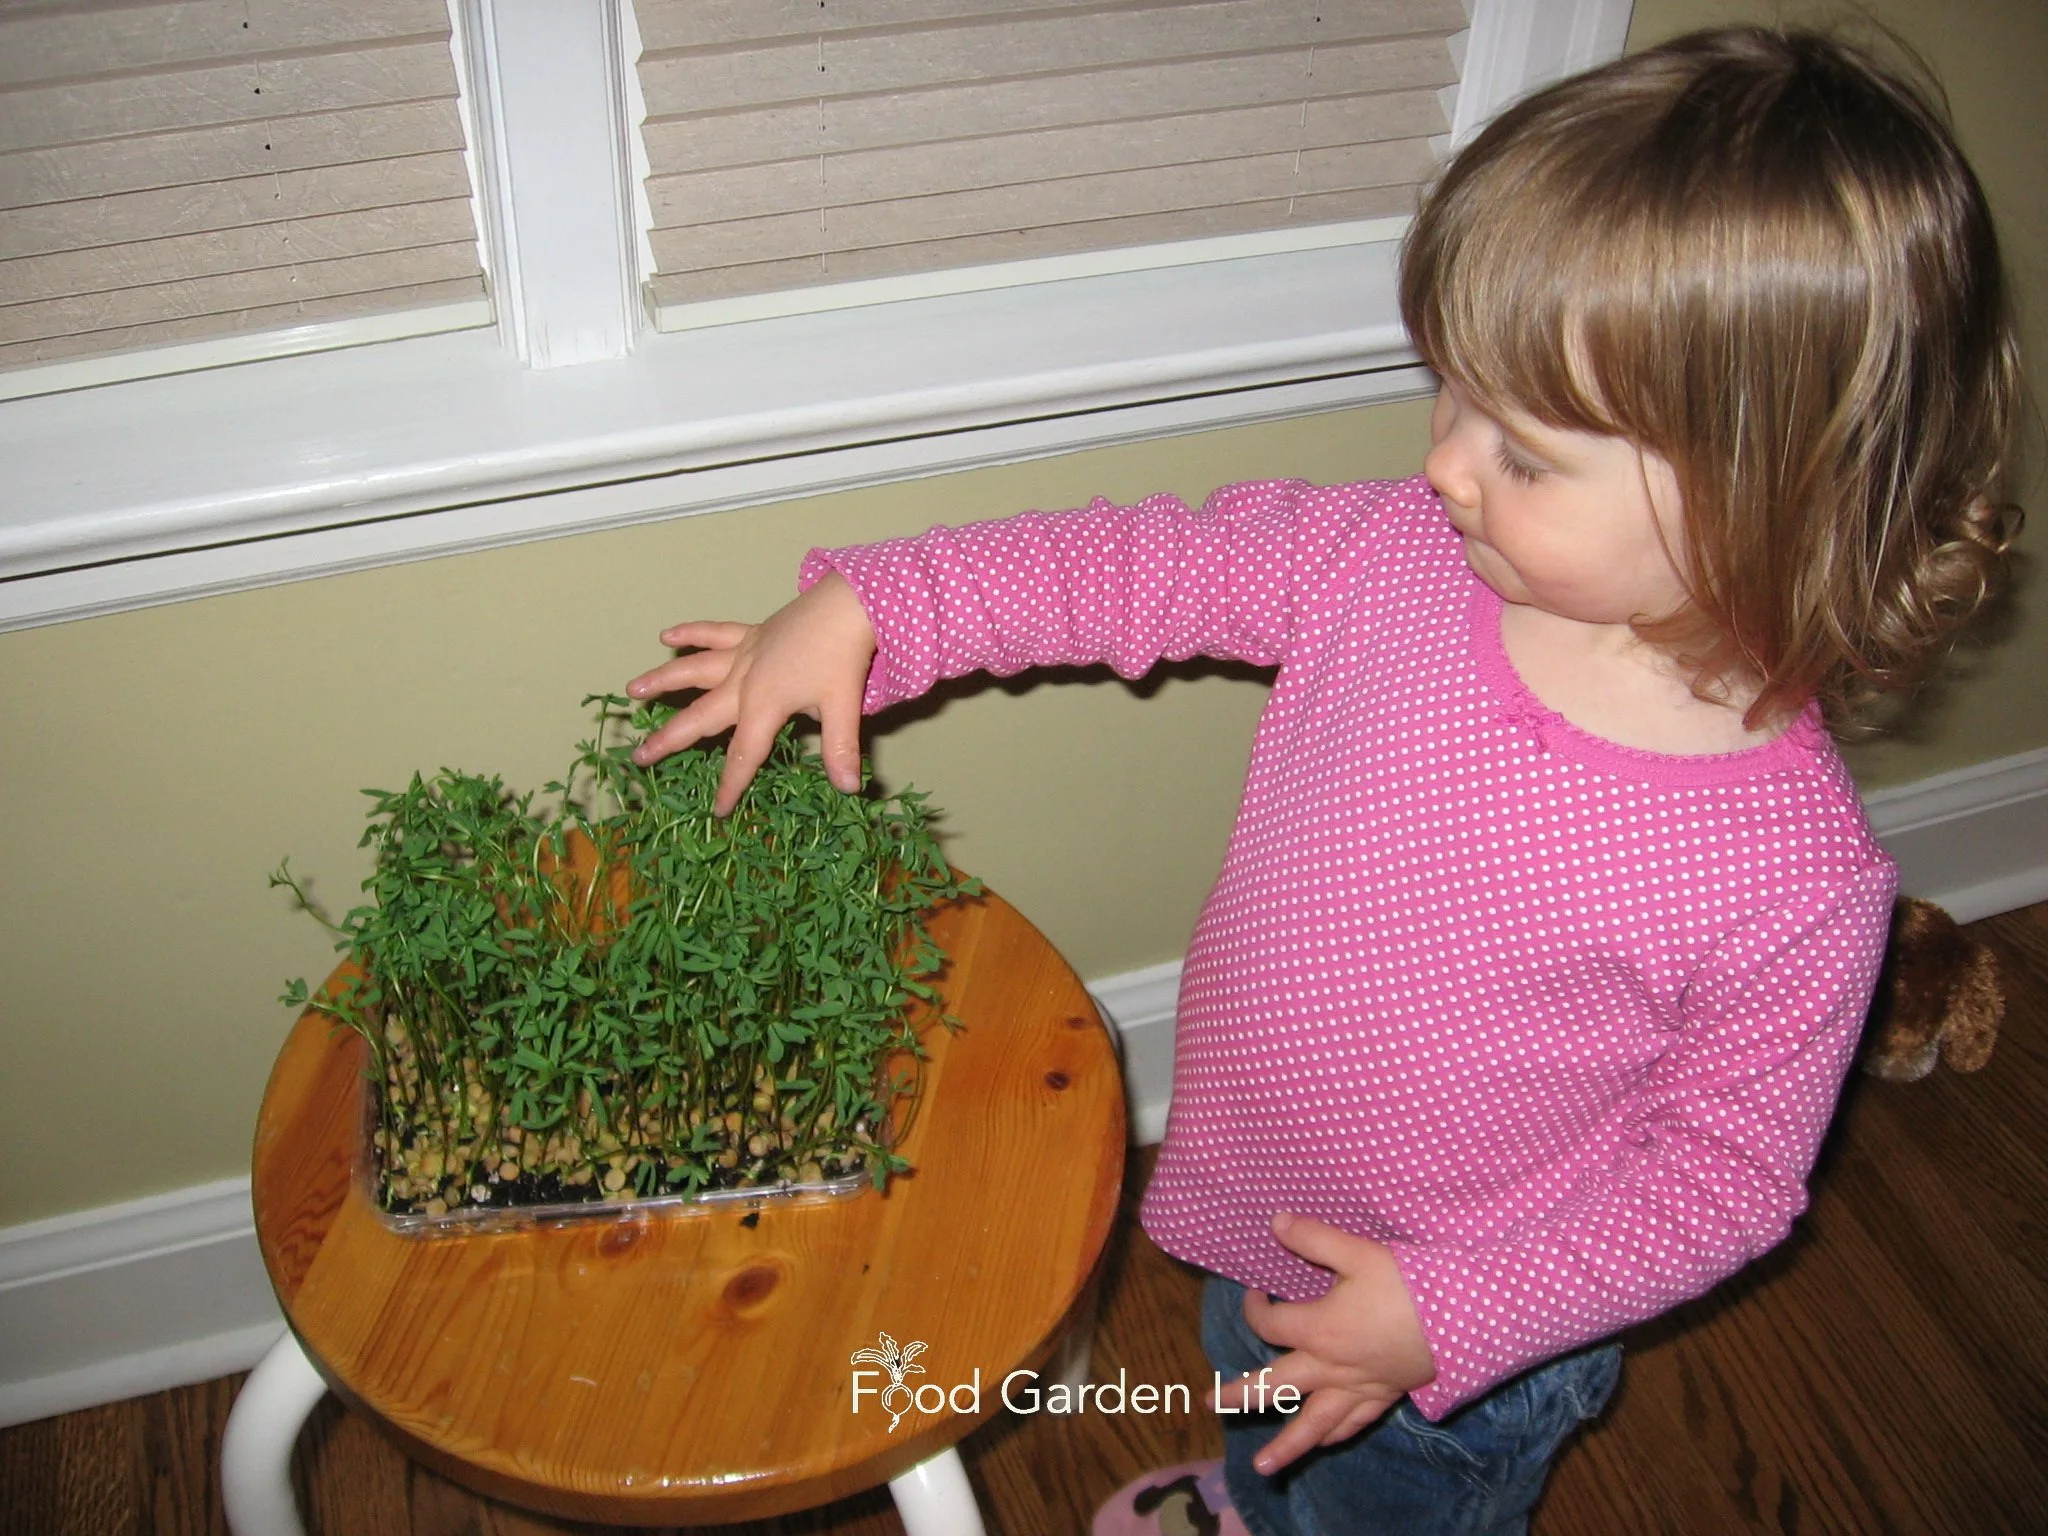
Growing microgreens is an easy and fun gardening project to do with children.
My hunch that pea shoot tendrils would be fun to tickle my kids with was what prompted me to grow microgreens in the first place.
The tendril-tickling got lots of giggles, and the sprouts were a crunchy and sweet—perfect for kids.
Growing microgreens also turned out to be a fun project to do with the kids.
If you grow microgreens with kids, start with pea shoots: They’re fairly big and easy for kids to handle.
Microgreens on the Menu
If you’re not used to eating microgreens, it’s not hard to incorporate them into the menu.
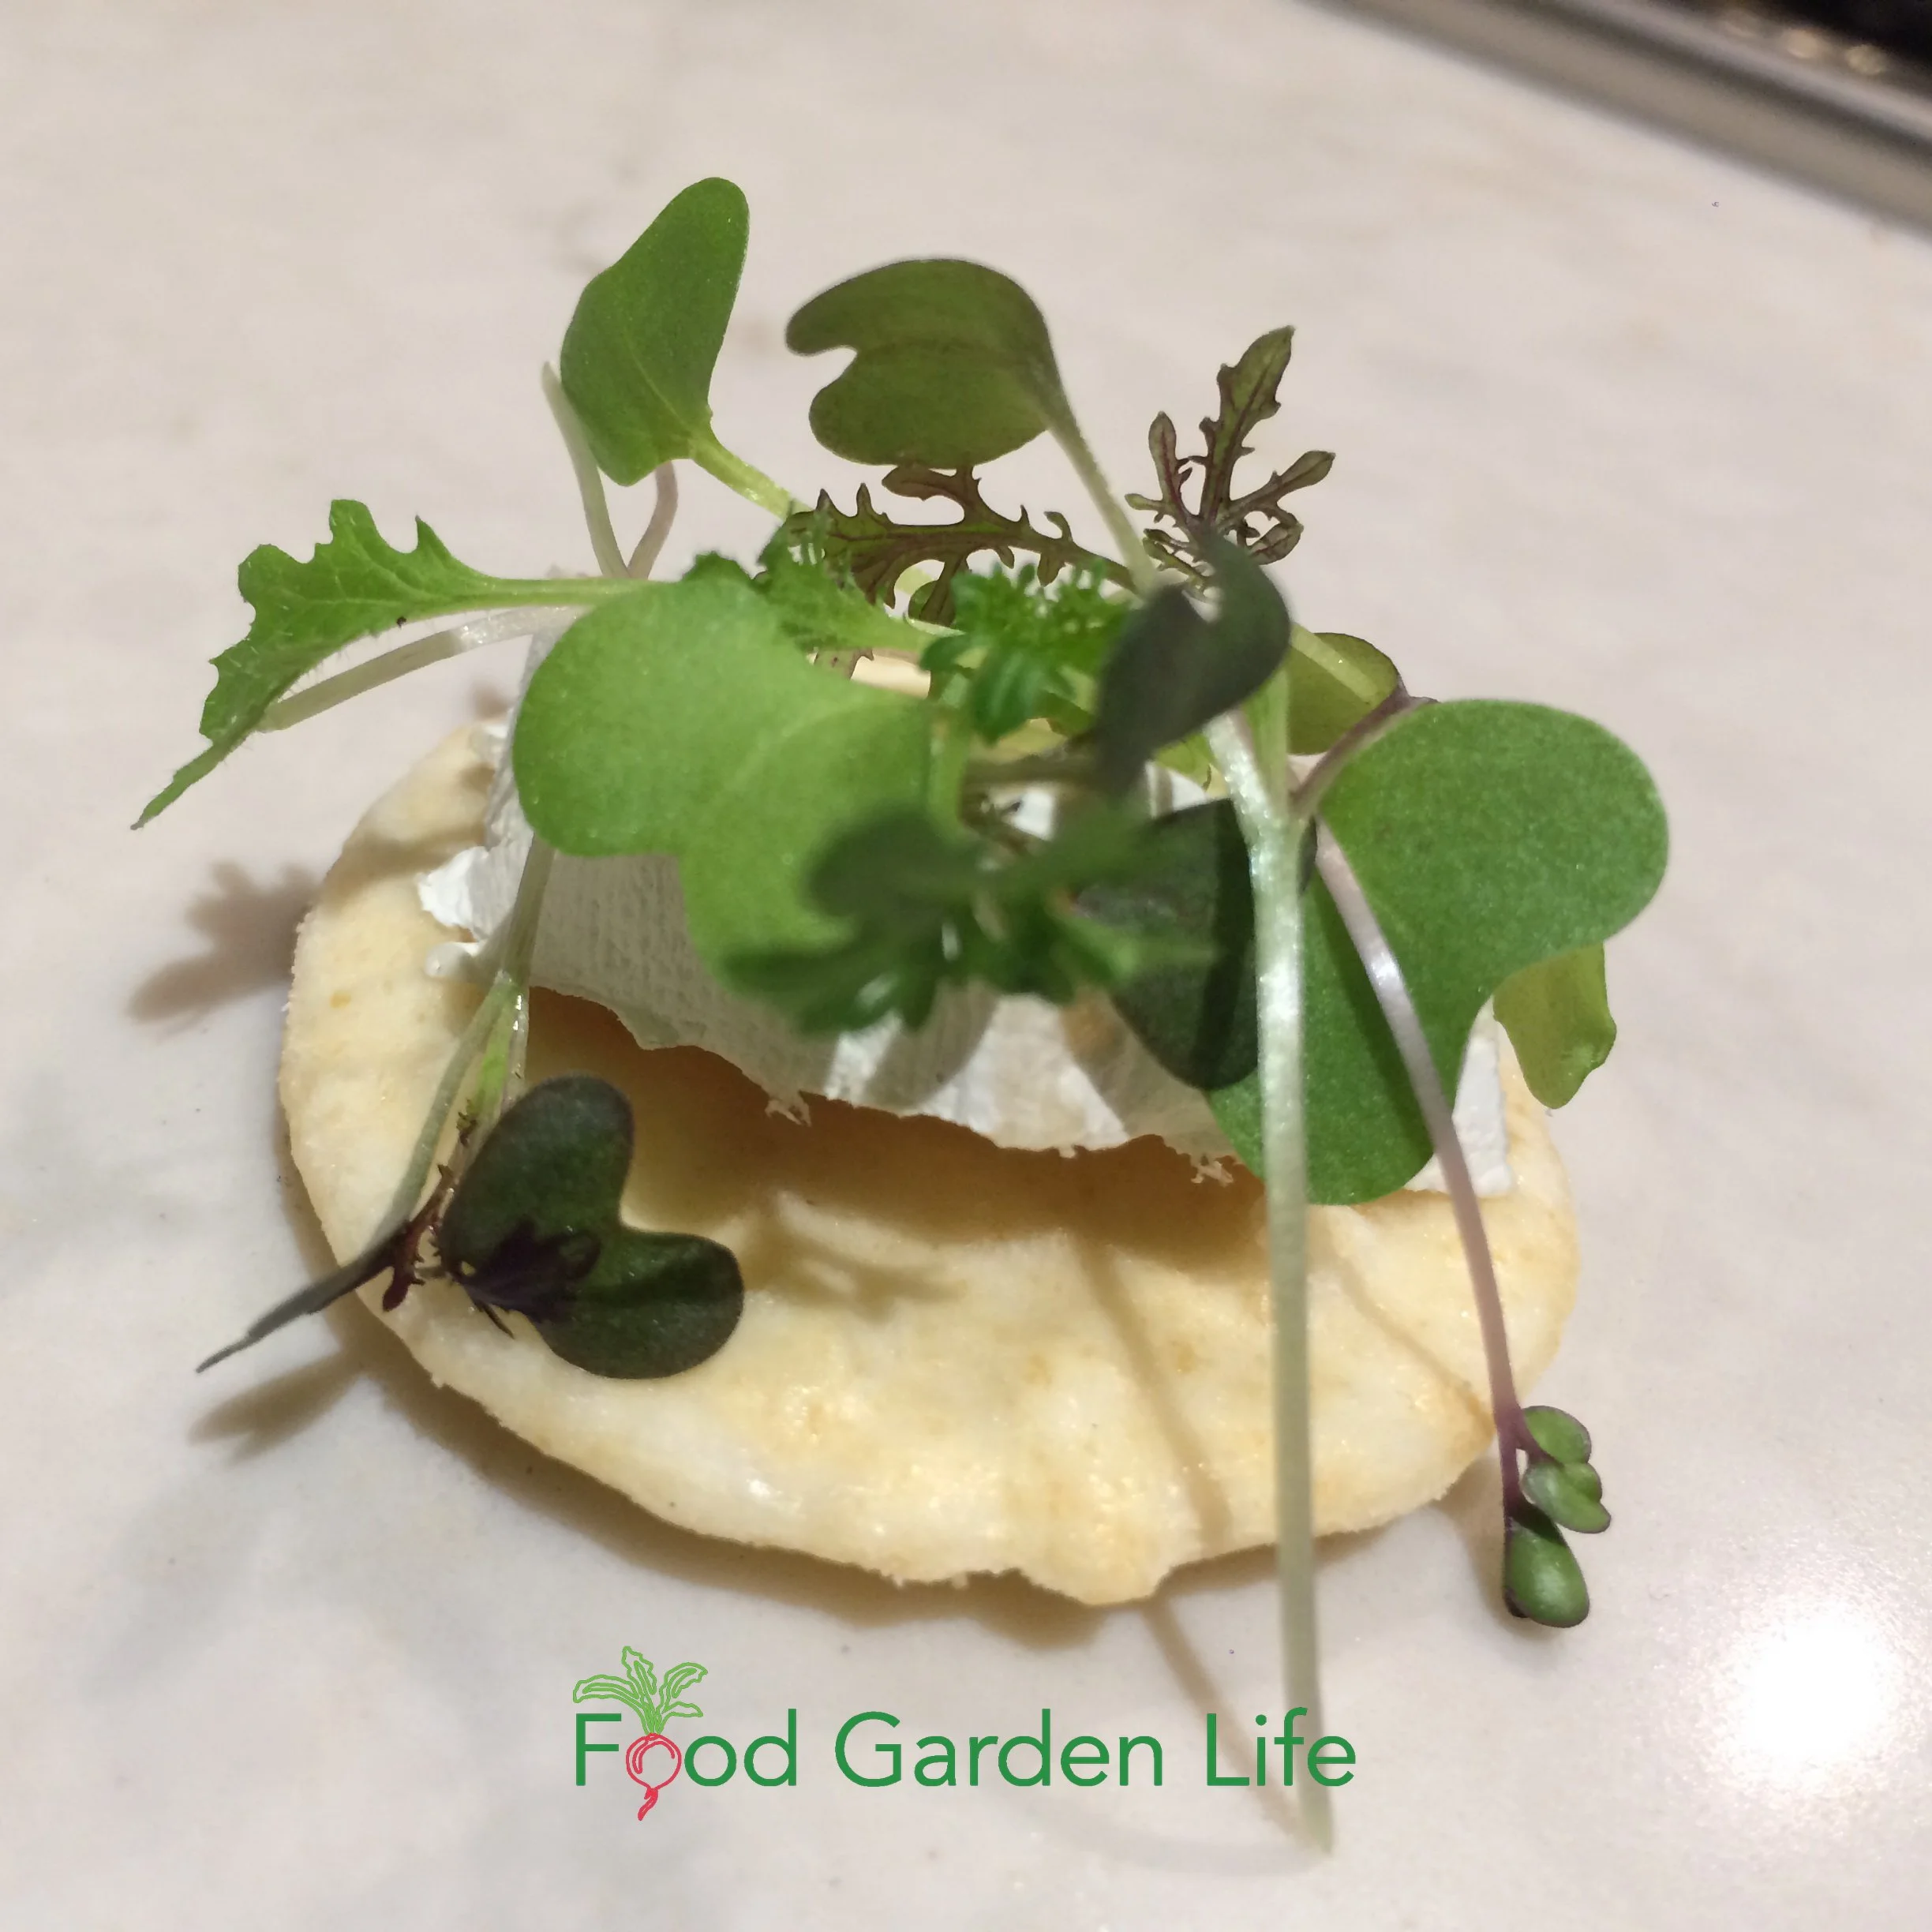
Microgreens as a finishing touch on a cracker with cheese!
Here are ideas:
Salads (our fav is chopped pea microgreens with toasted sunflower seeds and diced halloumi cheese)
Microgreens as a garnish
Served atop stir-fries
In sandwiches, instead of lettuce
FAQ: Growing Microgreens Indoors
What’s the difference between microgreens and sprouts?
Sprouts are grown in warm, humid, dark conditions, without soil. You eat the whole thing—including the roots.
Microgreens are grown in light, on a thin layer of potting soil. You eat the top—but not the roots.
I don’t bother growing sprouts. They require more attention. And there’s more chance of microbial contamination because the humid, warm, still conditions for growing sprouts are ideal for microbes to multiply.
Are microgreens safe?
Pin this post!
Many people associate sprouts with foodborne illness, a result of well-publicized cases of Escherichia coli (E. coli) and salmonella bacterial contamination.
By extension, people wonder about microgreens too. But there’s a difference between sprouts and microgreens.
Microgreens are exposed to light and air movement, making conditions less suitable for bacterial growth on microgreens. (Sprouts grow in conditions that are like a microbe incubator—in warm, moist conditions in a closed container.)
Do microgreens regrow after cutting?
It depends on the crop. Pea seeds and some of the larger seeds do send out another shoot after they're cut back. Many of the smaller seeds don't regrow once they're cut back.
But sometimes it looks like microgreen seeds are regrowing: It's seeds that didn't yet germinate starting to grow.
Find This Helpful?
If we’ve helped in your food-gardening journey, we’re always glad of support. You can high-five us below! Any amount welcome!
More Indoor Food Garden Ideas
Articles and Interviews
For more posts about how to grow vegetables and kitchen garden design, head over to the indoor food garden home page.
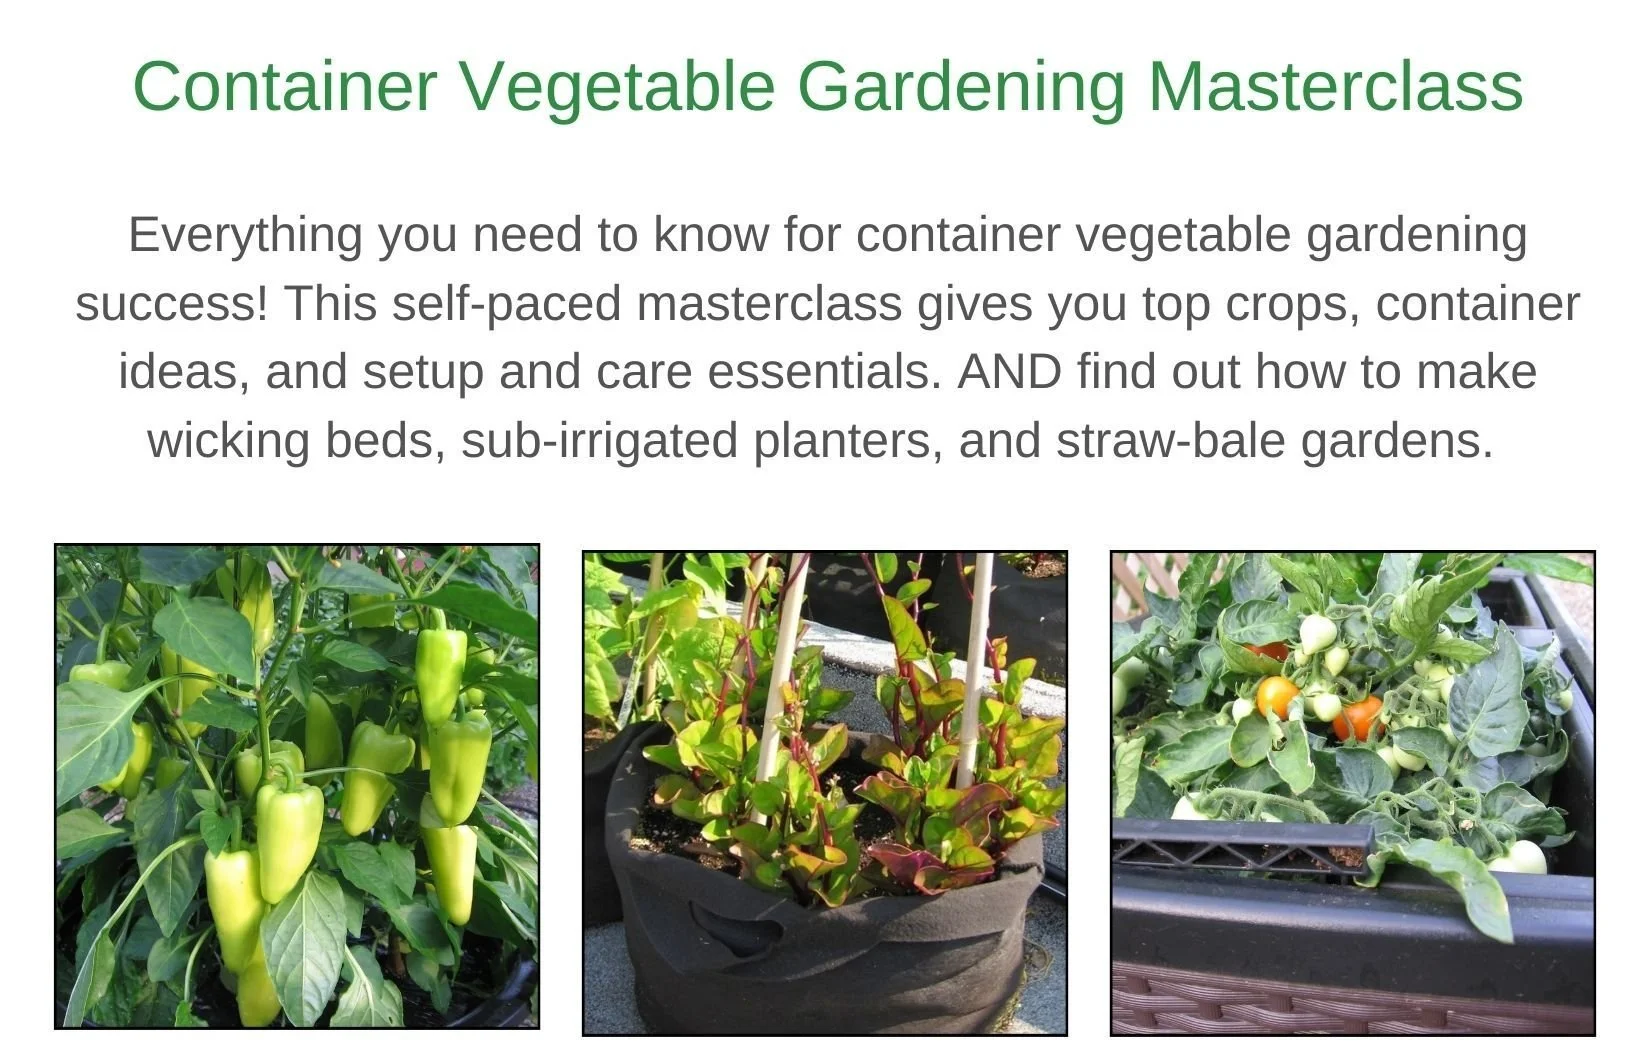
Courses: Edible Gardening
Want more ideas to make a great kitchen garden? We have great online classes that you can work through at your own pace.
Edible Gardening Consultation
Book a virtual consultation so we can talk about your situation, your challenges, and your opportunities and come up with ideas for your food garden.
We can dig into techniques, suitable plants, and how to pick projects that fit your available time.

