By Steven Biggs
Your Seedlings are Leggy? Keep Reading!
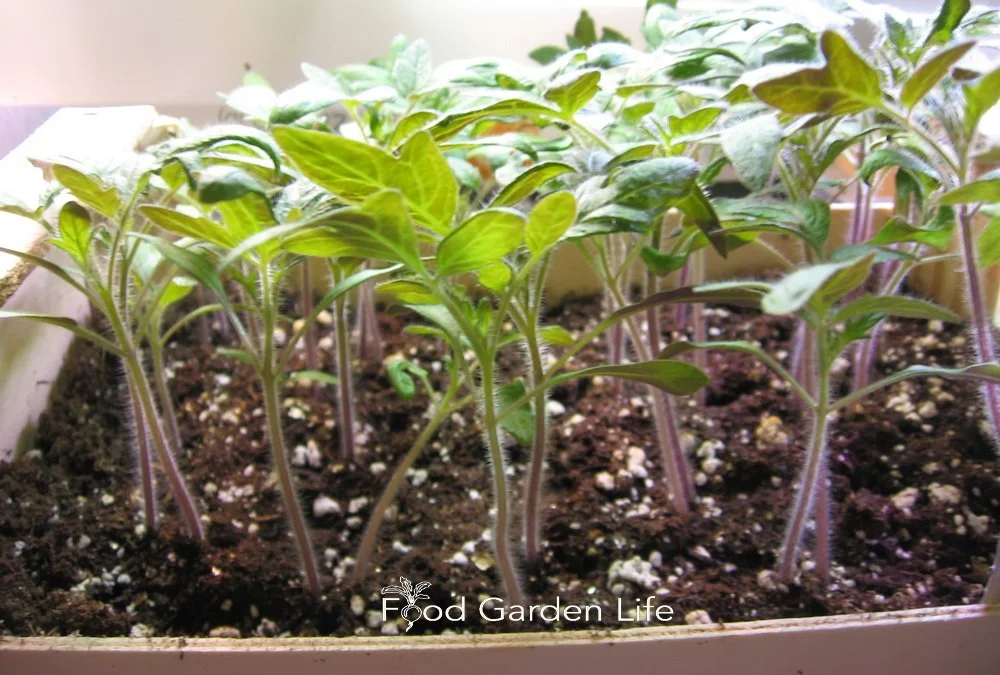
If your seedlings are doing the downward dog, this post is for you.
When young seedlings are so fragile that they fold into two, they don’t stand a good chance of success once you transplant them into the garden.
Yet leggy seedlings is a common problem for home gardeners starting seeds indoors. That’s because in a home setting, conditions are often less than ideal.
But there’s good news.
Even if you don’t have perfect conditions—even if you don’t have a greenhouse—you can grow healthy seedlings that will thrive. It’s just a matter of setting up your seed-starting area so you can give small seedlings:
An appropriate temperature
Enough light
A suitable potting soil
Combine these with a suitable container, and you’re away to the races. You can grow strong and healthy plants.
This article tells you how much light you need, what you need to know about temperature, what to look for (and avoid!) in a potting soil, and how to choose a suitable container. Get these four things right, and you’ll prevent leggy seedlings.
Heat to Sow Seeds Indoors
Warmer than room temperature to germinate, cooler than room temperature after germination.
If you see different seed-starting temperature recommendations for different crops, don’t sweat it. You’re probably starting all of your different crops in the same indoor space anyway.
Here’s the big picture, a simple way to think about temperature:
When you start seeds indoors, a temperature a bit above room temperature is helpful for faster, uniform germination
Once your seeds germinate, a temperature slightly cooler than room temperature helps to keep your seedlings more compact
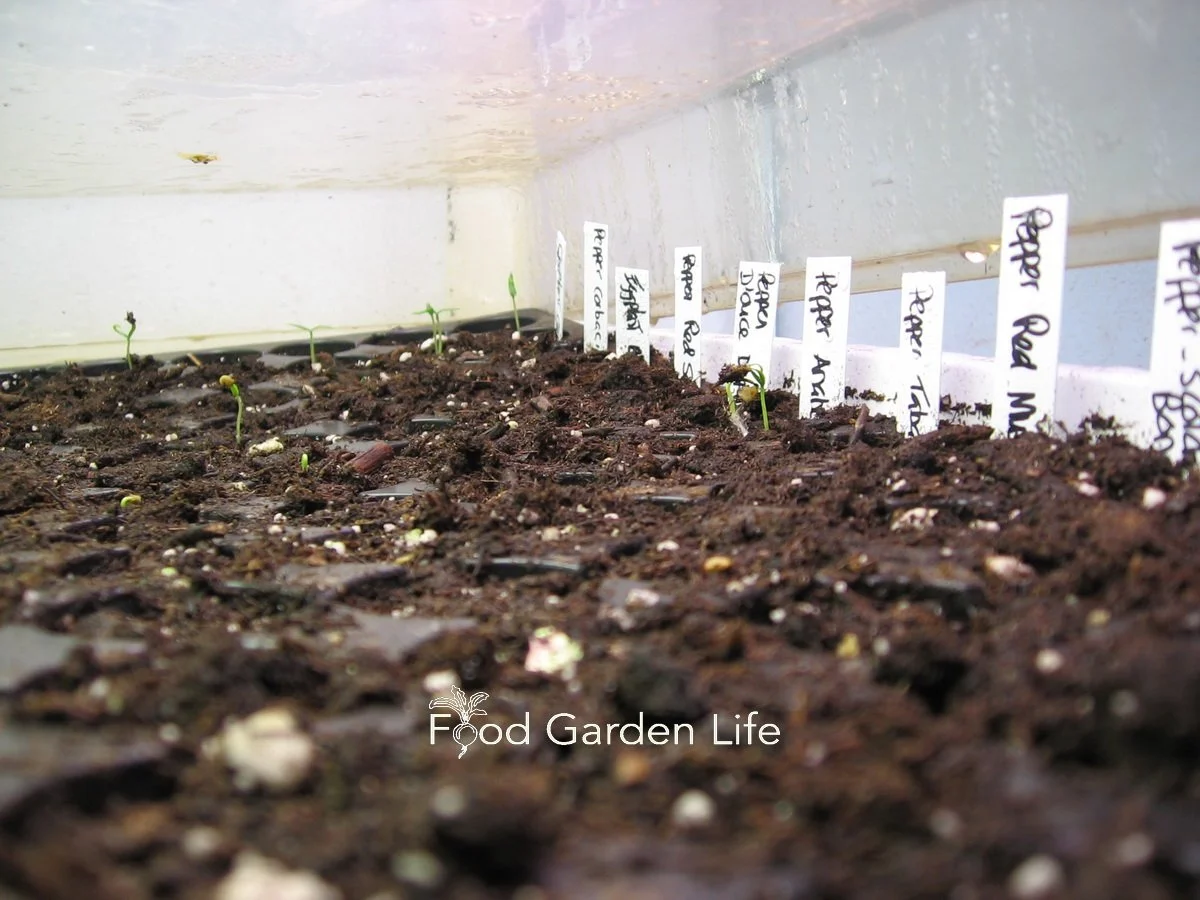
Higher Temperature for Germination
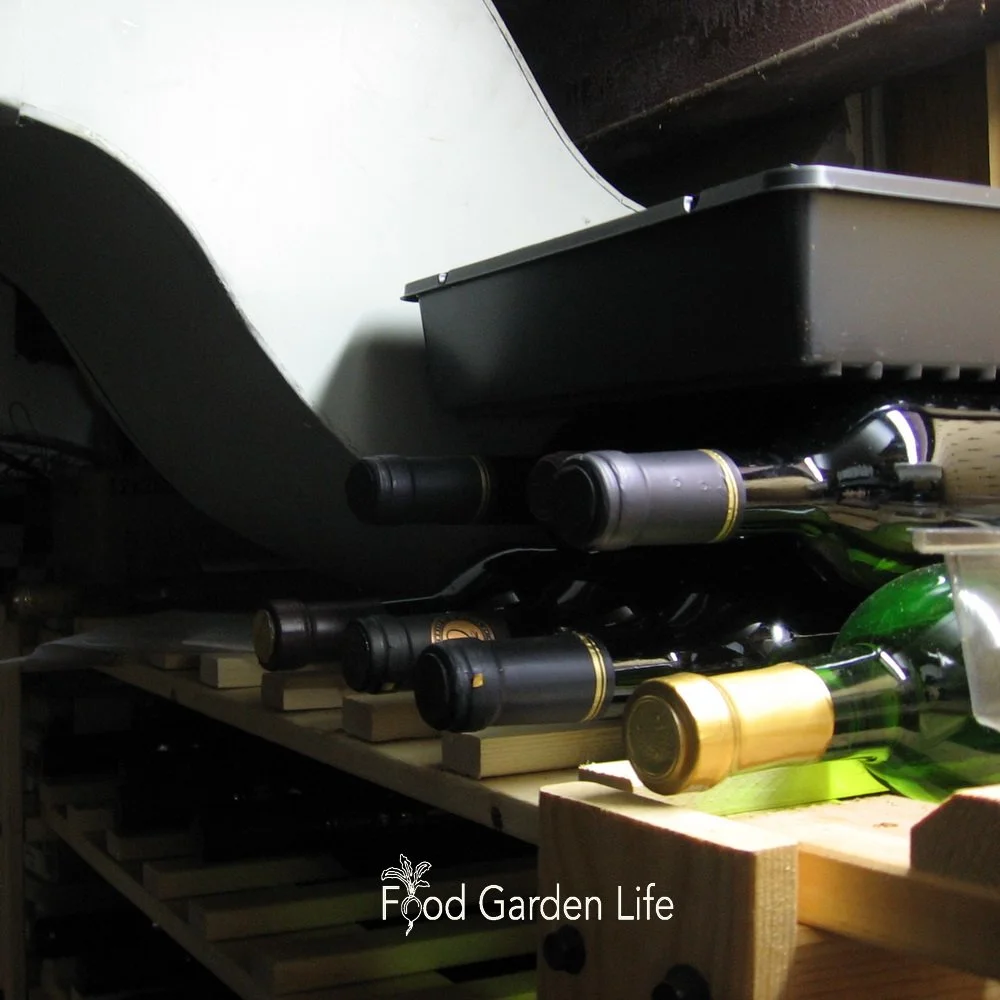
Speed up germination with more heat. Seed tray beside a heat duct to speed up germination.
You can raise the soil temperature without turning your house into a tropical conservatory. Just use what’s called “bottom heat.”
Bottom heat refers to heating the soil from below. There are purpose-made heat mats, like heating pads for plants, that go underneath pots and trays. With a heat mat, you’re only heating a small area.
Here are other ways you might be able to give your seeds bottom heat:
Heated floor
Hot-water radiator
An appliance that gives off heat (my former beer fridge was always warm on top)
In a previous house, I put seed trays beside basement heat ducts (over top of my wine rack!) to get seeds to germinate quickly. They sprouted seedlings faster than the trays in a cooler location.
Hold in Heat
Along with heat from the bottom, hold in heat and keep the humidity higher during the germination period. There are commercially available humidity domes for trays, or you can use clear plastic bags or cling wrap.
Cooler Temperature for Growing
Once seeds have germinated, a cooler temperature helps to develop sturdy stems. So remove the heat mat if you’re using one, and if you’re using a cover, set it ajar to let out some heat and humidity.
I grow seeds in a basement room with the heat ducts closed. It’s slightly cooler than the rest of the house and the temperature works well for raising seedlings.
Sufficient Light
Insufficient light is one of the things that will cause lanky seedlings.
There's a wide variety of grow lights available for home gardeners. But if you’re growing vegetable transplants indoors, you don’t need fancy grow lights. That’s because you’re not trying to grow the crop indoors for its entire life cycle.
All you’re trying to do is to get a healthy seedling to transplant into the garden. And once it’s in the garden, it gets full sunlight.
Grow Lights
Adequate light is important; but there’s no need for perfect light because seedlings get full sunlight when moved to the garden.
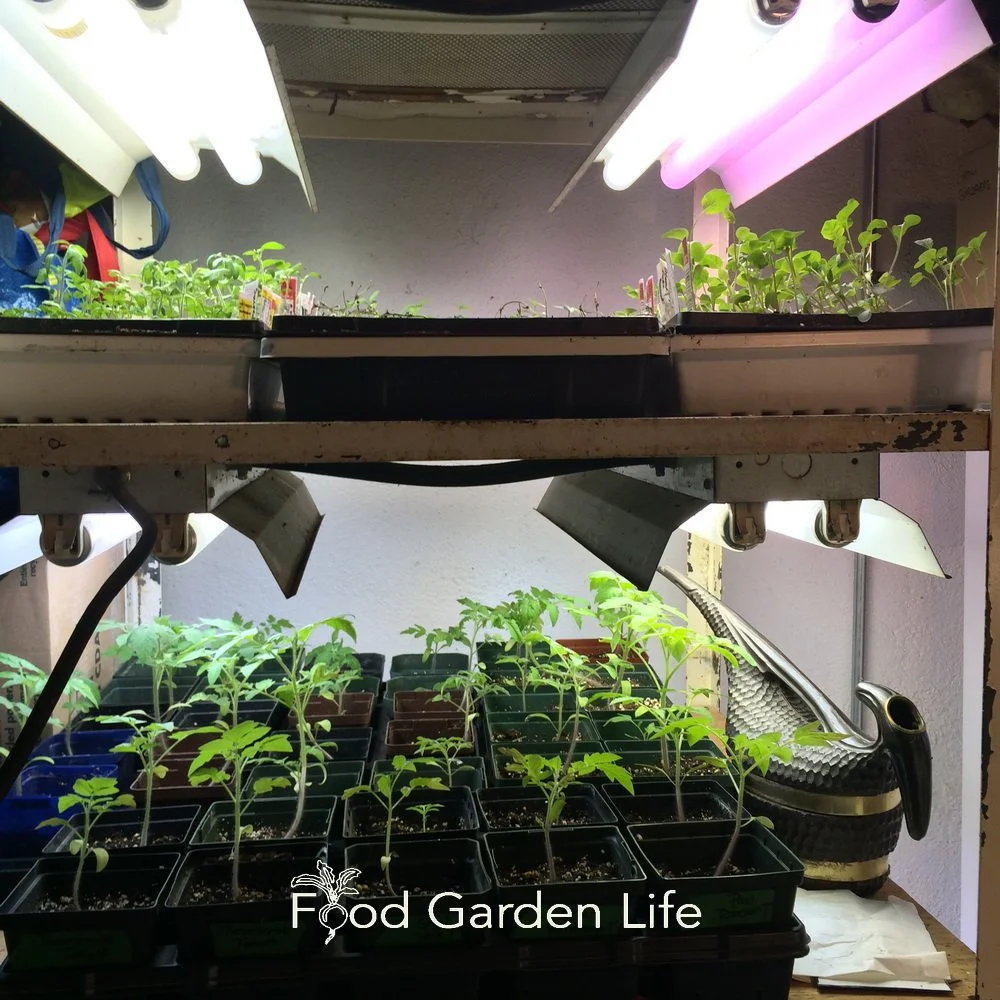
I still use fluorescent lights because that's what I have and I'm on a limited budget. You can buy fancy schmancy lights; there’s no need.
If you’re using artificial light, consider the distance of the seedling from the grow light. Some grow lights have adjustable lights that can be moved close to seedlings, and then moved up as seedlings get taller.
If, like me, you don't have that option, place something under the seedlings to raise them up, closer to the light source. (Mandarin orange crates work well in my setup!) As the plants get bigger, lower them so they’re not touching the lights.
Natural Light
If you’re using natural light, the brightest windows are usually south-facing. One challenge is that south-facing windows can be hot. Warmer temperatures can cause leggy seedlings. A simple solution to this is to place a fan in the area to disperse the heat.
Soil
Even with good light and a suitable temperature, if you have poor-quality soil, your seedlings might flop!
When it comes to soil, the top two things to think about are:
Use a light soil with lots of air space to allow excess water to drain and small roots to grow
Choose soil that’s free from pests and diseases
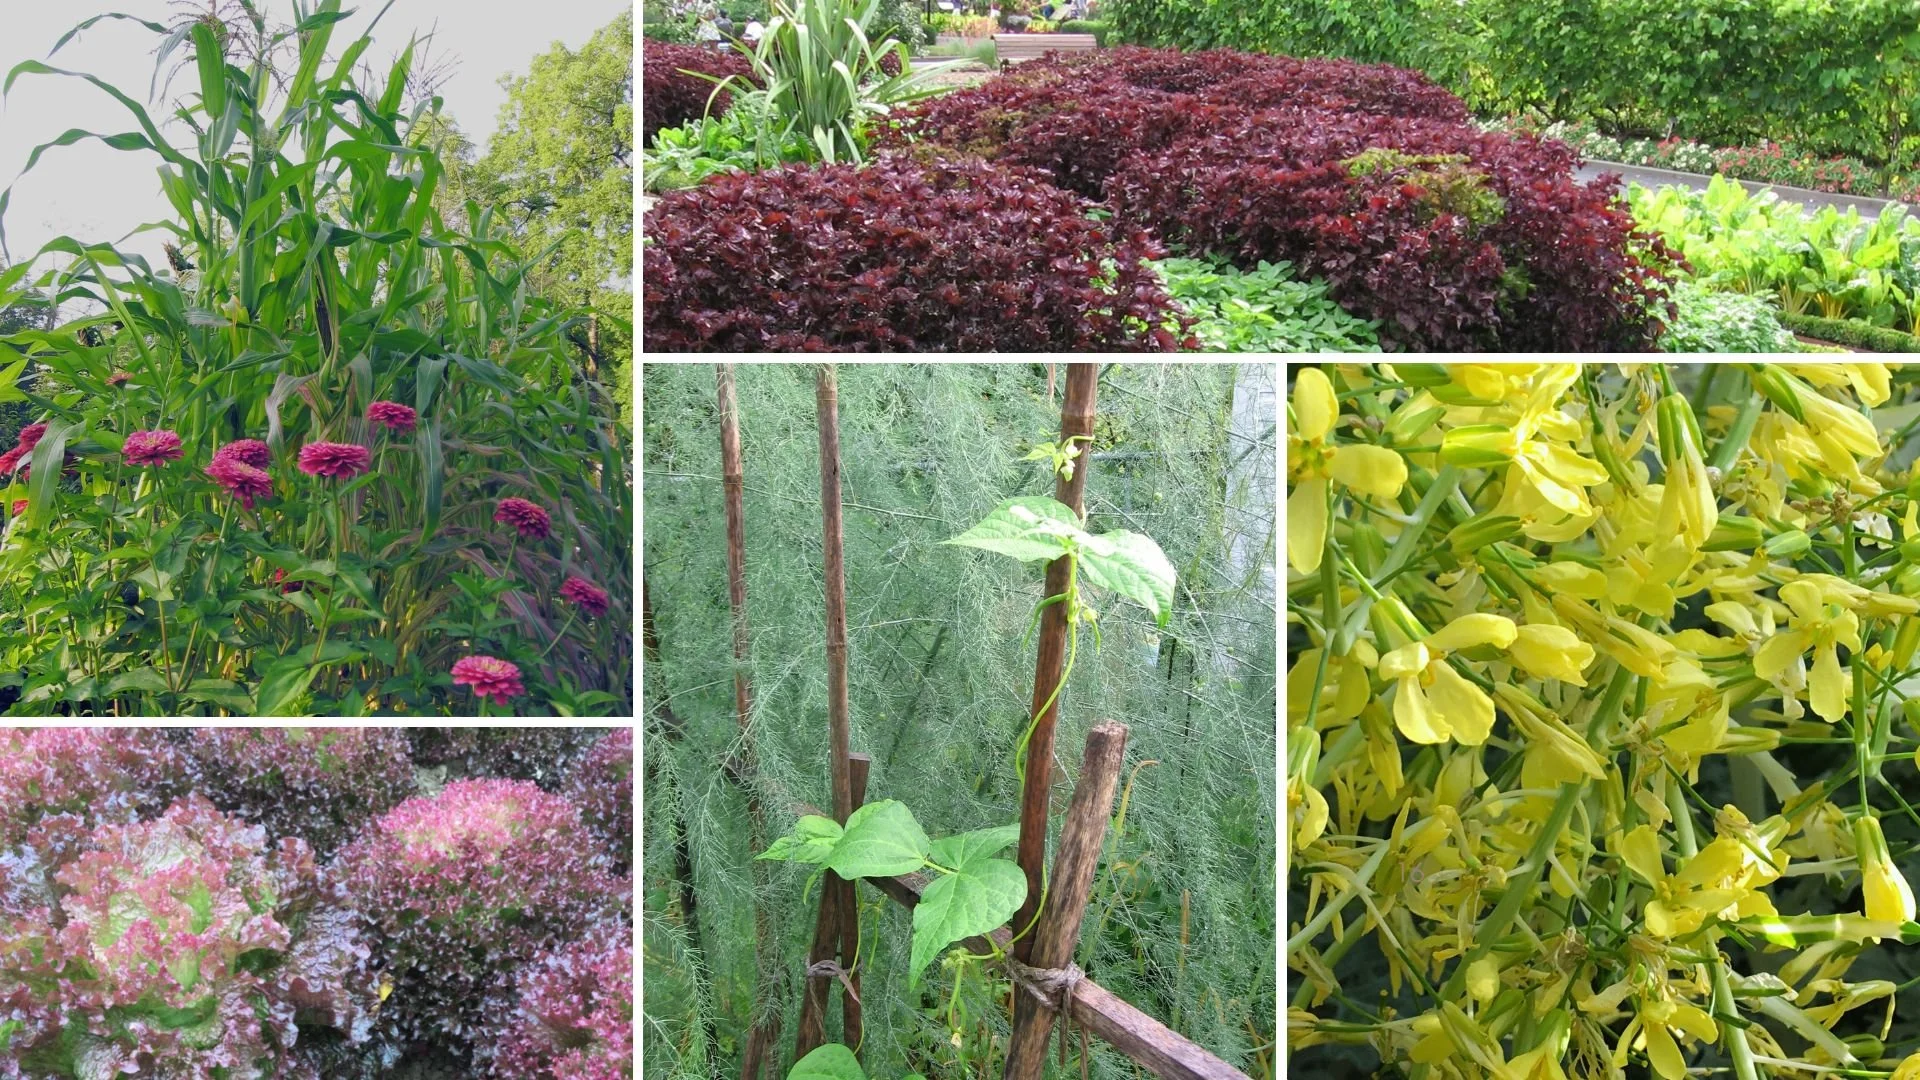
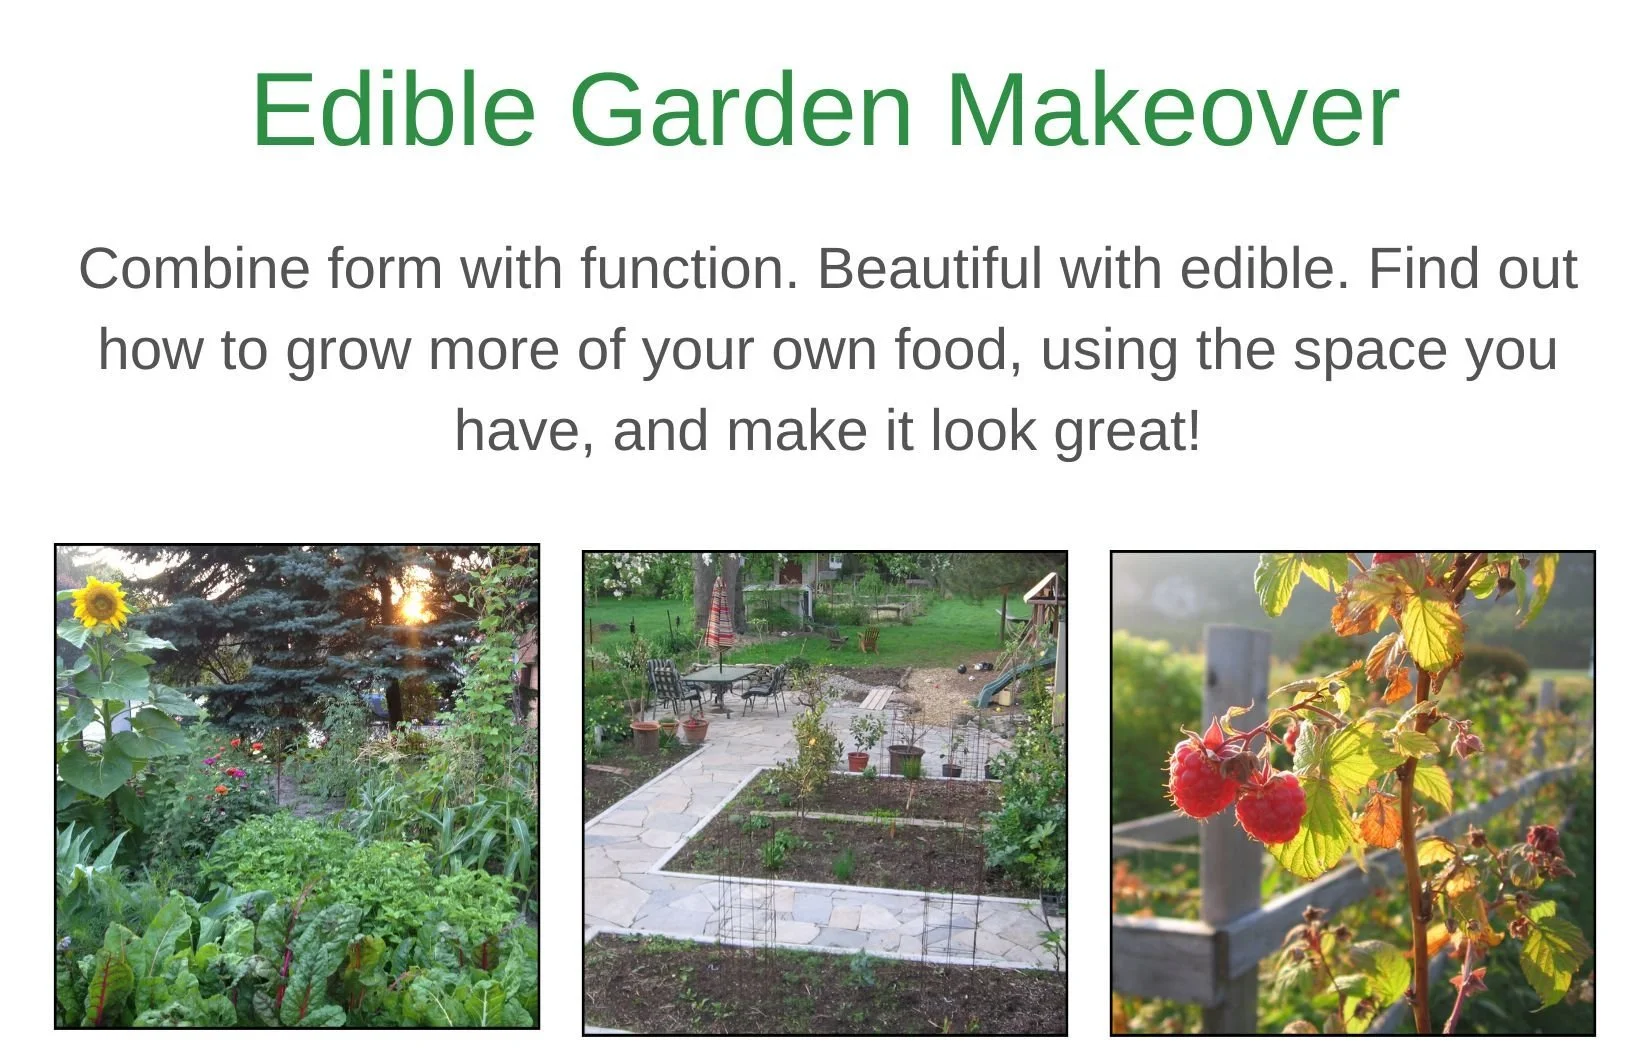
Enjoy playing with colour, texture, and shapes?
Don’t want a cookie-cutter veggie garden?
If you've thought of growing more of your own food, but you don’t know what to do next, Edible Garden Makeover gives you the ideas, knowledge, and inspiration to grow food in a way that fits your yard and your style.
Disease in Potting Soil
Little seedlings are delicate and they're vulnerable to attack by disease. In a seed-starting environment, the most common disease is what’s called “damping off” disease. This fungal disease can come with the soil—so one of the easiest ways to prevent the disease is to use soil free from damping off.
Here’s how to lessen the chance of damping off:
Don’t reuse potting soil for starting seeds (unless you’re planning to heat sterilize it)
Don’t use garden compost for seed starting; it has more microbial activity—which is great in the garden—just not ideal for indoor seed-starting
Potting Soil Shopping Tips
Big bales. It’s buyer beware with potting soil. Some potting soils are great…some suck. The large compressed bags (a.k.a. bales) that are sold to commercial growers tend to have consistently better quality because commercial growers are more discerning. Big bales are also much better value. They’re compressed, and often quite dry—so also less likely to have eggs of pesky fungus gnats.
Finely-ground potting soils. There are seed-starting potting soils that are more finely ground, the idea being that big particles can get in the way of small seeds. This makes sense in a commercial setting where uniform, perfect germination is a must. It’s absolutely unnecessary in a home-garden setting. Don’t waste your money.
Skip the meal deal. Seeds germinate and start to grow using energy stored in the seed. Don’t buys soil with added fertilizer; it can actually burn tender seedling roots.
And…If you see soil on special at a big box store for a couple of bucks, remember that a bargain isn’t always a bargain.
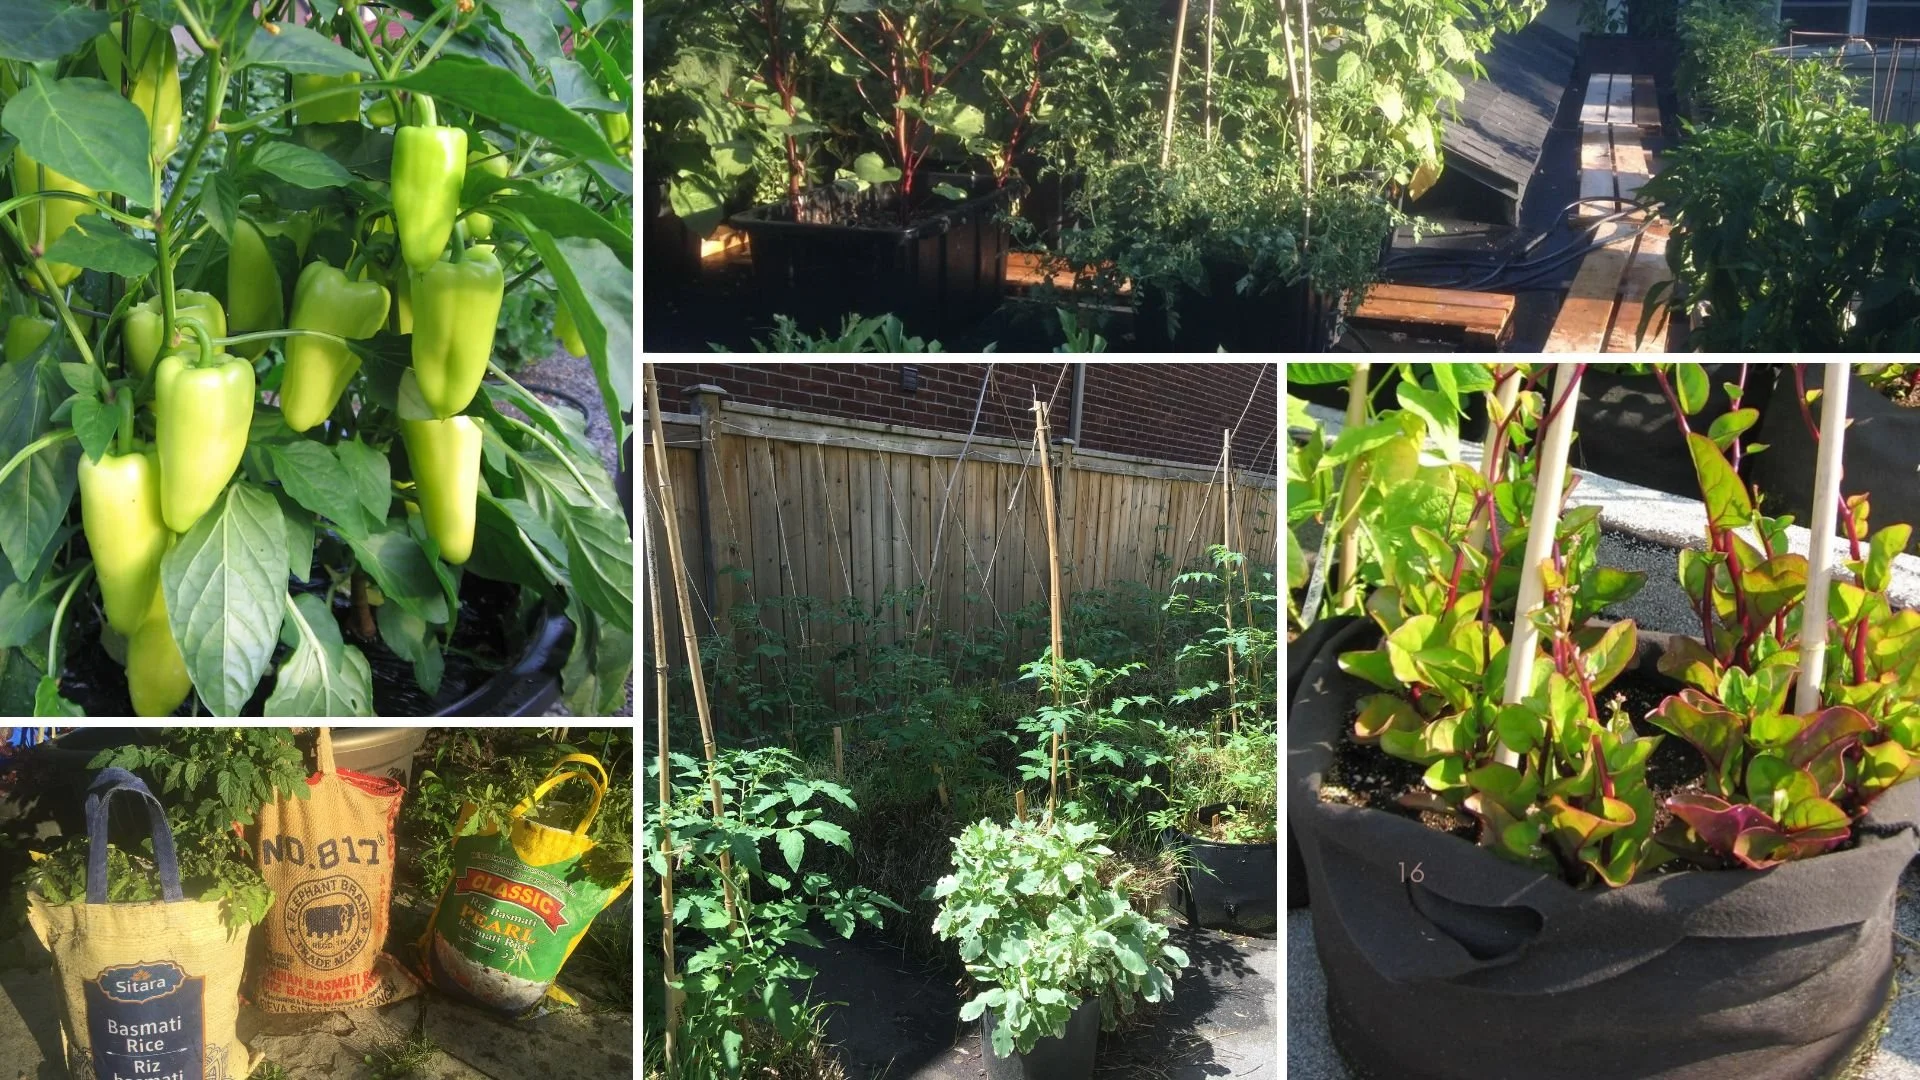
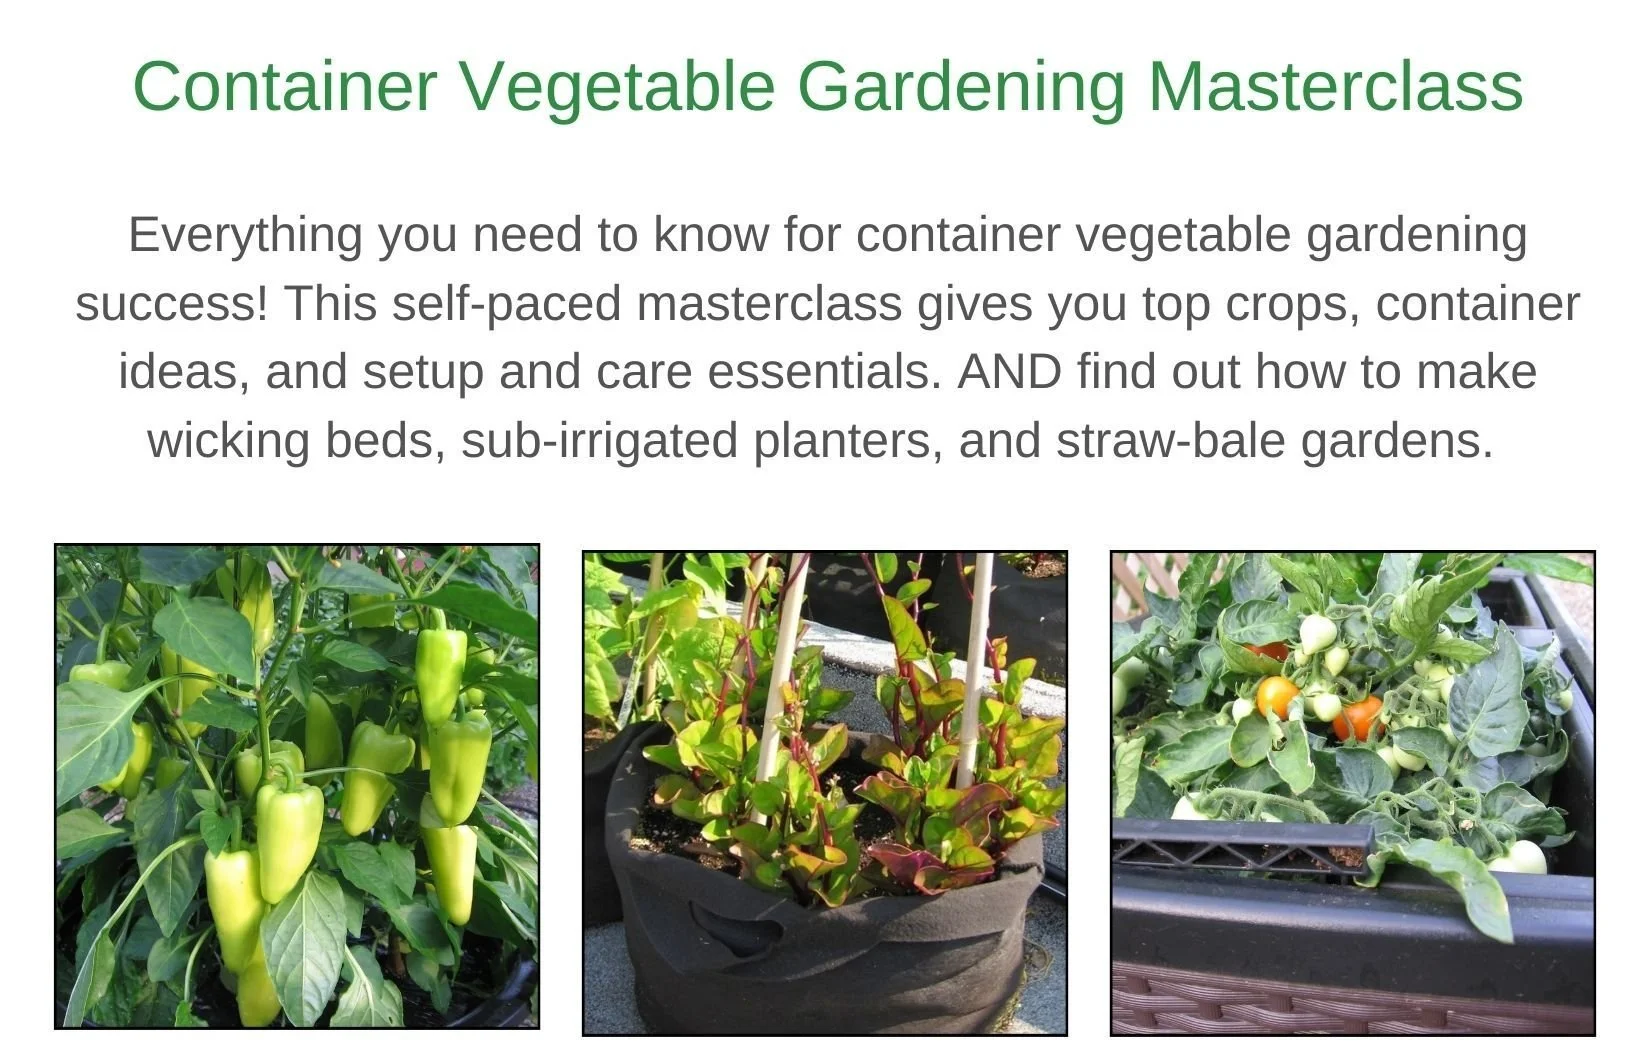
Find out how to set up for success, pick great crops, and care for them. Container Vegetable Gardening Masterclass gives you the information and ideas you need for high-yield container vegetable crops.
Containers
When I worked in the horticultural supply industry we sold various seedling trays, pots, the “cell packs” used in commercial seedling production.
Many of these are available to home gardeners, though not necessary.
The key things to think about with containers:
Drainage holes to allow excess water to drain
Not contaminated with damping off disease (see Reusing Pots and Trays, below)
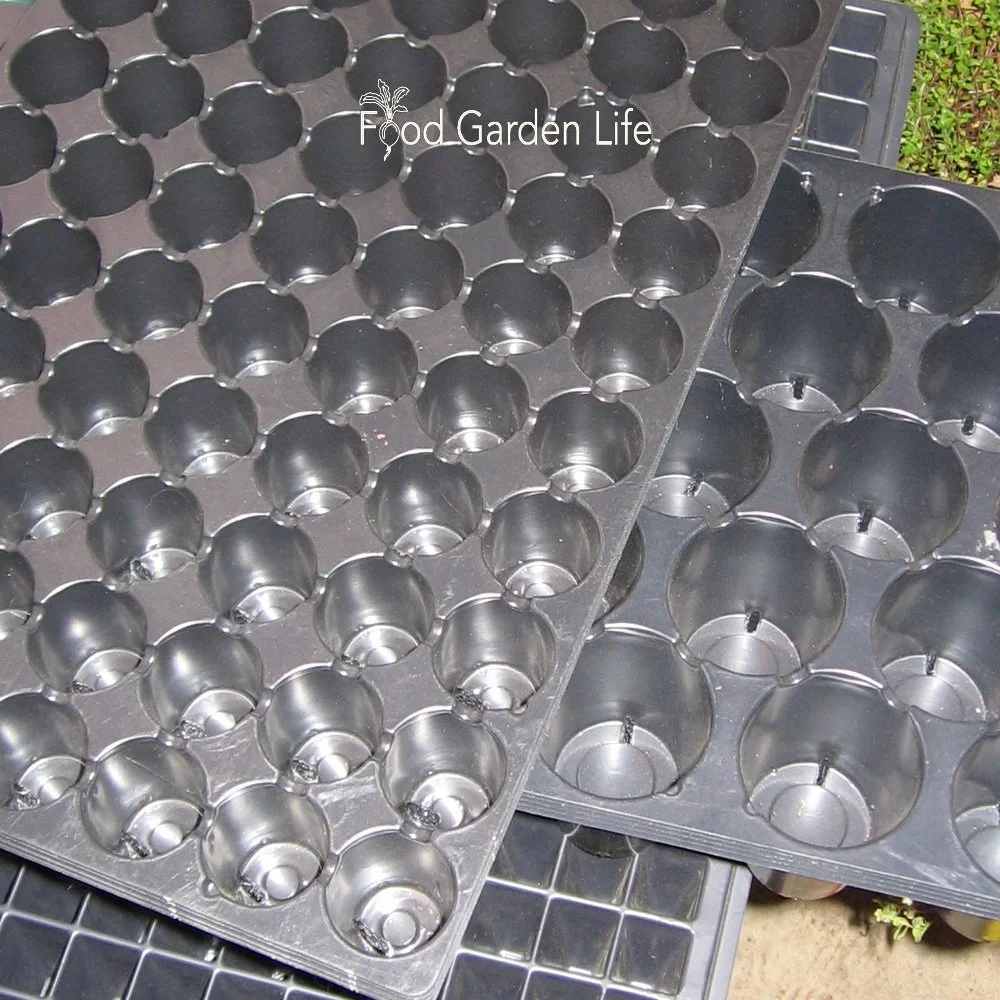
Plug trays for starting seeds indoors. Not necessary, but useful when you grow lots of the same thing.
Container Type and Size
If you’re growing a lot of one type of seed, you might like to have containers that are the same size because it simplifies watering. When my daughter raised hundreds of tomato seedlings, I got her what’s called “plug trays” so she could grow lots of small plants in our small space. They all had the same amount of soil, and dried out at the same speed.
I don’t use the expanding peat pellets. I think they’re gimmicky.
Use What’s in Your Recycling Bin
I am a big fan of scouring the recycling bin for seedling pots. For example:
Yogurt containers
Mandarin orange crates (my favourite for lettuce seedlings)
Tubs for mushrooms
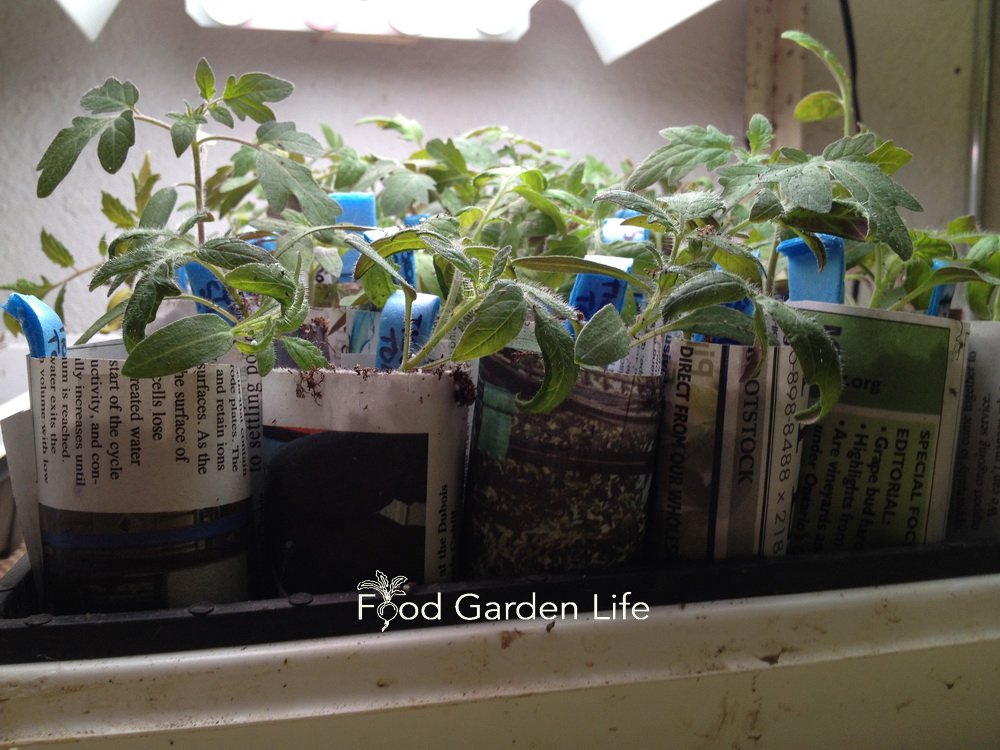
Using a mandarin orange crate to grow tomato seedlings.
Tips when using recycled containers:
The volume of soil in different containers will vary—so water accordingly
Put holes in the container for drainage
Reusing Pots and Trays
If you're reusing pots and trays, it’s a good idea to first sterilize them to prevent damping off disease. That’s because any soil crusted on the container from the previous year can harbour the disease. If you haven’t had damping off disease in the past you might be OK…but personally, I don’t risk it. So I sterilize them.
When damping off disease attacks seedlings, it can wipe out a whole tray in just a day or two. It can be quite devastating.
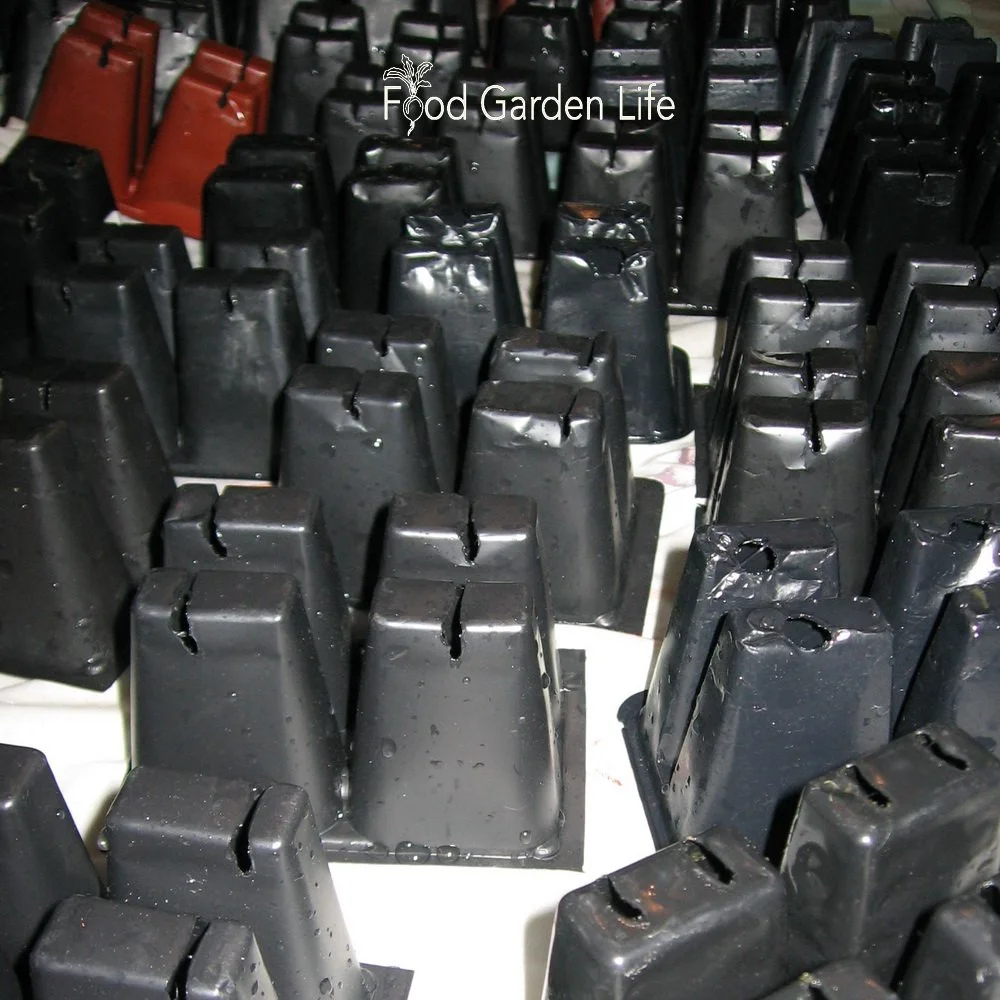
Cell packs drying after washing and sterilizing to prevent damping off disease on seedlings.
Here’s what I do to sterilize containers:
Soak containers in water
Scrub off any crusted soil
Place them in a solution of 10 parts water with one part bleach
Let them air dry
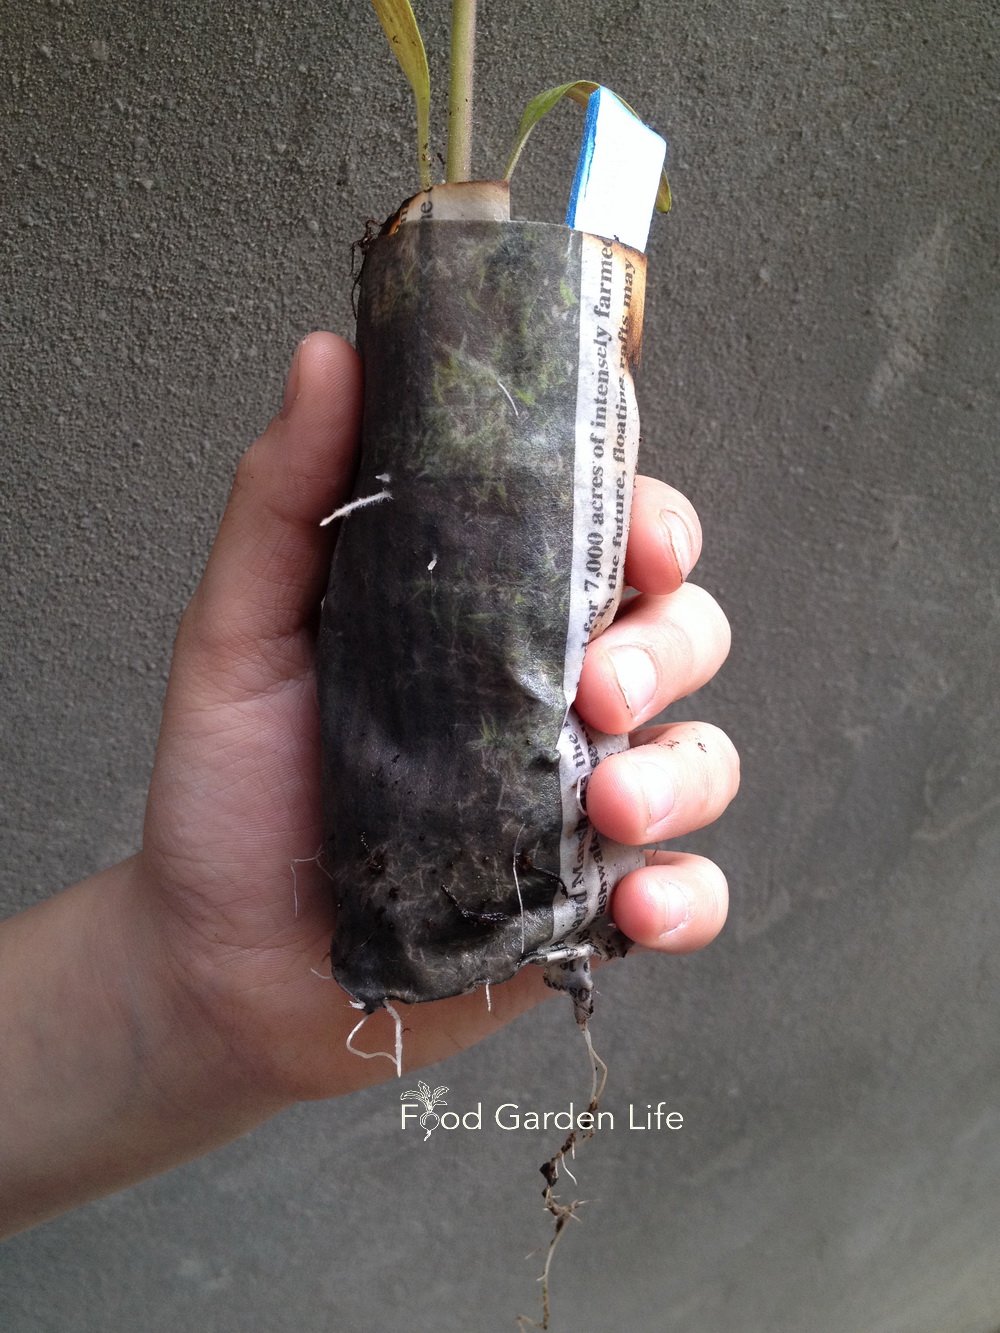
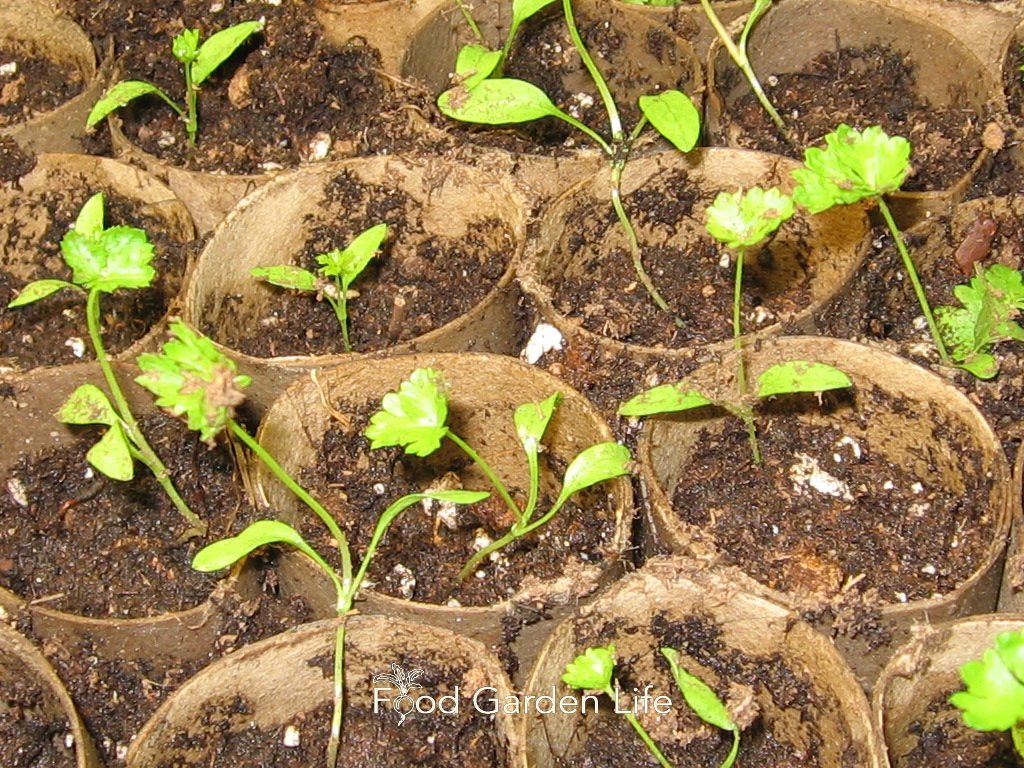
What About Fibre Pots?
There are a few types of fibre-based biodegradable pots. Recently I saw some made from cow dung! Some people make newspaper pots, or reuse toilet paper rolls for seed starting. In principle, you can plant these pots straight into the ground, but there are a couple of caveats.
The pots wick out moisture, away from plant roots…and they can dry out quickly. So watch the soil moisture to make sure that it doesn't get too dry for your seedlings.
Later, when you transplant seedlings in the garden, if the lip of the pot is above the soil level, it'll wick the water away from around the roots, so the soil around the roots can be drier than the garden soil. So tear off the top of the pot—or bury it. That solves the wicking problem.
FAQ – Leggy Seedlings

Can you fix leggy seedlings? Can leggy seedlings recover? Can you fix stretched seedlings?
You can’t correct leggy seedlings...but if the seedlings aren’t too far gone, you can change the growing conditions so that the seedlings grow thicker stems.
Why are my seedlings flopping over? Why is my plant growing tall and skinny?
It can be too little light, too much heat, excess moisture—or a combination of these.
Can I bury leggy seedlings deeper? Can I fix leggy tomato seedlings?
In many cases, no. First of all, very thin stems can easily be crushed. And most seedlings don’t do well when planted deeper than the level they’re been growing at. Leggy tomato seedlings can be an exception—they do well when planted deeper—but it will depend how long, skinny, and delicate the spindly seedling is. Better to avoid the leggy seedlings in the first place!
Find Out About About Seed Starting in this Podcast
Find This Helpful?
If we’ve helped in your food-gardening journey, we’re always glad of support. You can high-five us below! Any amount welcome!
More on Vegetable Seeds
More on Growing Vegetables
Vegetable Gardening Articles and Interviews
For more posts about how to grow vegetables and kitchen garden design, head over to the vegetable gardening home page.
Vegetable Gardening Courses
Want more ideas to make a great kitchen garden? We have great online classes that you can work through at your own pace.